If router bits keep breaking while you remove material, the immediate cause is usually overload: the bit is being asked to take too much material, being pushed too hard, rubbing instead of cutting, or being shocked by movement in the workpiece. A deep pass is a common cause, but it is not the only one. Feed rate, a dull or unsuitable bit, chip buildup, vibration, and a slipping collet can all produce the same result.
The practical fix is to reduce the load before trying the cut again. Make shallower passes, keep the work firmly supported, use a sharp bit suited to the operation, and advance the router at a steady pace rather than forcing it or lingering in one spot. If the bit has already broken, stop and inspect the router, collet, bit fragments, and setup before fitting another bit.
Start by identifying where and how the bit failed
The break location can point toward the problem, although it is not a complete diagnosis.
- Broken cutting edge or flute: The bit may have struck a hard inclusion, been forced through too much stock, overheated and dulled, or encountered severe vibration.
- Broken near the transition from cutting flutes to shank: This often suggests bending load, chatter, workpiece movement, excessive reach, or an abrupt re-entry into the cut.
- Broken on the solid shank: Inspect the collet and installation carefully. A dirty, worn, damaged, or poorly gripping collet can allow movement that shocks the bit.
- Repeated failure in the same operation: Treat the process as the issue. Replacing bits without changing pass depth, stock support, or material-removal strategy usually repeats the failure.
Do not continue routing if the tool vibrates unusually, the bit appears to slip, or the cut changes abruptly. Follow the current router and bit manufacturer instructions for stopping the tool, disconnecting it from its power source before adjustments, inspecting the collet, and replacing damaged parts.
Is the router cut depth too deep?
A pass can be too deep even when the router seems capable of reaching the final depth. The relevant question is not just total depth; it is how much wood the cutting edges must remove at once, how much of the bit is engaged, the bit diameter and design, the wood species, grain direction, and whether chips can clear the cut.
A deep slot or groove is especially demanding because the bit is cutting on more than one side while chips have limited room to escape. A narrow, long-reach bit can flex under that load. A deep profile cut can also become unstable as more of the bit is buried in the wood.
Signs that pass depth is the main problem include:
- The router bogs down when the bit reaches full depth.
- The cut becomes rougher as the bit gets deeper.
- Chips collect in the groove instead of clearing cleanly.
- The router wants to pull, chatter, or wander.
- The bit or workpiece shows scorching.
- The failure occurs near the deepest part of the cut.
The remedy is multiple router passes. Set up the operation so each pass removes a manageable amount, then make the final pass light enough to clean up the wall or profile. Let the tool’s sound and the chip flow guide the adjustment: a smooth, consistent cutting sound is preferable to labored noise, harsh chatter, or a high-pitched rubbing sound.
Do not use the router as a bulk-removal tool when another tool is better
A router can remove a lot of wood, but it is not always the best first tool for the job. When making a large recess, wide dado, deep mortise, or heavy profile, remove most of the waste first when the work allows. Then use the router for accurate sizing and a clean final surface.
For example, a broad cavity may be easier to rough out in stages with a drill, saw, chisel, or other appropriate method before routing the final boundary. This reduces side pressure on the router bit and leaves less material for the finishing pass.
Choose the method based on the workpiece, required accuracy, and the instructions for the tools involved. Keep the work clamped or otherwise secured so it cannot shift while material is being removed.
Feed rate can break bits in two opposite ways
Router feed rate is the speed at which you move the router or feed the workpiece into the cutter. It must work with bit size, bit geometry, router speed, wood species, and depth of cut. There is no single correct hand-feed speed for every setup.
Feeding too fast overloads the cutting edge
Pushing too quickly makes each cutting edge try to take a larger bite. The result can be heavy resistance, torn grain, a rough cut, chatter, deflection, and eventually a broken bit. You may hear the motor labor or feel the router resist forward movement.
Slow down by reducing the depth of the next pass first. Then feed steadily enough that the bit continues cutting without being forced. Do not respond to a struggling cut by pushing harder.
Feeding too slowly can create heat
Moving too slowly, pausing in the cut, or repeatedly rubbing the same spot can make the bit scrape rather than cut efficiently. Friction generates heat, which can burn wood, dull the edge, weaken cutting performance, and increase the chance of failure later in the operation.
Burn marks are a warning, not merely a cosmetic problem. Stop, reassess the pass depth and feed pace, and inspect the bit edge. A dull bit often continues to produce heat even after you improve the feed.
Aim for steady movement, not a deliberately slow movement
A good hand-fed pass generally feels controlled and continuous. The router should be cutting without severe bogging, bouncing, or burning. Keep it moving through the cut, but reduce the depth of cut if the tool cannot maintain a stable, comfortable pace.
For router-table work, use the feed direction and workholding method specified by the router table, bit, and router manufacturers. Do not improvise a feed direction or attempt a cut that allows the workpiece to be pulled from your control.
Bit selection affects how much load the setup can tolerate
The wrong bit can fail even with sensible pass planning. Match the bit to the task rather than using a general straight bit for every operation.
Consider:
- Bit diameter: Smaller-diameter bits have less mass and can be less tolerant of aggressive side loading than a larger bit designed for the same operation.
- Cutting length: A longer cutting section may reach deeper, but it can also be more prone to flexing when heavily engaged.
- Bit style: Straight, spiral, pattern, flush-trim, mortising, and profiling bits remove material differently. Use a bit intended for the operation.
- Bearing-guided work: A bearing does not make a deep or unsupported cut safe. The bit can still be overloaded if too much material is left for it to remove.
- Bit condition: Dull, chipped, resin-coated, or previously overheated bits create more friction and require more force.
- Material: Dense woods, abrasive sheet goods, knots, glue lines, and hidden foreign material can increase cutting load.
Verify that the bit is approved for your router, collet, and intended operation in the current manufacturer documentation. Also verify the router’s speed setting requirements for the specific bit; larger bits and specialty cutters may have manufacturer limits that differ from small straight bits.
Check the collet, bit installation, and router for vibration
A bit does not have to be dull or overloaded to break. Runout, vibration, and poor grip can create repeated bending stress at the shank.
Before installing a replacement bit, inspect for these conditions:
- Dust, resin, or damage inside the collet or on the bit shank.
- A collet that does not grip evenly or shows visible wear or distortion.
- Damage to the router’s spindle area or signs that the bit had been slipping.
- Excessive router vibration before the bit enters the wood.
- A bent bit, damaged bearing, chipped carbide, or cracked body.
- A bit installed outside the manufacturer’s stated insertion guidance.
Use only the collet size and bit shank configuration specified by the router manufacturer. Clean and maintain the collet as directed in the current manual. If a router suddenly develops vibration or repeatedly breaks bits at the shank, stop using it until the cause is identified and corrected.
Workholding and stock support matter as much as cutting settings
A router bit can be overloaded when the wood moves, flexes, rocks, or loses support near the cut. Even a small shift can turn a normal pass into an impact load.
Secure the workpiece so it cannot slide, rotate, lift, or vibrate. Support thin stock and long pieces close to the cut. Plan clamp locations so they do not interfere with the router base, fence, guide, or travel path.
Support is especially important at exits, corners, narrow sections, and areas where much material has already been removed. As the workpiece becomes weaker, its ability to resist the cutter changes. A cut that started smoothly can become unstable near the end.
If you are using a straightedge, template, fence, or edge guide, make sure it is rigid and firmly fixed. A guide that shifts can force the bit sideways and may snap a narrow bit or spoil the workpiece.
A safer pass-planning routine
Use this sequence whenever an operation involves a deep groove, recess, profile, or prolonged cut.
1. Plan the finished cut and the waste-removal path
Mark the final depth, width, and boundaries. Decide whether the router will cut the entire shape or only finish material that has been rough-removed. Avoid trapping chips in a deep, narrow channel when a staged approach would work better.
2. Choose a suitable bit and inspect it
Use a clean, sharp, undamaged bit intended for the operation. Check the shank, cutting edges, bearing if present, and collet contact area. Confirm compatibility and setup details in the current tool and bit instructions.
3. Secure and support the stock
Clamp or fixture the workpiece so it cannot move. Check that the router can travel the entire intended path without contacting clamps, fasteners, or unsupported edges.
4. Make a test cut in matching scrap
A test cut is the quickest way to expose a poor combination of depth, feed pace, bit selection, and wood behavior. Use scrap of similar thickness and species when possible. Listen for strain, inspect the chips and cut surface, and change the setup before routing the finished part.
5. Remove material in multiple passes
Start conservatively and use additional passes when the bit is deeply engaged, the material is difficult, the cut is enclosed, or the router feels strained. Keep the final pass modest so it cleans the surface rather than doing most of the removal.
6. Stop when the cut gives warning signs
Do not try to power through burning, chatter, severe tearout, chip packing, unexpected vibration, or a change in tool sound. Shut down and wait for the cutter to stop as directed by the manufacturer before inspecting the setup.
Troubleshooting: symptom, likely cause, and next move
The router bogs down
Likely causes include excessive cut depth, feeding too fast, a dull bit, packed chips, or a bit poorly matched to the task.
Next move: reduce the next pass depth, clean the cut path, inspect the bit, and make a fresh test cut at a steadier feed pace.
The wood burns but the router does not seem to struggle
Likely causes include feeding too slowly, pausing in one place, a dull or dirty bit, or a setup that creates rubbing rather than effective cutting.
Next move: clean or replace the bit if needed, keep the router moving smoothly, and reduce depth if the bit remains heavily engaged.
The cut chatters or the bit leaves ridges
Likely causes include bit deflection, excessive reach, an aggressive pass, poor support, a loose guide, or router vibration.
Next move: make shallower passes, improve workholding and guide support, and inspect the bit, collet, and router before continuing.
The bit breaks at the shank or keeps slipping
Likely causes include collet contamination or wear, improper installation, vibration, or a severe side load caused by stock movement.
Next move: stop using the setup, inspect the collet and spindle area according to the manufacturer instructions, and correct the gripping or vibration problem before installing another bit.
The bit breaks when entering a corner or end grain
Likely causes include sudden grain changes, excessive feed pressure, an unsupported exit, or trying to remove too much material at once.
Next move: reduce the load with lighter passes, support the workpiece, and use a test piece to refine the approach. Follow the manufacturer’s guidance for the proper cutting direction and procedure for your router configuration.
When to replace the bit instead of changing technique
Change the bit when it has chipped carbide, visible cracks, bent components, damaged bearings, persistent resin buildup that cannot be safely cleaned, or an edge that remains dull after cleaning. A damaged bit should not be used for a light final pass just because the cut appears nearly complete.
Also replace a bit when it has overheated badly or has been involved in a breakage event that may have damaged the cutter body. Inspect nearby components as well; a broken bit can damage a guide, bearing, collet, or router base.
The key takeaway
Router bit breaking is rarely solved by one adjustment. Deep cuts raise the load, fast feeding raises cutting force, slow feeding can raise heat, and weak workholding or a bad collet adds shock and vibration. The reliable response is to lower the material-removal demand, make multiple passes, use the correct sharp bit, keep chips from building up, and stabilize both the router and the workpiece.
If the router still vibrates, slips bits, or breaks bits after you reduce the cut load and correct the setup, stop using the tool and consult the current manufacturer documentation or a qualified service provider before continuing.
References
- How To Use Straight Router Bits?. (n.d.). https://www.vidhyaviharschool.in/news/how-to-use-straight-router-bits.html
- 7 Common Router Bit Mistakes and How to Avoid Them – FindBuyTool. (n.d.). https://www.findbuytool.com/blogs/university/avoid-router-bit-mistakes
- Why Is My Router Bit Breaking? Common Causes and How to Prevent It. (n.d.). https://www.hartlauerbits.com/why-is-my-router-bit-breaking
- What are the best practices to avoid breaking router bits …. (n.d.). https://www.facebook.com/groups/woodworkingforbeginner/posts/2894482774039662
- Cut Acrylic on a CNC Router: Machine Tips & Acrylic Cutting - UDTECH. (n.d.). https://ud.goldsupplier.com/blog/cnc-router-for-acrylic
- Estimating router feed rates & depth of cut??. (n.d.). https://sawmillcreek.org/threads/estimating-router-feed-rates-depth-of-cut.179691
- Prevent Router Tearout | Blowout | Chips | Woodworking. (n.d.). https://www.woodworkersjournal.com/best-tips-to-prevent-router-tearout
- How Deep Can a CNC Router Cut? A Guide to Maximizing Performance | Going Rapid. (n.d.). https://grprototypes.com/how-deep-can-a-cnc-router-cut-tips-for-maximum-depth
- Get answers to some frequently asked router bit questions | Woodworking Network. (n.d.). https://www.woodworkingnetwork.com/best-practices-guide/cutting-grinding-cutting-tools-grinders/get-answers-some-frequently-asked
- help needed with breaking router bits. (n.d.). https://www.finewoodworking.com/forum/help-needed-with-breaking-router-bits
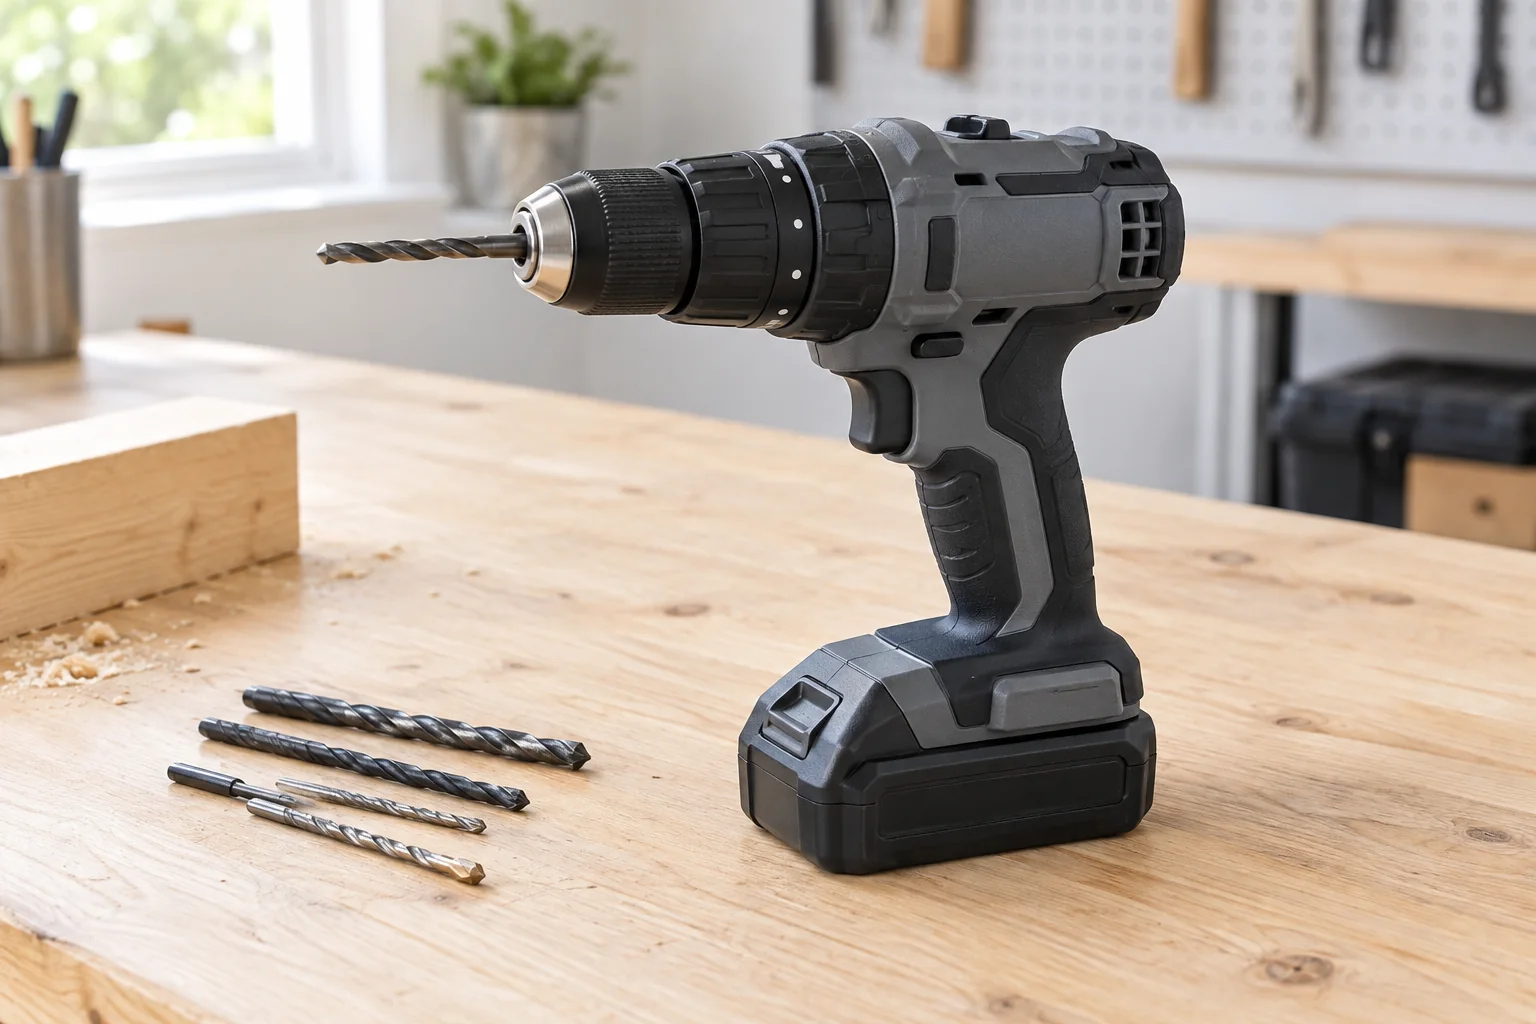 Why a Flush-Trim Router Bit Kicks Back and How to Prevent It
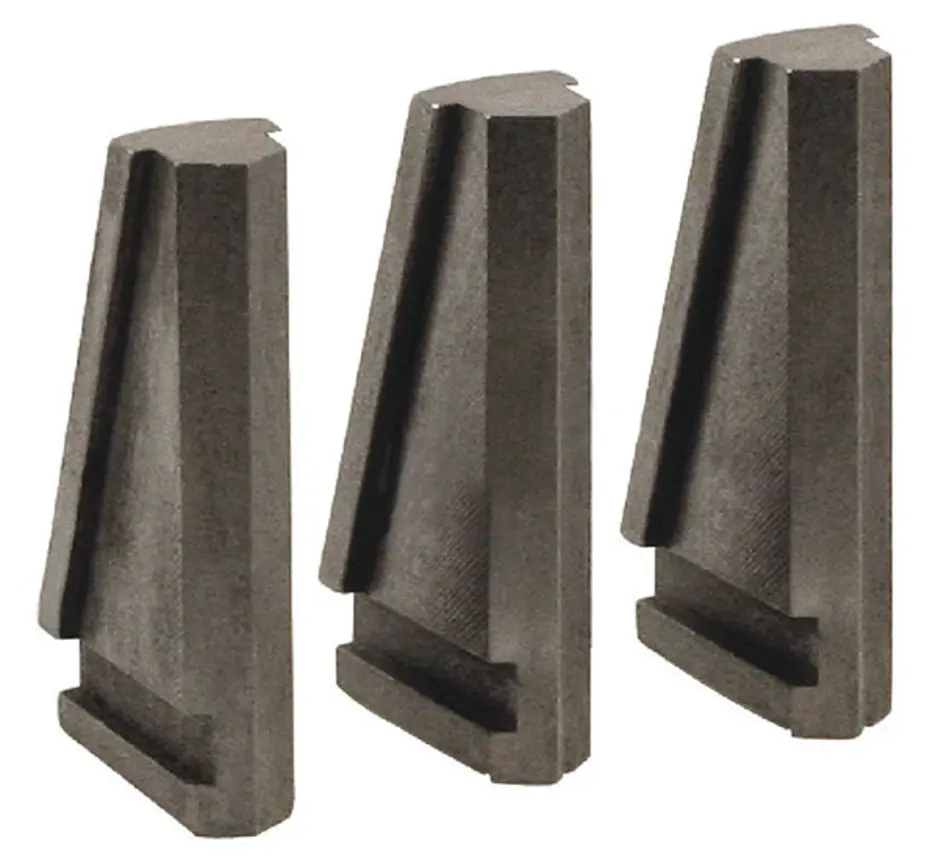 How to Clean and Maintain a Drill Chuck That Sticks
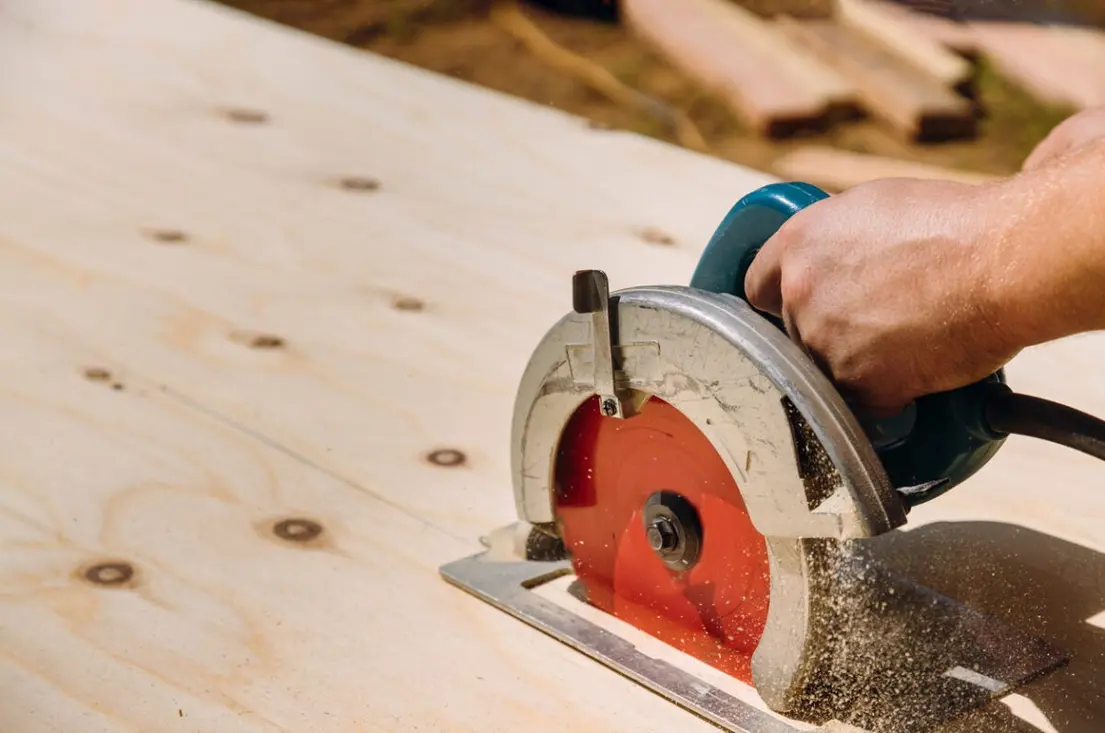 Why a Circular Saw Blade Deflects During a Cut and How to Troubleshoot It