You do not need a table saw, a room full of stationary machines, or every specialty hand tool to start woodworking. If you already own ordinary household hand tools, add a way to measure and mark accurately, a way to cut wood, a drill/driver, clamps, abrasives, and a stable surface for the project.
The right first woodworking tools depend on what you plan to build. A small shelf, planter, box, or simple bench can be made with a compact kit. Buy a more specialized tool only after a project repeatedly asks for the same operation, or when it meaningfully improves accuracy, efficiency, or safe control.
Start With Projects, Not a Shopping List
List the first two or three things you want to make and identify the operations each requires. Most beginner projects break down into the same sequence:
- Measure and mark parts.
- Cut boards or sheet goods to size.
- Drill holes and drive fasteners.
- Shape or clean up edges.
- Hold parts while you assemble or glue them.
- Sand surfaces before finishing.
A basic wall shelf may need straight crosscuts, screw holes, sanding, and clamps. A plywood storage box may add long straight cuts. A small stool or table may add repeated crosscuts and more involved joinery. This approach keeps the woodworking starter kit proportional to the work.
The Essential Beginner Woodworking Tools
Measuring and marking tools
Buy or set aside these first:
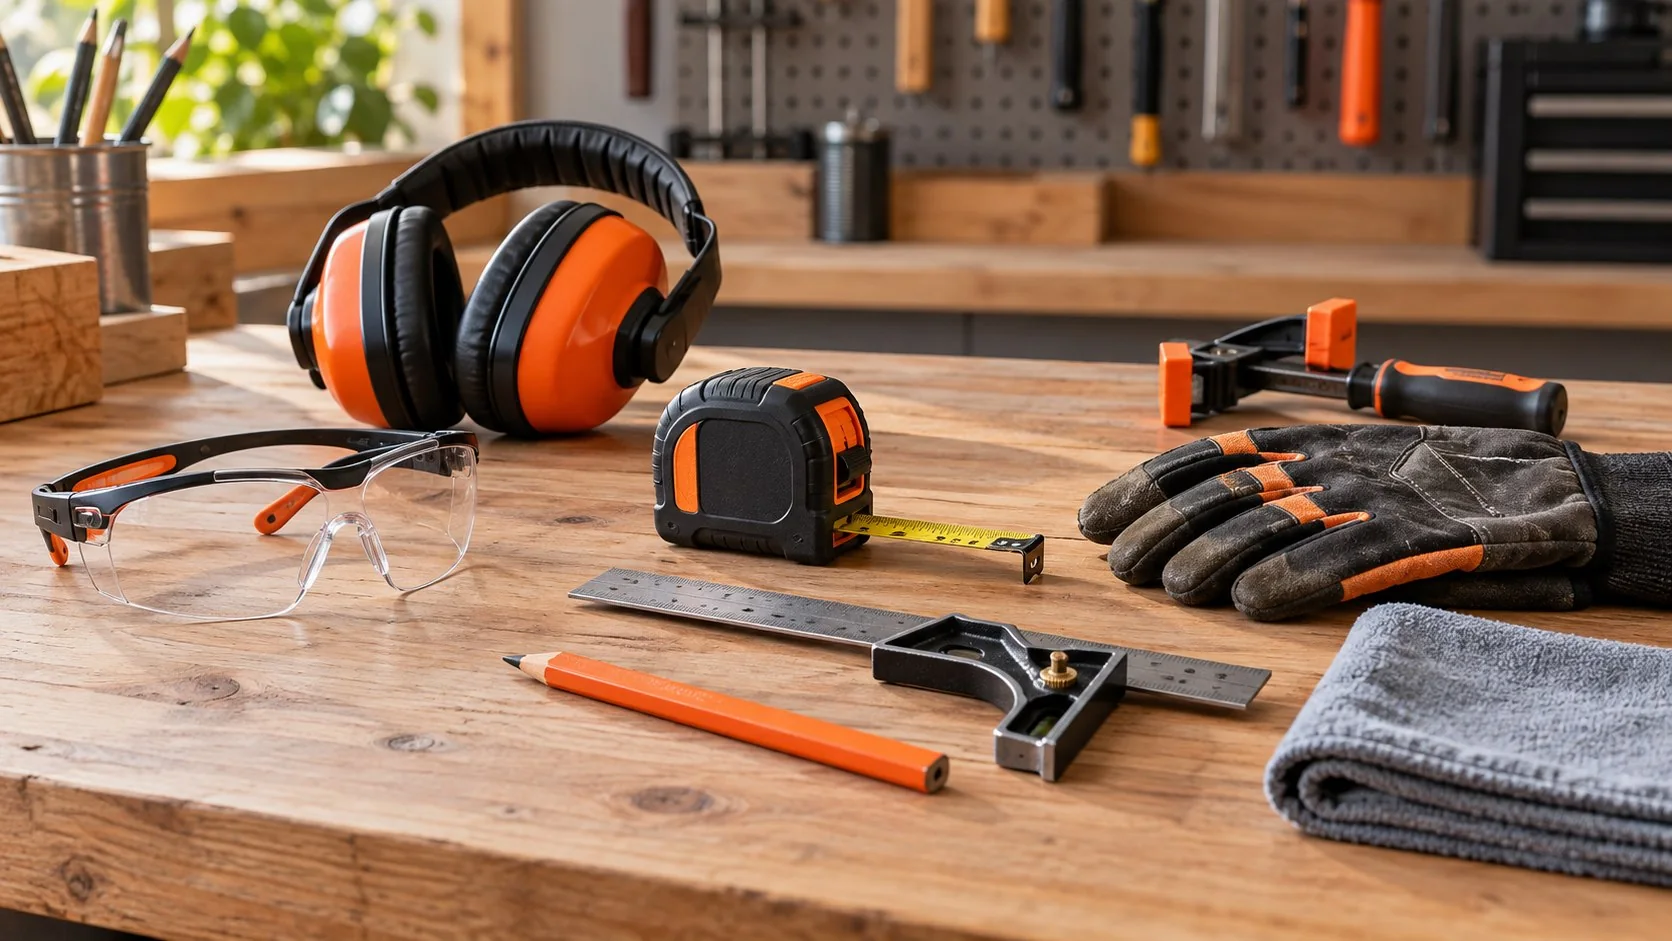
- Tape measure
- Combination square
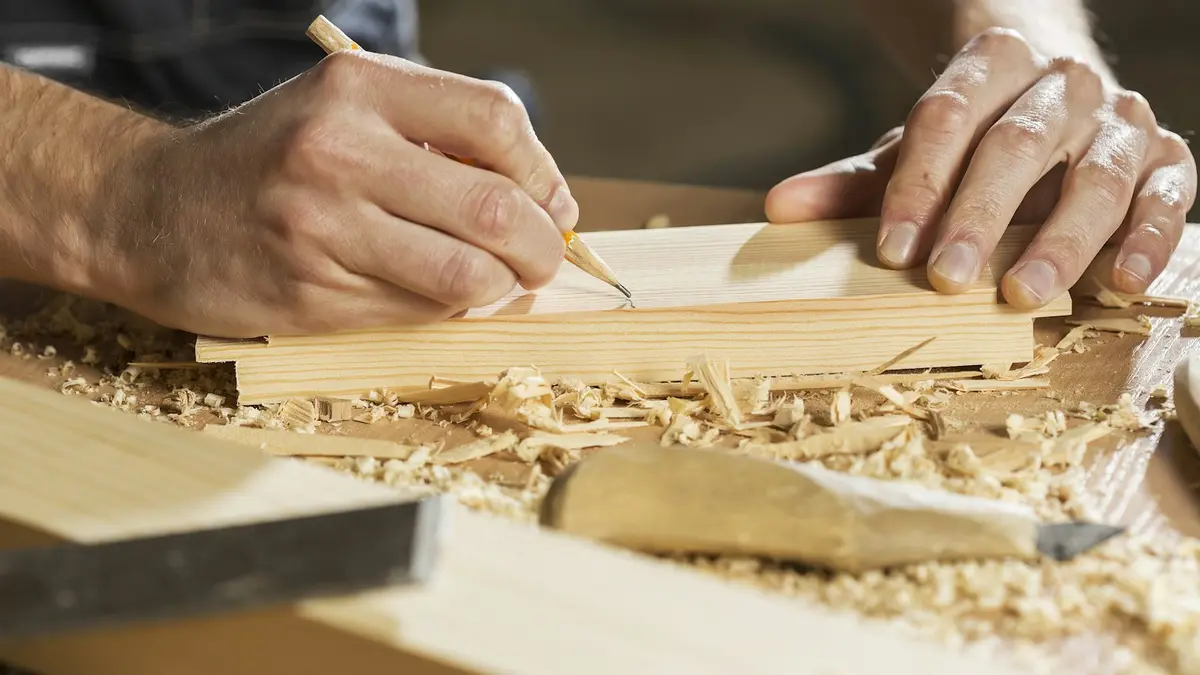
- Pencil or marking knife
- Straightedge or long level for drawing cut lines
- Small ruler
A combination square is especially useful because it marks and checks square lines and helps transfer dimensions. A speed square can also be useful for quick layout and as a guide when making short cuts with a circular saw.
Do not assume a board end is square just because it looks square. Check it before measuring from it. Mark cut lines clearly, and mark the waste side so you know which side of the line to remove.
A drill/driver and basic drilling accessories
A drill/driver is usually the most useful first power tool for woodworking. It drills pilot holes, drives screws, assembles projects, and can handle light sanding or other accessory-based work when appropriate.
Add a modest selection of wood-appropriate drill bits, driver bits, and a countersink or combination countersink bit for projects that use screws. Pilot holes can help reduce splitting and make screw placement more predictable, particularly near board ends or edges.
Verify the drill’s current manual for approved accessories, chuck capacity, operating instructions, and battery guidance. Choose bits and drivers that match the fastener and material rather than forcing a poor fit.
One primary cutting method
Choose the saw that suits the lumber and cuts your first projects require.
- Hand saw or Japanese pull saw: A low-cost, quiet choice for boards, trim, and small parts. It is slower but develops layout and cutting control.
- Circular saw: A versatile option for straight cuts in dimensional lumber and plywood. With a straightedge guide and careful setup, it can break down sheet goods and make repeated project cuts.
- Jigsaw: Useful for curves, interior cutouts, and irregular shapes. It is not the first choice when you need long, highly accurate straight cuts.
For a first kit, a good hand saw can substitute for a power saw on small projects. A circular saw becomes justified when you regularly cut plywood, need to break down longer boards, or find that hand-cutting project parts is preventing progress.
If you use a power saw, consult its current manufacturer manual before use. Follow its instructions for the blade, guards, work support, cutting setup, and maintenance. Do not improvise a cutting setup or defeat a guard to make a cut easier.
For help setting up guided sheet-good cuts, see how to cut plywood straight with a circular saw.
Clamps and a way to hold work
Clamps are not optional extras. They hold boards still while you cut, drill, glue, or fasten them, and they help align parts during assembly.
Start with several small and medium F-style or bar clamps, plus a few spring clamps for light temporary holding. The exact length matters less than having clamps that suit the width and depth of the projects you build.
You also need a stable work surface. This can be a sturdy workbench, a solid table protected with a sacrificial board, or a purpose-made portable work support. The workpiece must be supported so it cannot shift, sag, or pinch a cutting tool during the operation. Check your tool manual for the required setup and support guidance.
A hammer, mallet, and fastening supplies
A basic claw hammer is useful for nails, light assembly adjustments, and pulling misplaced fasteners. A non-marring mallet can be helpful later for fitting joints or tapping parts together without denting them.
Keep a small supply of appropriately sized wood screws for the projects you plan to build. Screws are practical for many beginner projects because they are accessible and can be removed during a dry fit or correction. Glue can strengthen suitable wood-to-wood joints, but it requires well-fitting parts and adequate clamping.
A brad nailer can speed up trim, thin stock, and certain assemblies, but it is a later purchase rather than a core need. It does not replace sound joinery, screws, or clamps where those are required.
Sanding supplies
Start with sandpaper, a sanding block, and a simple way to collect dust or clean the work area. Hand sanding is enough for small projects and edge cleanup.
A random orbital sander is a worthwhile upgrade once you are sanding tabletops, cabinet parts, multiple boards, or repeated projects. It saves time, but it does not eliminate the need for good surface preparation and careful progression through abrasives.
Sand with the grain for final hand-sanding where practical, use even pressure, and remove dust before applying a finish. Follow the finish manufacturer’s current instructions for surface preparation, ventilation, drying, disposal, and cleanup.
Tools to Add Only When Your Projects Need Them
Pocket-hole jig
A pocket-hole jig is useful when you want a straightforward screw-based connection for face frames, boxes, cabinets, and similar assemblies. It can simplify certain builds, but it is not required for a first shelf or basic utility project. Buy one when your project plans repeatedly call for that joint style.
Chisels and a sharpening method
A small set of bevel-edge chisels is valuable for fitting joints, cleaning corners, and adjusting small areas that machines cannot reach. They are most useful once you begin making joinery or want more precise hand-tool work.
Sharp tools behave differently from dull ones. Before using or sharpening chisels, learn the procedure from the tool manufacturer or a reliable woodworking instruction source, and keep your hands out of the cutting path.
Block plane
A block plane is useful for easing sharp edges, trimming a slightly proud joint, and making small fit adjustments. Sandpaper can substitute for some edge cleanup, but a well-tuned plane is faster and more controlled for certain fitting tasks.
Router
A router earns its place when you repeatedly cut grooves, rabbets, dadoes, roundovers, or other edge profiles. It is not necessary for basic screw-and-board projects. Router setup, bit selection, workholding, and feed direction affect the result and the risk of losing control, so follow the current manufacturer instructions for the specific router and bit.
Miter saw, table saw, and thickness planer
These are useful shop upgrades, not automatic beginner purchases.
A miter saw is convenient for repeatable crosscuts and angles. A table saw can be efficient for repeated ripping and certain joinery operations. A thickness planer becomes useful when you buy rough lumber or need boards brought to a consistent thickness.
Each can solve real workflow problems, but each also needs space, suitable support, and a clear understanding of its documented operating procedures. Buy one when it addresses frequent work you cannot reasonably handle with your existing saws, guides, or hand tools.
Hand Tools Versus Power Tools for Woodworking
Hand tools are a practical way to begin because they cost less, take less space, and work well for small quantities. A hand saw can cut a few boards. Sandpaper can finish a small box. A chisel and mallet can refine a joint.
Power tools are justified when they improve a repeated operation. A circular saw makes sense when you regularly cut sheet goods. A random orbital sander helps when sanding occupies a large part of every project. A router makes sense when grooves or edge profiles become routine.
Use this decision rule: buy the tool after the project need repeats, not before. If a tool will make one cut on one project, first consider borrowing, renting, using a hand-tool method, or revising the design.
A Sensible First Purchase Order
If household basics are already covered, build the kit in this order:
- Combination square, pencil, straightedge, and measuring supplies.
- Clamps and a stable workholding setup.
- Drill/driver, bits, driver bits, and countersink capability.
- Hand saw or circular saw, based on your planned material and cut sizes.
- Sandpaper, sanding block, and basic cleanup supplies.
- A jigsaw if projects call for curves or cutouts.
- A random orbital sander if hand sanding becomes a recurring burden.
- Project-specific tools such as a pocket-hole jig, router, chisels, or specialty saw.
This order supports the full workflow of a simple project before adding convenience tools.
Safety and Setup Before the First Cut
Woodworking safety is mostly about preparing the operation before starting it. Read the current manufacturer manual for every power tool and accessory you use. Verify the tool’s approved blade, bit, or attachment; required guards and components; workpiece support; operating limits; maintenance instructions; and recommended protective equipment.
Use a workspace with stable footing, sufficient light, and enough room to support material without obstructing your movement. Keep cords, offcuts, clamps, and loose items away from the cutting area. Secure the workpiece instead of holding it in a way that could bring your hands into the tool’s path.
Wood dust and finishing products can create hazards. Check the product label, current manufacturer documentation, and applicable local authority guidance for ventilation, cleanup, storage, disposal, and protective measures. If you are uncertain about a machine operation, pause and get instruction from an experienced operator or a reputable hands-on class.
Build the Kit One Project at a Time
Your first woodworking tools should let you mark accurately, make controlled cuts, drill and fasten parts, hold work securely, and prepare surfaces. For many beginners, that means measuring tools, clamps, a drill/driver, one saw, and sanding supplies—not a fully equipped shop.
Start with a project small enough to finish, note which tasks take too long or limit accuracy, and let that experience guide the next purchase. That produces a woodworking starter kit built for the work you actually do.
References
- Essential Tools for Beginner Woodworking | PDF | Woodworking | Tools. (n.d.). https://www.scribd.com/document/604345299/Woodworking-Tools-for-Beginners
- Essential woodworking tools for beginners – The Palos Publishing Company. (n.d.). https://palospublishing.com/essential-woodworking-tools-for-beginners
- The Best Woodworking Beginner Tools Checklist (101 Guide). (n.d.). https://www.christofix.com/woodworking-beginner-tools
- Beginner’s Guide to Essential Hand Tools for Woodworking. (n.d.). https://www.wagnermeters.com/moisture-meters/wood-info/a-beginners-guide-to-hand-tools-for-woodworking
- The Essential Woodworking Tools For Beginners • The Woodworking Club. (n.d.). https://thewoodworking.club/essential-woodworking-tools-for-beginners
- Essential Tools for Beginner Woodworkers: A Checklist to Start Your First Workshop | Katz-Moses Tools. (n.d.). https://kmtools.com/blogs/news/beginner-tool-checklist
- 9 Most Essential Woodworking Tools For Beginners - American Rotary. (n.d.). https://www.americanrotary.com/blog/woodworking-tools-for-beginners
- 10 Essential Woodworking Tools Every Beginner Should Own to Kickstart Their Craft. (n.d.). https://worldofwoodcraft.com/10-essential-woodworking-tools-every-beginner-should-own
- Must Haves For Beginner Woodworking | Woodwork Center. (n.d.). https://www.woodworkcenter.com/must-haves-for-beginner-woodworking
- The Essential Woodworking Tools Everyone Needs - Tool Crib of the North. (n.d.). https://www.acmetools.com/tool-crib/ac230114/the-essential-woodworking-tools-everyone-needs
 How to Sharpen a Wood Chisel: Flatten, Hone, and Test the Edge
 Can a Broken Wood Chisel Be Repaired, Reshaped, or Replaced?
 How to Prioritize Replacing Tools After a Garage Fire, Theft, or Major Loss