Most power tools need a quick check before every use, a short cleaning after every use, and a more deliberate inspection every month or after a stretch of heavy work. Tools used daily, in dusty cutting operations, outdoors, or on job sites need that deeper inspection more often—often weekly.
The important distinction is that maintenance is not the same as taking a tool apart. Clean accessible surfaces, inspect the power source and accessories, and replace worn consumables yourself when the manual permits it. Follow the manufacturer’s manual for lubrication, brush replacement, internal service, calibration, and any task involving the motor, gearbox, electronics, or safety system. General power-tool safety guidance likewise emphasizes keeping tools clean and following the manual for maintenance, lubrication, and accessory changes. Safety Rules for Power Tools
A practical power tool maintenance schedule
Use this schedule as a starting point, then shorten the interval when a tool works hard or is exposed to fine dust, moisture, concrete dust, metal filings, resin, or heavy vibration. The tool’s current manual always takes priority over a general schedule.
| When | What to do | What to look for |
|---|---|---|
| Before each use | Inspect the tool, power source, guard, switch, and installed accessory. | Cracks, loose parts, damaged cords, worn plugs, missing guards, bent accessories, unusual looseness. |
| After each use | Remove surface dust and debris; clean vents and accessory areas as the manual allows; store dry. | Packed debris, pitch buildup, moisture, damage from the work session. |
| Weekly or after heavy use | Perform a closer exterior inspection and check fasteners, chucks, collets, guards, and accessory condition. | Excessive vibration, poor retention, loose fittings, abnormal noise, declining performance. |
| Monthly | Review batteries, cords, consumables, storage conditions, and the manual’s service requirements. | Worn blades, bits, sanding discs, brushes, grips, damaged cases, recurring faults. |
| At the manual’s specified interval | Lubricate, calibrate, replace internal wear parts, or obtain professional service. | Service indicators, stated operating-hour intervals, loss of accuracy, persistent mechanical symptoms. |
A formal inspection can be weekly or monthly depending on use frequency, but damaged power tools should be removed from service immediately rather than used until the next scheduled check. How to Build a Hand and Power Tool Safety Policy
Before every use: the essential inspection
A pre-use check takes little time and matters more than a calendar reminder. Do it with the tool unplugged, its battery removed where applicable, or otherwise in the safe condition specified by its manual.
Check the tool body and controls
Look over the housing, handle, trigger or switch, fasteners, and any visible guard or shield. Do not use a tool with a cracked housing, a damaged guard, a switch that does not operate normally, or parts that are loose or missing. Do not defeat, wedge open, or remove a guard to finish a task.
Check the power source
For corded tools, inspect the cord, strain relief, plug, and extension cord for cuts, crushed sections, exposed conductors, loose blades, or heat damage. For cordless tools, inspect the battery case and terminals for visible damage, leakage, deformation, or contamination. Follow the battery and charger instructions in the current manufacturer manual; battery handling and charging requirements vary by platform.
Check the installed accessory
Inspect blades, bits, grinding wheels, sanding attachments, chucks, collets, and other accessories for damage, excessive wear, or incorrect installation. Use only the accessory types, sizes, and operating limits identified for that specific tool in its manual. Do not assume an accessory that physically fits is approved for the tool.
If the tool begins to vibrate unusually, makes a new grinding or rattling sound, overheats, loses power, or no longer holds an accessory securely, stop using it and investigate according to the manual or have it serviced.
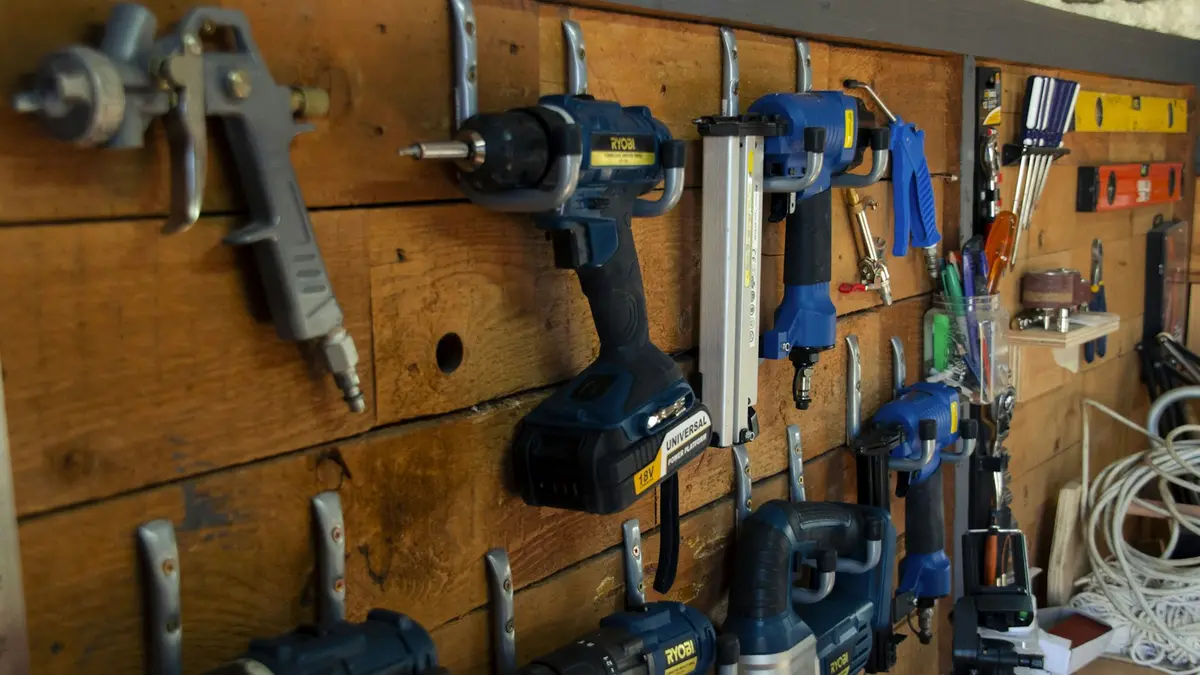
Source: Unsplash
After every use: clean and store the tool
After-use care is the routine that prevents dust and debris from becoming an ongoing mechanical problem. A quick cleanup is especially useful after sanding, cutting, grinding, drilling masonry, or working with materials that leave sticky residue.
Clean accessible areas only
Remove loose dust and debris from the outside of the housing, handles, air vents, accessory area, and dust-collection connection. Use the cleaning method approved by the manual. Avoid forcing debris deeper into openings, soaking electrical tools, or introducing cleaners or lubricants into areas the manufacturer does not identify.
Clear ventilation openings because blocked airflow can contribute to heat buildup. Weekly cleaning of vents and housings is commonly recommended after heavy use, with more frequent attention in dusty work. Follow This Tool Maintenance Checklist for Longer Tool Life
Care for accessories separately
Remove or protect cutting and abrasive accessories as appropriate for the tool and storage method. Replace consumables when they are worn, damaged, contaminated, or no longer perform correctly. A dull or damaged cutting accessory can make a tool harder to control and can produce poor results.
For more focused care of a saw accessory, see circular saw blade maintenance.
Store tools dry and protected
Let a wet or dirty tool dry as the manufacturer directs before putting it away. Store it where it will not be exposed to water, impact, extreme contamination, or unauthorized use. Keep accessories organized so blades, bits, and abrasive items do not damage each other or get mixed with incompatible tools.
Weekly or after heavy use: inspect the wear points
If you use a tool most workdays, treat this as a weekly routine. For occasional household use, do it after a particularly dusty project or whenever performance changes.
Check retention and adjustment points
Inspect the chuck, collet, arbor hardware, blade clamp, shoe, base, fence, depth stop, and other user-adjustable components. Confirm that they lock and hold as intended. Tighten only the external fasteners the manual identifies as user-serviceable; overtightening or changing factory adjustments can create a safety or accuracy problem.
Check guards and dust collection
Make sure guards return or move normally where applicable, and that dust ports and collection fittings are not blocked or damaged. A missing, altered, or malfunctioning guard is a reason to stop and resolve the issue before using the tool.
Watch for changes in operation
Record recurring issues: reduced runtime, a charger fault, excessive sparking where visible, vibration, overheating, runout, unusual noise, or a burning odor. These symptoms do not identify one universal repair, so do not improvise an internal fix. Consult the troubleshooting section of the manual or arrange qualified service.
Monthly: review consumables, batteries, and condition
A monthly check keeps infrequently used tools from being forgotten and helps frequent users spot gradual wear.
Replace worn consumables
Review blades, bits, sanding discs, polishing pads, abrasive wheels, brushes, and other replaceable items. Replace them when damaged or worn rather than trying to extend their life beyond the manufacturer’s instructions. Ensure the replacement is approved for the tool and the task.
Inspect cordless batteries and chargers
Keep battery contacts reasonably clean and dry, and examine battery packs and chargers for damage before use. Use the charging, storage, and transportation procedure in the manufacturer’s current instructions. Do not use a battery pack or charger that appears damaged or behaves abnormally; the correct next step is manufacturer guidance or authorized service, not disassembly.
Review cords and extension leads
Cord damage can worsen with repeated bending, pulling, and job-site wear. Reinspect cords and plugs monthly even if they passed quick pre-use checks. Remove damaged electrical equipment from service. Where work conditions call for specific electrical protection, readers should verify current requirements with the applicable official safety authority and workplace rules.
Lubrication: follow the manual, not a universal interval
There is no reliable one-size-fits-all power tool lubrication schedule. Some tools have sealed components that are not intended for owner lubrication. Others may have specific user-service points, lubricants, quantities, and intervals. Using the wrong lubricant or applying it in the wrong place can attract abrasive dust, damage components, or contaminate electrical parts.
Only lubricate a component when the manufacturer’s manual specifically calls for it, and use the specified lubricant. This approach is consistent with guidance to follow each tool’s maintenance section for lubrication instructions. Milwaukee Tool: Repair or Replace Your Tools
Do not treat external oiling as a substitute for internal gearbox or motor service. If a manual does not identify an owner lubrication point, leave it alone.
Service tasks you should not improvise
Some work belongs with the manufacturer, an authorized repair provider, or a qualified technician. This commonly includes:
- Opening a motor housing, gearbox, battery pack, charger, or electronic control area.
- Replacing internal wiring, switches, bearings, gears, motor brushes, or drive belts unless the manual explicitly provides a safe owner procedure.
- Repairing a damaged cord or plug when you are not qualified and authorized to do so.
- Modifying guards, interlocks, housings, or other safety-related components.
- Calibrating tools that require a documented interval or procedure.
- Diagnosing persistent overheating, smoke, strong odor, repeated tripping, unusual vibration, or loss of control.
Some tools require recalibration after a stated time or number of uses, while internal wear parts may eventually require replacement. Check the tool’s own manual for those intervals and service options. Milwaukee Tool: Repair or Replace Your Tools
Adjust the schedule to your use
A calendar-only schedule is less useful than one based on exposure and workload.
Light home use
For a drill, driver, sander, or saw used a few times per year, inspect it before each project, clean it after use, and do a monthly-style condition check before long-term storage or at least several times per year. Check batteries periodically according to their storage instructions.
Regular workshop use
For tools used most weekends, clean them after every session and inspect them closely every month. Move the deeper check to weekly during projects that create substantial dust or involve continuous cutting, sanding, or grinding.
Frequent or demanding use
For daily use, use the before-use and after-use routines every day. Schedule a documented weekly inspection and follow manufacturer service intervals based on operating hours, cycles, or calendar time. Employers and workers should also follow applicable workplace safety procedures.
A simple checklist to keep with your tools
Before use:
- Inspect housing, handles, switch, cord or battery, guard, and accessory.
- Confirm the accessory is approved for the tool and properly secured.
- Remove the tool from service if anything is damaged, loose, or abnormal.
After use:
- Remove accessible dust and debris.
- Check vents and accessory areas for buildup.
- Store the tool and accessories dry, protected, and organized.
Weekly or after heavy use:
- Check external fasteners and adjustable parts permitted by the manual.
- Inspect chucks, collets, guards, bases, and dust collection connections.
- Note unusual vibration, heat, noise, or declining performance.
Monthly:
- Review cords, batteries, chargers, consumables, and storage conditions.
- Replace worn accessories.
- Check the manual for service, lubrication, and calibration intervals.
The best maintenance schedule is the one you can repeat: inspect before use, clean after use, and let the manual—not guesswork—determine lubrication and internal service.
References
- Follow This Tool Maintenance Checklist for Longer Tool Life – Teng Tools USA. (n.d.). https://tengtoolsusa.com/blogs/news/tool-maintenance-checklist
- How to Maintain Your Power Tools for Longevity – Tool Mart. (n.d.). https://www.toolmarthou.com/blogs/news/how-to-maintain-your-power-tools-for-longevity
- How to extend power tool lifespan with regular maintenance. (n.d.). https://www.facebook.com/AmericanProducers/posts/did-you-know-that-regularly-cleaning-and-lubricating-your-power-tools-can-extend/1500615182072906
- 5 Essential Power Tool Maintenance Tips That Will Save Your …. (n.d.). https://crucosupply.com/5-essential-power-tool-maintenance-tips-that-will-save-your-business-thousands
- Tool Maintenance Guide: How to Care for Power Tools and Hand …. (n.d.). https://homeimprovementsupply.com/b-133-tool-maintenance-guide-how-to-care-for-power-tools-and-hand-tools.aspx
- Safety Rules for Power Tools | OSHA Safety Manuals. (n.d.). https://www.safetymanualosha.com/power-tools
- Construction Infographic: Should I Repair or Replace My Tools?. (n.d.). https://onekeyresources.milwaukeetool.com/en/repair-vs-replacing-tools
- Essential Maintenance Tips for Your Power Tools - MAXXT-Tech. (n.d.). https://www.maxxt-tech.com/blog/essential-maintenance-tips-for-your-power-tools
- How to Build a Hand and Power Tool Safety Policy. (n.d.). https://www.smarterrisk.com/blog/hand-and-power-tool-safety
- Your Ultimate Guide to Power Tool Maintenance. (n.d.). https://www.franklyntools.com/guide-power-tool-maintenance
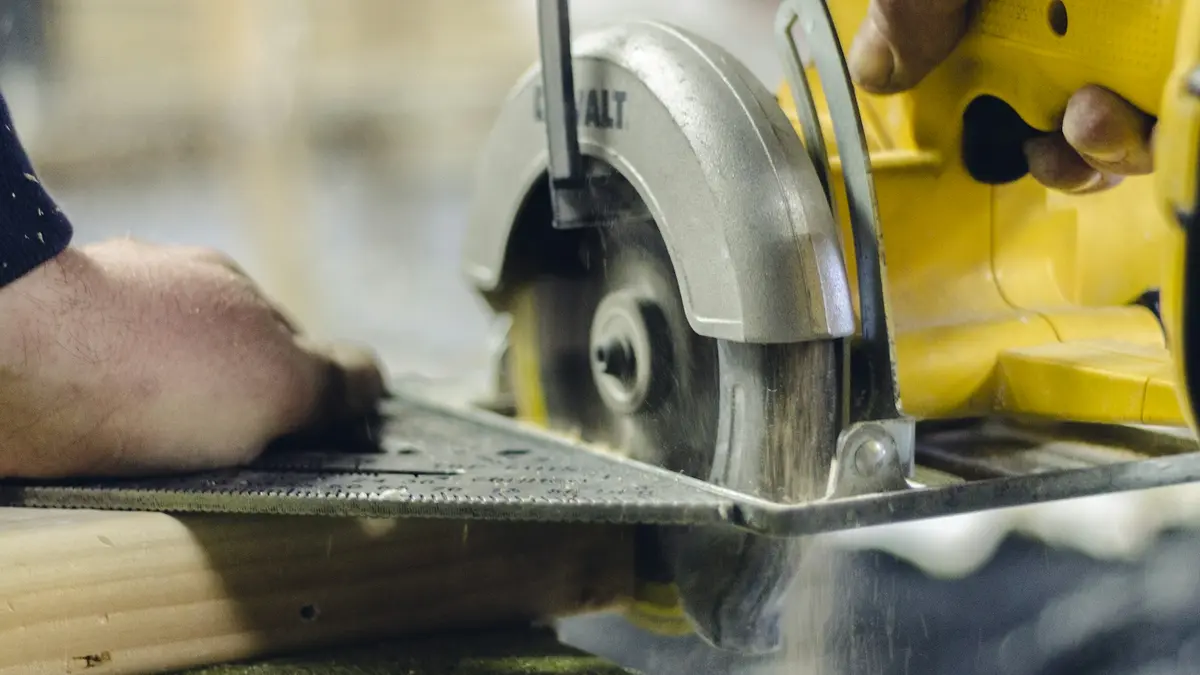 Why a Circular Saw Still Makes Noise With the Blade Removed
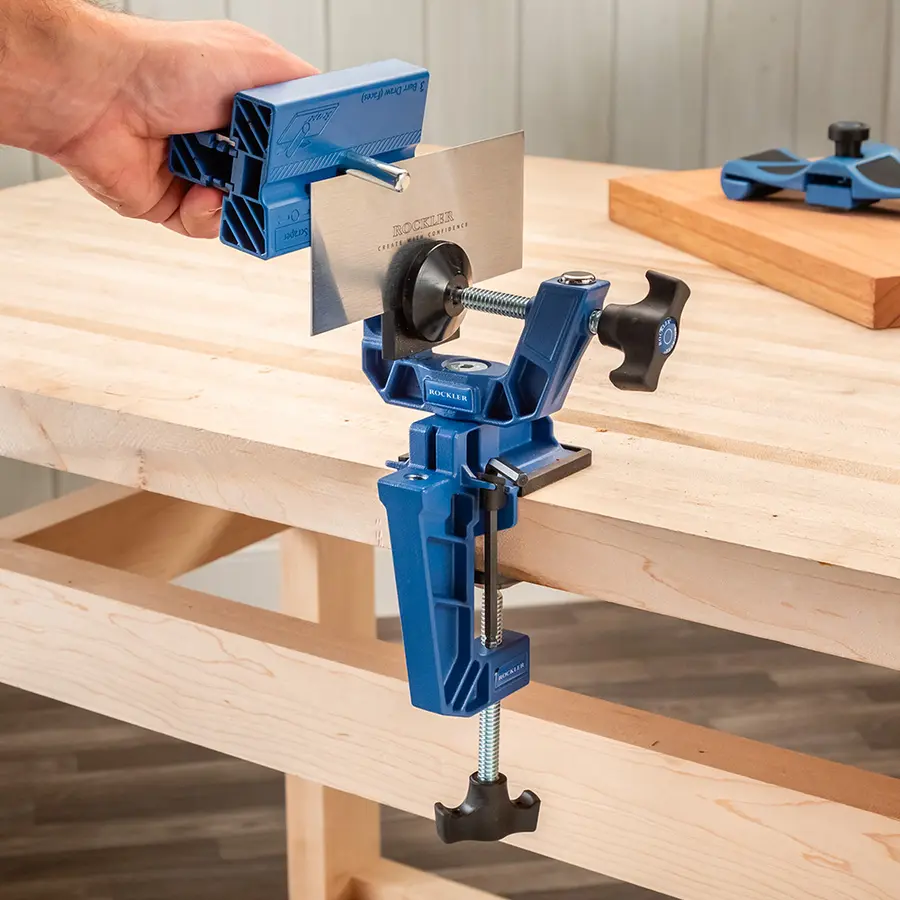 What Tools Do You Need to Start Woodworking? A Project-First Starter Kit
 Can You Use a Circular Saw or Router Upside Down?