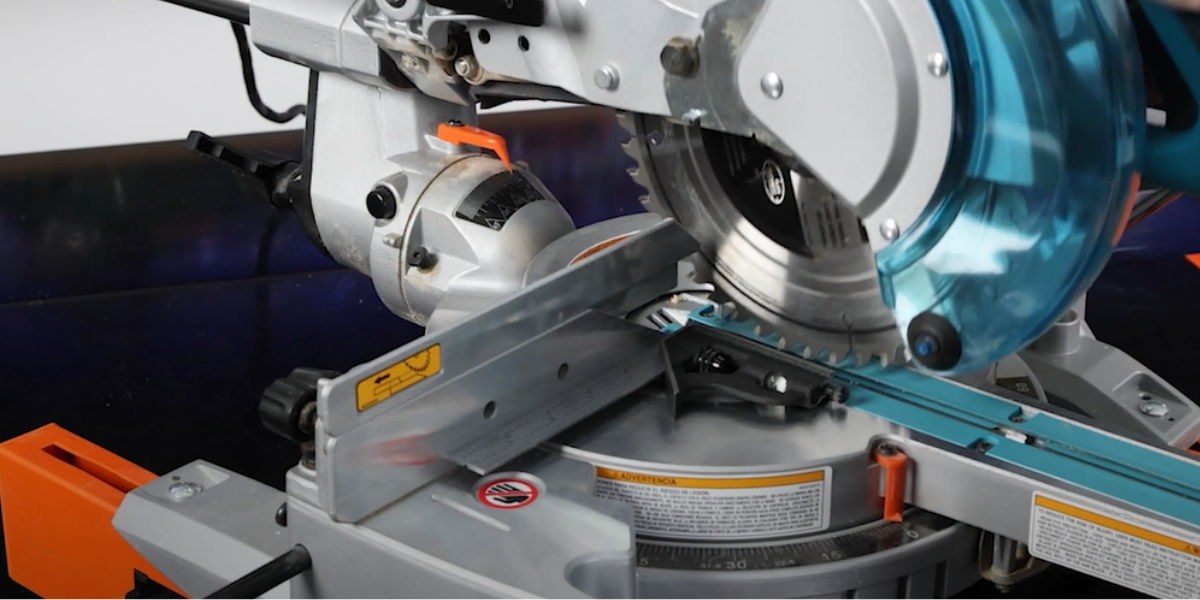
A miter saw cutting sideways usually has one of five causes: a dull, warped, loose, or unsuitable blade; a board that is not held flat against the table and fence; a fence or miter setting that is out of square; a bevel setting that is not truly at zero; or looseness in the saw head, pivot, or slide mechanism.
Start by ruling out the simple causes before moving any adjustment screws. Unplug the saw, inspect the blade and fence, then make repeatable test cuts in straight scrap. If the same error appears on every test cut, suspect alignment. If the cut changes with board width, grain, pressure, or how the board is supported, suspect the blade, material, or setup.
First, identify what “sideways” means
The direction of the error points to the likely cause.
- The cut is not 90 degrees across the face of the board: The miter setting or fence may be out of square.
- The cut leans through the board’s thickness: The bevel stop, bevel lock, blade, or saw-head pivot may be the issue.
- The kerf wanders or curves during the cut: Look first at blade condition, blade deflection, material movement, or excessive feed pressure.
- The saw cuts square sometimes but not always: Check workpiece support, clamping, fence contact, locks, and play in moving parts.
- Only wide boards show the problem on a sliding saw: Check rail movement, the cutting sequence, and whether the board remains against the fence for the full cut.
Do not rely on the angle scale alone. The scale and pointer can be inaccurate even when the saw itself is correctly aligned, or vice versa.
Safety before troubleshooting
Unplug the saw before touching the blade, checking alignment, cleaning around the pivot, or loosening fasteners. Keep the blade guard installed and functional. For powered test cuts, wear eye and hearing protection, keep hands clear of the blade path, and wait for the blade to stop before raising the head after the cut. Fine Woodworking’s miter saw safety guidance also emphasizes keeping work secured and using the proper operating sequence on sliding saws.
Do not make calibration cuts freehand. Hold the board firmly against both the table and fence, and use a clamp when the piece is short, narrow, warped, or difficult to control. Sears PartsDirect similarly warns against cutting anything that cannot be held firmly against the fence and table. See its miter saw guidance.
Before replacing a blade, changing parts, or adjusting stops, verify the procedure, compatible blade type, and tightening method in the manual for your exact saw model.
Use a controlled test cut before adjusting anything
A good test prevents an unnecessary fence adjustment.
- Set both miter and bevel controls to their marked 0-degree positions and lock them.
- Use flat, straight scrap wood with parallel edges. Avoid bowed, twisted, or heavily cupped material for diagnosis.
- Support the board so it lies flat on the saw table and does not droop off either side.
- Place the board firmly against the fence without forcing it into a new shape.
- Make a slow, normal crosscut. Let the blade reach full speed first; do not twist the handle or push sideways on the saw head.
- Check the cut end with a reliable square.
- Flip the offcut over and place the two freshly cut faces together. A visible wedge-shaped gap makes a small error easier to see.
Repeat the test with a second piece. Consistent error means you can move on to alignment checks. Inconsistent error means inspect the blade, board support, and moving parts first.
Check the blade before blaming the saw
A blade can make a properly aligned saw appear to cut sideways.
Look for damage, buildup, or a loose blade
With the saw unplugged, inspect the blade for missing or damaged teeth, heavy pitch buildup, visible warping, and contact marks. Confirm that the blade is fully seated on the arbor and that its retaining hardware is tightened according to the saw manual.
A dirty or damaged blade can cut poorly, heat up, and be pulled off line by the wood. A blade designed for a different material or cutting purpose may also perform badly in ordinary crosscutting. If you have a known-straight, clean, compatible blade, install it according to the manufacturer’s instructions and repeat the test cut before making alignment changes.
Watch for blade deflection
Blade deflection means the blade bends slightly under cutting load. It is more likely when the blade is dull, thin, dirty, forced through dense stock, or pinched by a closing kerf. The symptom is usually a cut that begins straight but drifts as the blade moves through the workpiece.
To isolate deflection:
- Cut a narrower piece of the same material.
- Slow your feed and avoid forcing the head sideways.
- Support long stock so its weight cannot twist or pinch the kerf.
- Try a clean, suitable blade.
If the saw cuts accurately with lighter feed pressure or a different blade, the fence probably was not the original problem.
Make sure the board is not causing the drift
A miter saw references the board from the table and fence. If the board cannot sit solidly against both surfaces, the saw cannot make a reliable square cut.
Check for sawdust chips, pitch, offcuts, or damage on the table and fence. Even a small piece of debris behind the board can turn a square setup into an angled cut. Clean the contact surfaces, then set the board in place again.
Also inspect the lumber. A bowed board may touch the fence only at its ends; a cupped board may rock on the table. Do not pull a warped board flat by hand while cutting. That pressure can release during the cut and move the workpiece. Use flatter stock, orient the board for stable contact, or use suitable support and clamping.
Long boards need support at approximately the same height as the saw table. Unsupported weight can lift, twist, or pull the board away from the fence while the blade is in the kerf.
Check the fence and 0-degree miter alignment
If every normal crosscut is out of square in the same horizontal direction, the fence-to-blade relationship is the main suspect.
How to check the fence
- Unplug the saw.
- Set the miter angle to 0 degrees and lock it.
- Lower the saw head fully without turning the blade.
- Place a reliable combination square or machinist’s square against the fence and alongside the blade body.
- Compare the gap at the front and rear of the blade body.
Do not compare one tooth at the front with a different tooth at the rear. Blade teeth are set alternately left and right, so they can create a false reading. If necessary, rotate the blade so you can measure comparable smooth areas of the blade plate.
A gap that changes from front to back indicates the fence is not square to the blade at the 0-degree miter position. Fix.com describes the same basic square-to-fence check.
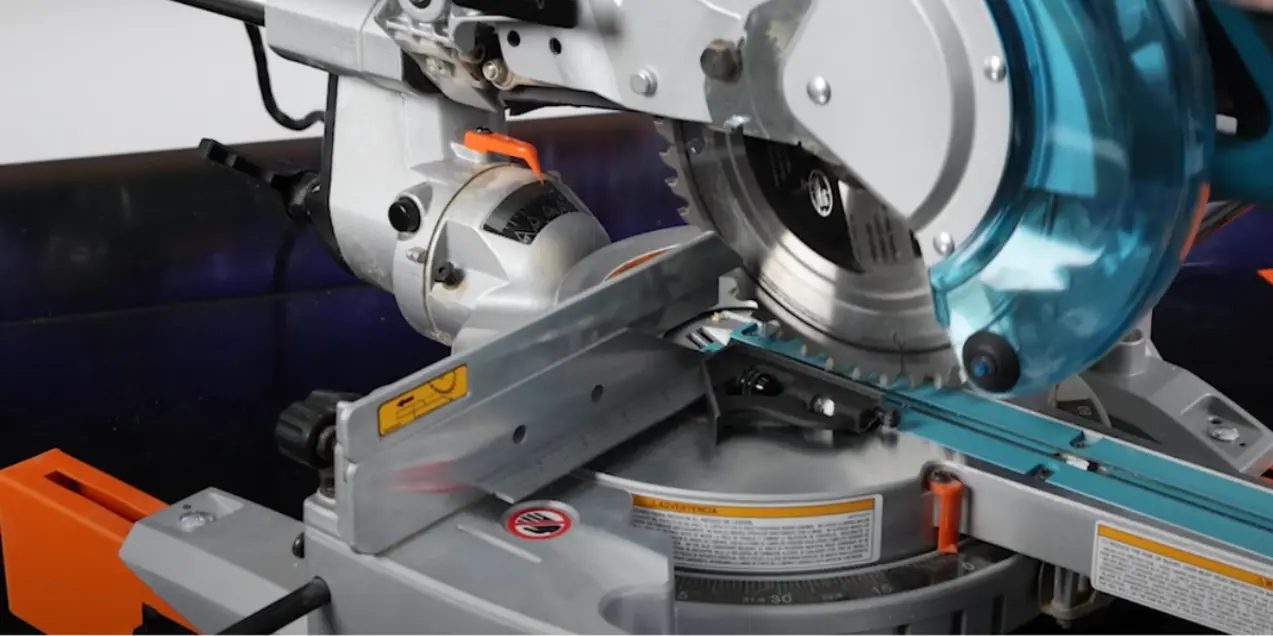
Source: Fix
Adjust only the component your manual identifies
On many saws, the fence can be loosened and shifted slightly. On others, the miter detent, miter scale, or another stop is the intended adjustment. Do not assume all saws adjust the same way.
Consult the manual for your exact model before loosening fence bolts or changing detent hardware. Make a very small adjustment, tighten everything securely, and repeat the test cut. Once the saw cuts square, reset the pointer only if the manual provides a separate pointer adjustment.
A miter saw should retain accurate 0-degree settings after setup, but alignment should be checked after shipping, blade changes, and periodic wear inspection. Sears PartsDirect notes these checks for its compound miter saw guidance.
Check the bevel setting when the cut leans
A board can be square across its width but still have an end that leans left or right through its thickness. That is a bevel error, not usually a fence error.
With the saw unplugged:
- Set the bevel to 0 degrees and lock it.
- Lower the head.
- Hold a square on the table with its upright edge against the blade body.
- Check for a gap along the blade.
If the blade is not perpendicular to the table, inspect the bevel lock and the 0-degree bevel stop. Use the model-specific manual to identify the correct stop or adjustment bolt. After adjustment, tighten the lock and make a test cut; a bevel gauge or scale alone is not a sufficient final check.
If the bevel setting slowly changes during use, or the head moves when the bevel lock is tight, stop using the saw for precision work until the lock or pivot issue is corrected.
Inspect for looseness in the head, pivot, and rails
A saw that changes its cut from one attempt to the next may have mechanical play rather than a calibration problem.
With the saw unplugged and locked at 0 degrees, gently check for movement in these areas:
- The miter table after the miter lock is engaged.
- The saw head at the bevel pivot after the bevel lock is engaged.
- Sliding rails and their carriage on a sliding compound saw.
- Fence sections, extensions, and mounting bolts.
- The blade and arbor assembly, following the manual’s inspection guidance.
There should not be obvious side-to-side movement that changes the blade’s position relative to the fence. Do not compensate for play by overtightening unrelated screws. Some adjustments affect bearing preload or safety-critical movement and require a manufacturer procedure or qualified service.
Use the right technique on a sliding miter saw
A sliding saw adds another way for a cut to move sideways: the blade path changes as the head travels on its rails.
For a typical crosscut, pull the saw head toward you with the blade above the workpiece, start the saw, lower the blade into the wood, then push the head away from you through the cut. Fine Woodworking cautions that reversing this sequence can encourage the blade to pull the workpiece upward and away from the fence. Review the operating discussion here.
Keep the board against the fence throughout the cut. If the cut is square when you make a non-sliding chop but drifts when you use the rails, inspect rail play, rail cleanliness, and head movement. If those checks do not reveal an obvious user-serviceable issue, have the saw evaluated.
When to stop adjusting and seek service
Fence and stop calibration are normal maintenance. Internal damage, excessive play, electrical problems, and unreliable locking are different issues.
Seek qualified repair or manufacturer service if you find:
- A bent blade flange, damaged arbor, or blade that visibly wobbles.
- Cracked castings, a bent fence, or a damaged table.
- Excessive play at the pivot or sliding rails that cannot be corrected by the manual’s specified adjustment.
- A miter or bevel lock that will not hold securely.
- Binding, unusual vibration, burning smell, abnormal motor behavior, or a guard that does not operate correctly.
- A saw that remains inconsistent after a sound blade, stable work support, and verified fence and bevel alignment.
Do not continue making precision cuts with a saw that binds or moves unpredictably. An inaccurate saw can also create a workpiece-control problem during the cut.
A quick troubleshooting order
When your miter saw is cutting sideways, work through this order:
- Unplug the saw and clean the table, fence, and blade area.
- Inspect the blade, arbor seating, and blade condition.
- Use flat scrap and proper outfeed support for repeatable test cuts.
- Confirm the board is firmly against the fence and table.
- Check the fence-to-blade relationship at 0-degree miter.
- Check blade-to-table squareness at 0-degree bevel.
- Inspect locks, pivot movement, and slide-rail play.
- Adjust only the part specified by the manufacturer for your saw.
- Retest after every small adjustment.
This sequence avoids the most common mistake: moving the fence to correct a problem caused by a dull blade, warped board, poor support, or loose saw mechanism.
References
- Official Craftsman 17224360 miter saw parts | Sears PartsDirect. (n.d.). https://searspartsdirect.com/model/24mq1t5ge5-000247/craftsman-17224360-miter-saw-parts
- How to Square a Miter Saw | Fix.com. (n.d.). https://www.fix.com/blog/how-to-square-a-miter-saw
- How To Adjust A Ridgid Miter Saw? - A Step-by-Step Guide. (n.d.). https://toolsadvisers.com/how-to-adjust-a-ridgid-miter-saw
- Why is my Dewalt miter saw making crooked cuts on one side and …. (n.d.). https://www.facebook.com/groups/woodworkingforbeginner/posts/3292858437535425
- How To Align Miter Saw? - Complete Guide. (n.d.). https://toolsadvisers.com/how-to-align-miter-saw
- Bevel Cutting Perfection: Makita 10 Miter Saw Techniques | ShunTool. (n.d.). https://shuntool.com/article/how-to-bevel-cuts-on-makita-10-miter-saw
- My Miter Saw Is Not Cutting Straight? Troubleshooting Guide. (n.d.). https://toolsadvisers.com/my-miter-saw-is-not-cutting-straight
- Miter Saw: Cutting Straight And True | ShunTool. (n.d.). https://shuntool.com/article/how-to-tell-if-miter-saw-cut-straight
- Safety Manual: Miter Saw - FineWoodworking. (n.d.). https://www.finewoodworking.com/2009/04/01/safety-manual-miter-saw
- Adjusting Miter Saws For Accurate & Square Cuts. (n.d.). https://www.youtube.com/watch?v=NyFrIH7DlnM
 Circular Saw vs. Miter Saw vs. Router: Which Tool Fits the Cut You Need?
 How to Cut a Wide Board Cleanly and Accurately on a Table Saw
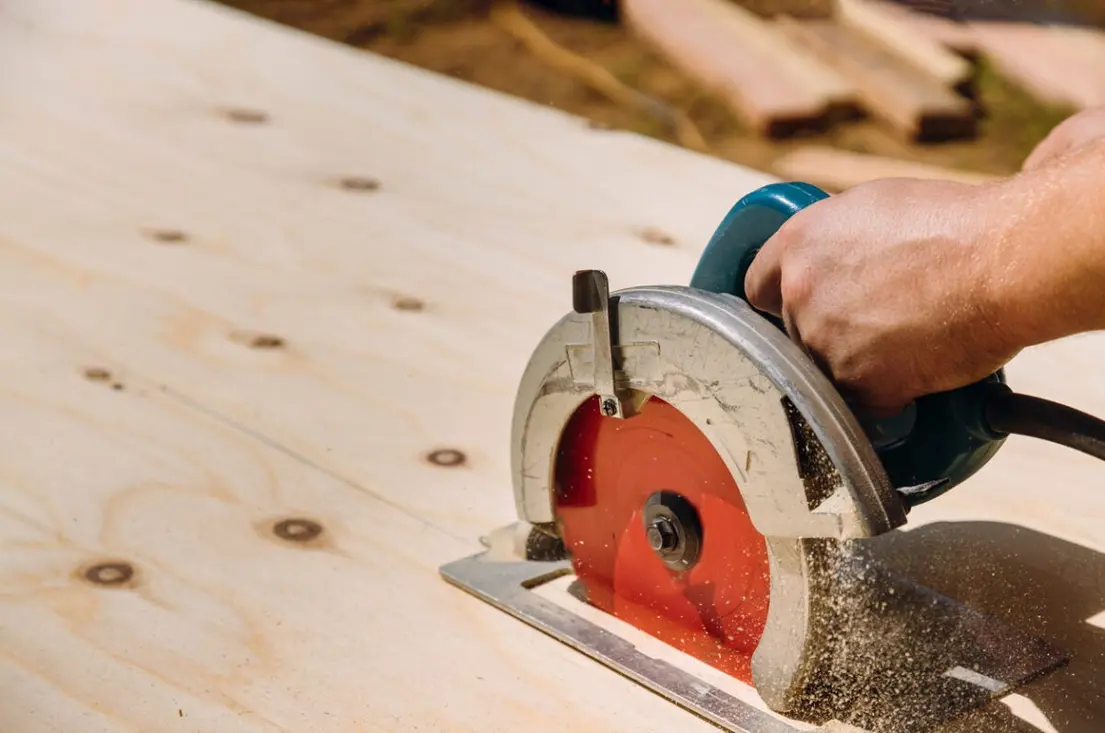 Why a Circular Saw Blade Deflects During a Cut and How to Troubleshoot It