Yes—many ordinary high-speed-steel (HSS) twist drill bits can be sharpened several times. The practical goal is not simply to make the tip look pointed. You must restore two equal cutting lips, keep the point centered, and leave enough relief behind each lip for the bit to cut instead of rub.
For most homeowners, sharpening is worthwhile on larger, uncoated HSS bits that are merely dull. Replace bits with cracks, badly chipped lips, a bent shank, broken flutes, or damage that would require removing a large amount of material. Tiny bits are difficult to hold accurately and are usually more practical to replace.
Start by identifying the bit
A standard twist bit has spiral flutes and a conical point. It is commonly used in wood, plastic, and metal, depending on its material and point geometry. Before grinding, clean the bit and inspect the tip under good light.
The best candidates for resharpening are plain HSS twist bits with a worn but intact point. Cobalt HSS bits can also be reground, but their harder material makes accurate grinding more demanding. Coated bits can be sharpened, but grinding removes the coating at the tip; for a small, inexpensive bit, replacement may be more sensible.
Do not treat every drill-shaped accessory as a resharpenable twist bit. Masonry bits, spade bits, brad-point bits, step bits, Forstner bits, auger bits, hole saws, and carbide-tipped bits each have different cutting geometry. Sharpen them only with a method intended for that specific bit type.
Decide: sharpen, replace, or recycle
Sharpen when the bit is dull but sound
A dull drill bit may need excessive pressure, make a poor-quality hole, create heat, or produce fine dust rather than clean chips in metal. The cutting lips can look rounded or polished instead of crisp.
Sharpening is a reasonable choice when:
- Both flutes are intact.
- The shank runs straight and still grips securely in the chuck.
- The cutting lips are worn but not deeply chipped.
- The point has not been overheated far back from the tip.
- Enough length remains to hold and use the bit safely.
Dull bits create more cutting force and heat, and poor point geometry can worsen hole quality. Tenyu Tool’s overview of twist-drill geometry explains why the point angle, lip relief, and chisel edge all matter rather than the edge alone.
Replace when sharpening cannot restore the structure
Discard from use and replace a bit that has:
- A cracked shank, flute, or tip.
- A bent shank or visibly wobbling body.
- A broken flute or a large chip in a cutting lip.
- Severe blue, purple, or black heat discoloration extending well behind the point.
- A shortened length that no longer provides safe, secure chuck engagement.
- A damaged carbide insert or missing carbide tip.
A bit that has been overheated may have lost useful hardness near the tip. Grinding beyond the discolored section can sometimes save a longer HSS bit, but it may not be worth the lost length or effort. If a bit repeatedly burns, wanders, or breaks after a careful regrind, retire it.
Recycle worn-out steel bits
Do not leave damaged drill bits loose in household trash where their sharp ends can puncture bags. Put them in a labeled metal-scrap container, then check local recycling rules for acceptance of steel cutting tools. Keep potentially sharp scrap separate from general workshop waste.
Understand the point before you grind
The two raised edges at the tip are the cutting lips. They meet at the center, where the short chisel edge pushes material aside rather than cutting efficiently. Behind each lip is a relief surface. That surface must fall away from the cutting edge.
Three details determine whether a sharpened bit works:
Matching cutting lips
The lips should be the same length and meet at the center. If one lip is longer, the point is off-center. The bit may cut an oversized hole, wander, or load one side more heavily.
A suitable point angle
Many general-purpose twist bits use an approximately 118-degree included point angle. Bits intended for tougher materials may use a flatter-looking 135-degree point, often with a split point. Preserve the original geometry when possible rather than converting one style into another. The supplied sharpening guidance likewise distinguishes 118-degree general-purpose points from 135-degree points used for harder materials. See the point-angle discussion here.
Relief behind the cutting edge
The lip must be the foremost part of the point. If the metal immediately behind it is too high, the bit rubs, heats up, and will not feed properly. Too much relief leaves a thin, weak edge that can chip.
What you need
A bench grinder is the usual freehand method for sharpening larger HSS twist bits. A drill-bit sharpening jig can make it easier to keep both sides alike. Use a method that holds the bit securely and lets you reproduce its original point angle.
Before using any grinder, consult the grinder’s current manual and official guidance for approved wheel type, wheel inspection, guard and tool-rest setup, eye and face protection, clothing restrictions, and safe operating procedure. Do not assume that every wheel or grinder is suitable for sharpening steel bits.
Avoid holding very small bits at a grinder wheel. They are difficult to control and easy to overheat. A purpose-made sharpener or replacement is generally the better option for very small diameters.
How to sharpen twist drill bits on a bench grinder
1. Inspect and mark the starting condition
Clean off oil and debris. Look closely at both lips. Note the original point shape and determine whether one side is more worn. If the bit has a split point or other specialized geometry, do not casually grind it into a basic conical point.
2. Set up for control
Set the tool rest close to the wheel as directed by the grinder manufacturer. Make sure the work area is clear and the bit can be held without your fingers approaching the wheel.
Support the bit with both hands. Present one cutting lip to the wheel; do not grind the flute edges along the body. Work slowly with light contact. Excessive pressure removes material fast and makes symmetry harder to maintain.
3. Grind one lip and create relief
Touch the cutting face lightly to the wheel, then use a small rolling and downward motion so material is removed behind the lip. The motion should preserve the lip while creating a slope away from it.
Do not hold the bit motionless against the wheel. That can flatten the point, overheat the tip, and erase the relief. Take brief passes and inspect frequently.
4. Grind the opposite lip the same way
Rotate the bit 180 degrees and repeat the same motion on the other lip. Alternate sides rather than completing one side all at once. This makes it easier to keep the lips equal.
A practical check is to view the point straight on. The chisel edge should sit near the center, and the two cutting lips should appear similar in length and angle. A hand-sharpening demonstration from Woodgears emphasizes the same essentials: the cutting edge must be forward, the point centered, and the two sides symmetrical. Read the illustrated explanation.
5. Keep the bit cool
Use short grinding contacts. Stop and let the bit cool as needed; do not continue grinding a tip that is becoming discolored from heat. Excess heat can damage the cutting edge and turn a recoverable dull bit into a failed one.
6. Inspect the finished point
A satisfactory basic regrind has:
- Two sharp-looking, similarly sized cutting lips.
- A centered chisel edge.
- Relief behind both lips.
- No obvious blue heat tint at the newly ground cutting edges.
- No chips, cracks, or thin feather-like edge at the tip.
Test the bit on scrap material
Test a sharpened bit in scrap of the material you expect to drill. Clamp the work if the drilling setup requires it, and follow the drill manufacturer’s instructions for bit installation and operation.
A correctly sharpened bit should start predictably and produce reasonably even chips when drilling metal. Stop if it skates, squeals, turns the work surface brown or blue, produces an oversized hole, or needs unusually heavy force.
Those symptoms usually indicate one of four problems: unequal lips, inadequate relief, an off-center point, or a bit that is still too damaged to save. Do not try to force the drill through the work. Reinspect the point or replace the bit.
Common sharpening mistakes
Grinding the point unevenly
Unequal lips are the most common problem with freehand sharpening. The bit may still make a hole, but it can wander and drill oversize. Correct it by lightly grinding the longer lip until both sides match.
Leaving no relief
A sharp-looking edge will not cut well if the area behind it contacts the work first. Regrind the face behind the lip with a controlled rolling motion so the cutting edge remains proud.
Changing the point angle accidentally
A general-purpose bit does not need laboratory-perfect geometry, but a dramatically altered point angle can make it cut poorly in its intended material. Use the original point as your reference whenever it is still visible.
Overheating the tip
Long grinding contact and heavy pressure create heat quickly. Make short passes, inspect frequently, and stop before the edge discoloration spreads.
Trying to rescue severe damage
Grinding cannot repair a cracked bit, restore a missing flute, or straighten a bent shank reliably. Replacement is safer and more predictable.
Is a sharpening jig better than freehand grinding?
For an occasional homeowner, a jig or dedicated sharpener can be the more repeatable route because it helps keep the angle and both cutting lips consistent. Freehand grinding is useful for larger ordinary HSS bits once you understand the geometry, but it takes practice.
A good approach is to practice on a few worn, larger HSS bits that you can afford to sacrifice. Compare the results with an unsharpened bit and inspect the point after each light pass. The objective is controlled geometry, not removing metal quickly.
Keep bits sharp longer
A sharp bit lasts longer when it is used appropriately. Match the bit to the material, keep it from overheating, clear chips as needed, and avoid forcing a dull bit. For metal drilling, a dull bit that rubs rather than cuts quickly becomes hotter and harder to restore.
If the drill begins to slip in the chuck, address that separately before blaming the bit; see how to diagnose a drill chuck that will not hold a bit tight. For the underlying causes of bit wear during metal drilling, see why drill bits dull when drilling metal.
Bottom line
Resharpen plain, intact HSS twist bits when the cutting edges are dull and there is enough undamaged material left to recreate the point. Replace bits that are cracked, bent, badly chipped, structurally damaged, or severely overheated. A sharpened bit does not need to look factory-new, but it does need equal cutting lips, a centered point, and relief behind the edges to drill safely and cleanly.
References
- How to sharpen a drill bit | Homebuilding. (n.d.). https://www.homebuilding.co.uk/diy/how-to-sharpen-a-drill-bit
- How to Sharpen Drill Bits by Hand (Step-by-Step Guide). (n.d.). https://www.zhonghuantools.com/en/resources/drill-bit-sharpening-guide
- Sharpen Drill Bits: Twist Drill Sharpening Angles Guide? - Tenyu Tool. (n.d.). https://www.tenyutool.com/sharpen-drill-bits-twist-drill-sharpening-angles-guide
- Freehand sharpening HSS drill bits on a bench grinder. (n.d.). https://www.youtube.com/watch?v=8huk9vnrcJU
- How to Sharpen Drill Bits with an Angle Grinder: A Step-by-Step Guide. (n.d.). https://onevantool.com/blogs/news/how-to-sharpen-drill-bits-with-an-angle-grinder-a-step-by-step-guide
- Drill Bit Sharpening 101: The Complete Guide to Keep Your Tools Cutting-Edge - nestingnicely.com. (n.d.). https://nestingnicely.com/can-drill-bits-be-sharpened
- How To Sharpen A Drill Bit With Bench Grinder? Quick And Easy. (n.d.). https://toolsadvisers.com/how-to-sharpen-a-drill-bit-with-bench-grinder
- Sharpening drill bits. (n.d.). https://woodgears.ca/drill/sharpen.html
- How To Sharpen Drill Bits With A Grinder: Safety & Best Practices - My Grinder Guide. (n.d.). https://mygrinderguide.com/how-to-sharpen-drill-bits-with-a-grinder
- Twist Drill Sharpening. (n.d.). https://www.youtube.com/watch?v=GID_kRsWnZk
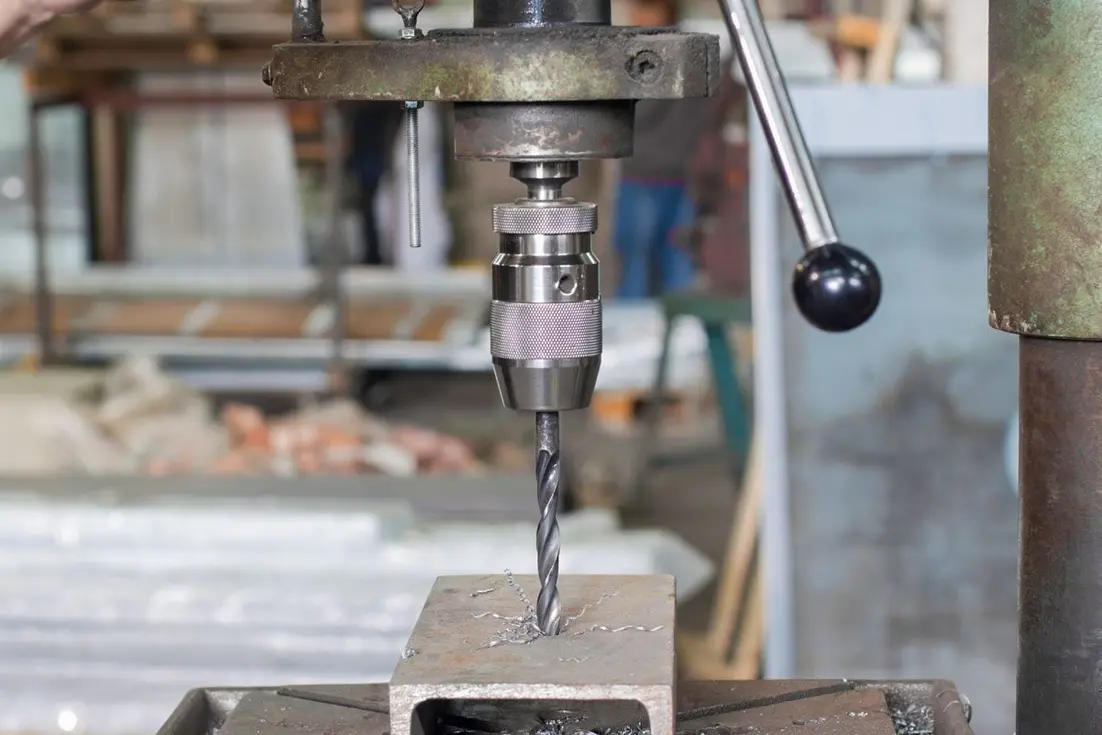 Why Drill Bits Dull or Break When Drilling Metal
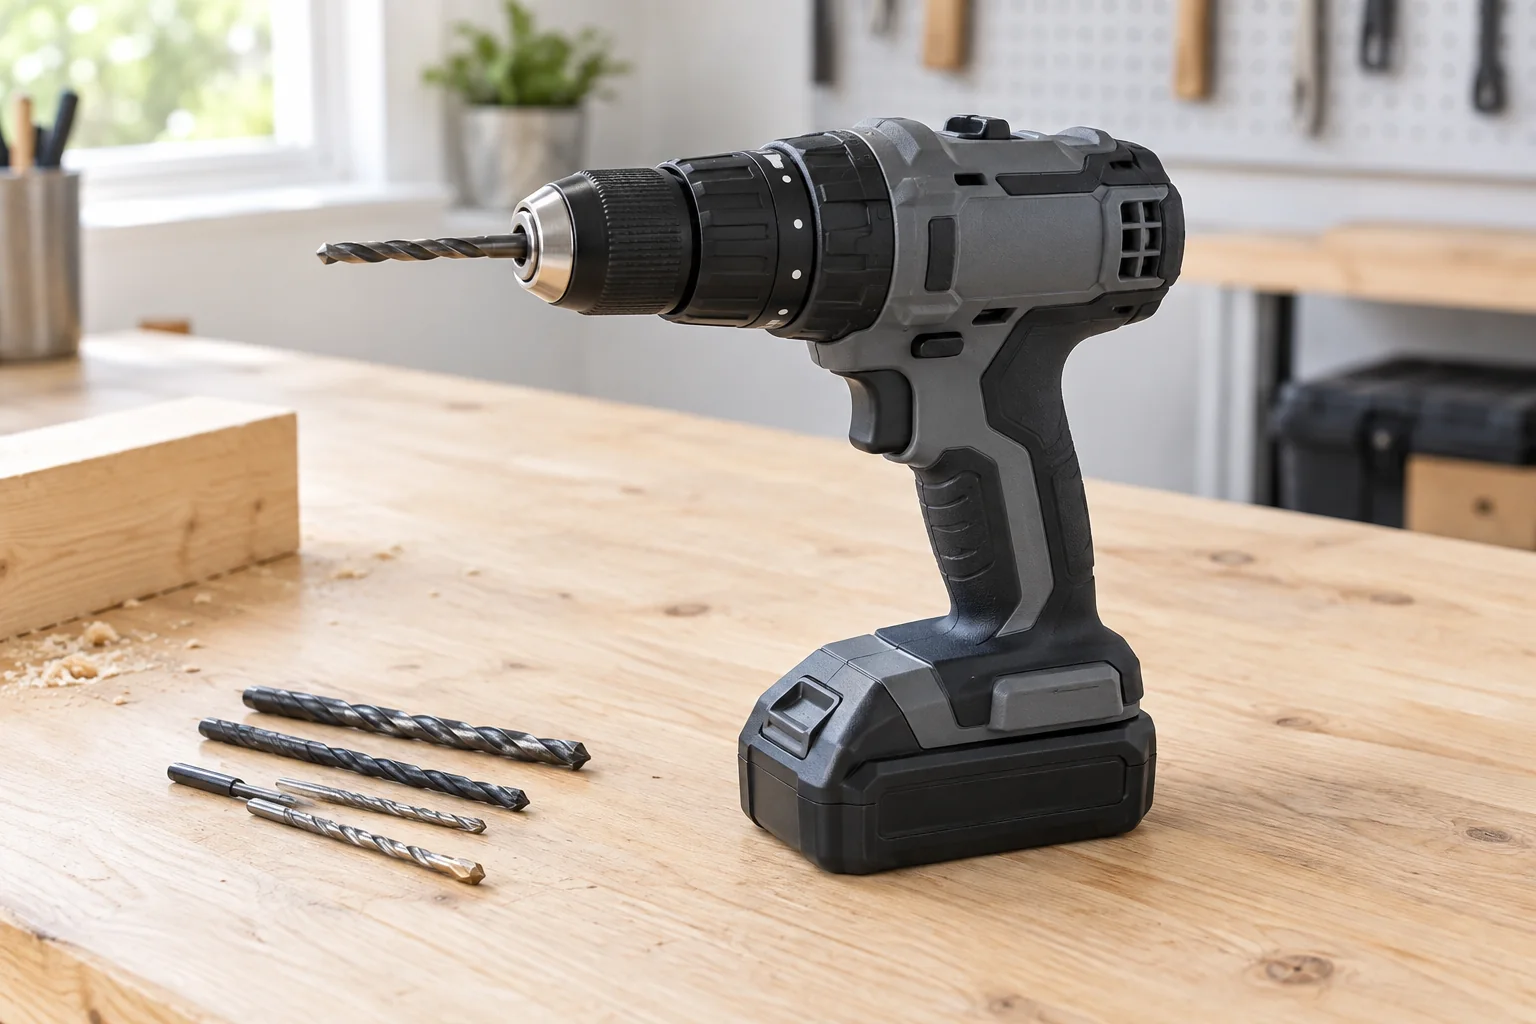 How to Check Drill Runout and Find Out Whether the Bit, Chuck, or Drill Is the Problem
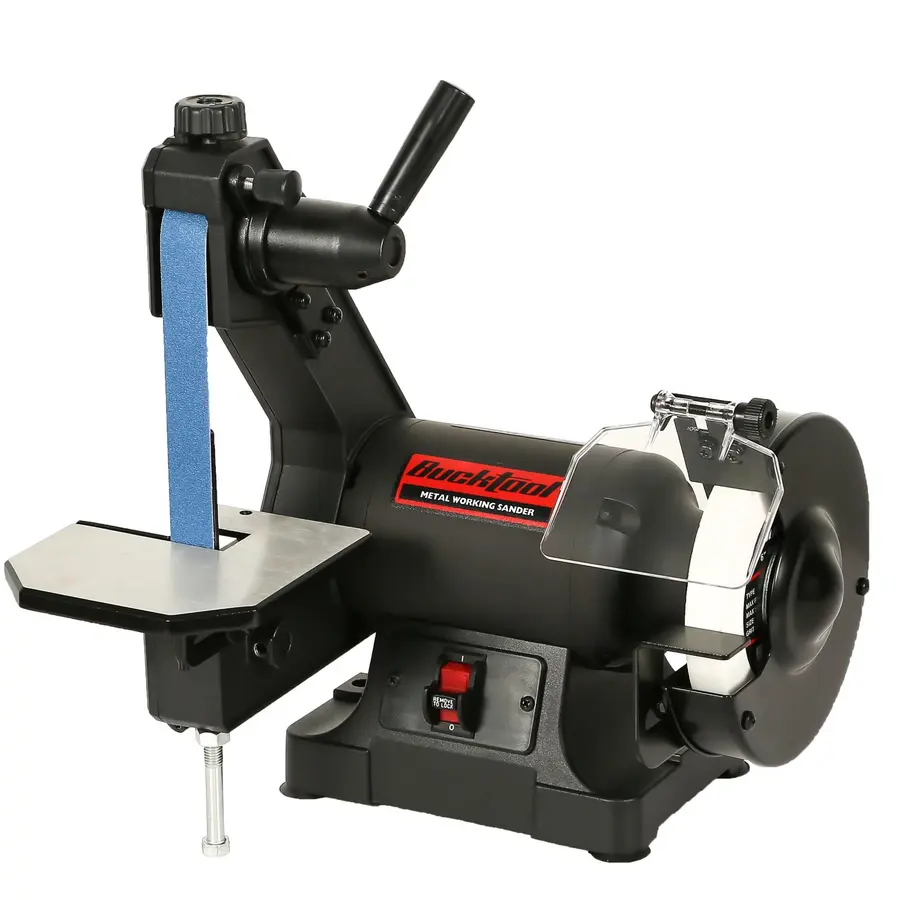 Belt Sander vs. Bench Grinder for Metalwork: Which Does What Better?