A sharp wood chisel starts with two clean surfaces meeting at a crisp line: a flat back and a consistent bevel. For most dull bench chisels, flatten the back near the edge, sharpen the existing primary bevel, hone a small micro-bevel, then remove the burr from the back. The key is to keep the tool flat on the stone where it should be flat and avoid rocking, which rounds the edge.
Use coarse abrasives only when the edge is chipped, badly rounded, or needs its bevel reshaped. Once a chisel is in good condition, regular honing on finer stones removes very little metal and keeps it controllable for paring, trimming, and light chopping.
What You Need
- A stable, flat sharpening stone or abrasive surface in coarse, medium, and fine grits
- The lubricant required by that abrasive system, if any
- A honing guide, especially if you are learning to hold a consistent angle
- A clean rag
- Optional: a leather strop and suitable honing compound
- A scrap piece of softwood for testing
Follow the abrasive manufacturer’s current instructions for flattening, cleaning, soaking, and lubricating its stones. Water stones, oil stones, diamond plates, and abrasive films do not all use the same preparation or maintenance routine.
Secure the stone so it cannot slide. Work with the edge directed away from your body and keep hands clear of its travel path. Do not test sharpness by running a finger along the edge.
Understand the Back, Bevel, and Burr
The back is the broad flat face opposite the bevel. At the cutting edge, the back must be flat enough to meet the bevel cleanly. A hollow, scratched, or rounded back prevents the chisel from reaching full sharpness.
The primary bevel is the larger angled face at the edge. Many general-purpose bench chisels use a primary bevel around 25 degrees. A slightly steeper edge, often around 30 degrees, is commonly used for a small secondary bevel or micro-bevel. A steeper edge generally trades some slicing ease for more support at the edge.
The burr is a thin wire of metal pushed over the opposite side as you sharpen. A continuous burr tells you that the abrasive has reached the very edge. It must be removed; otherwise, the chisel may feel sharp briefly but leave a weak, ragged edge.
Step 1: Inspect the Chisel Before Sharpening
Clean pitch, rust, and debris from the blade so you can see the edge clearly. Look straight at the cutting edge under good light.
A dull edge often reflects a thin bright line. Chips appear as gaps or shiny notches. Check whether the bevel is visibly rounded from previous freehand sharpening. Also inspect the back near the edge for pitting, deep scratches, or a hollow area.
If the chisel has a loose handle, a cracked blade, or damage that affects safe control, address that condition before sharpening. For routine rust prevention and storage, see our guide to how to maintain hand tools.
Step 2: Flatten the Back Near the Edge
Flattening the chisel back is essential when sharpening a new chisel for the first time, repairing a damaged edge, or correcting a back that is not flat near the cutting edge. It is not necessary to lap the entire length of the blade every time you hone.
- Prepare the abrasive according to its instructions.
- Place the back of the chisel flat on the coarsest abrasive needed for the condition of the tool.
- Apply light, even pressure near the cutting end. Keep the blade flat; do not lift or rock it.
- Move the chisel over the abrasive with controlled strokes, covering the surface rather than wearing one narrow track.
- Check the first section behind the edge. You want a consistent scratch pattern reaching the edge, without isolated low spots immediately behind it.
- Repeat on progressively finer abrasives until that area has an even, refined surface.
For an ordinary bench chisel, flattening the first small section behind the cutting edge is usually enough. If corrosion pits or a pronounced hollow extend into that area, continue only as far as needed to create a sound flat reference surface.
Step 3: Establish or Restore the Primary Bevel
Use the primary bevel to repair chips, remove a rounded edge, or reset an inconsistent angle. A honing guide is the easiest way to make this repeatable.
Set the chisel in the guide at the bevel angle you want. For many bench chisels, a 25-degree primary bevel is a practical starting point. Check the guide’s current instructions for setting its projection and clamping the blade securely.
Start on a coarse or medium abrasive based on the amount of correction needed.
- Put the existing bevel flat on the abrasive.
- Push or pull in smooth, controlled strokes while maintaining the same angle.
- Use enough of the abrasive surface to promote even wear.
- Continue until the scratch pattern reaches the cutting edge across its full width.
- Confirm a burr has formed along the entire back edge.
Do not switch to a finer stone before the coarse scratches reach the edge. If you do, you will polish the old rounded area without actually sharpening it.
Move through finer abrasives to remove the deeper scratches. Keep the full primary bevel on the stone during this stage. If the chisel is already sharp but merely losing its keenness, skip this step and go directly to a micro-bevel.
Step 4: Hone a Small Micro-Bevel
A micro-bevel is a narrow secondary bevel at the very edge, honed a few degrees steeper than the primary bevel. It is optional, but it makes future touch-ups quicker because you only abrade a tiny strip of steel.
For example, if the primary bevel is about 25 degrees, set the guide to approximately 30 degrees. Use a fine stone or other fine abrasive.
- Increase the angle slightly from the primary-bevel setting.
- Make a small number of light, even passes.
- Stop when you see a narrow, uniform polished strip along the full cutting edge.
The strip should stay narrow. If it becomes wide, you are effectively reworking the whole bevel at the steeper angle. When that happens, restore the primary bevel later rather than continuing to steepen the edge indefinitely.
Step 5: Remove the Burr From the Back
After honing the bevel, a burr will be present on the back. Lay the back perfectly flat on the finest stone and make one or two light passes. This removes the burr without creating a back bevel.
Return to the bevel and make one very light honing pass. Then make another light pass on the flat back. Repeat only as needed until the burr is gone.
If you use a strop, keep the back flat and use very light pressure. On the bevel side, match the bevel angle and pull the edge away from the direction of travel. Too much pressure, especially on a soft strop, can round over the edge you just created.
How to Know Whether the Edge Is Sharp
A sharp chisel should have a straight, continuous cutting edge with no shiny dull line when viewed under direct light. It should also pare cleanly through end grain in a scrap piece of softwood with controlled hand pressure.
Try a simple test:
- Secure or firmly support a scrap board.
- Place the chisel for a shallow paring cut with the bevel facing up.
- Push with controlled pressure and observe the shaving.
- A sharp chisel produces a thin, continuous shaving and leaves a clean surface.
If the chisel skips, crushes fibers, requires excessive force, or leaves torn grain in an easy paring cut, inspect the edge again. A remaining burr, a rounded bevel, or an area that was not fully sharpened is usually the cause.
Common Chisel Sharpening Mistakes
Rocking the blade on the back
Even slight rocking rounds the back near the edge. Keep the back flat and use light pressure close to the cutting end.
Changing the bevel angle during a stroke
An inconsistent angle creates a rounded bevel that takes longer to repair. A honing guide helps beginners develop a repeatable setup.
Starting too fine
Fine stones polish; they do not efficiently remove chips or restore a rounded edge. Use a coarser abrasive when substantial metal removal is necessary, then refine the surface with finer abrasives.
Ignoring the burr
A burr indicates that sharpening has reached the edge, but it is not the finished edge. Remove it carefully from the flat back, then confirm it is gone.
Overusing the coarse stone
Coarse abrasives are for repair and reshaping. Once the edge is established, maintain it with fine honing so you remove less steel and preserve the chisel’s geometry.
A Simple Maintenance Routine
After a woodworking session, wipe the blade clean and store the chisel so its edge cannot strike other tools. Hone when the chisel begins to lose its clean paring cut rather than waiting until it is heavily rounded or chipped.
For a lightly dull chisel, the usual routine is simple: hone the micro-bevel on a fine abrasive, remove the burr on the flat back, and test the edge on scrap wood. Return to the primary bevel or coarse abrasive only when the edge damage or bevel shape calls for it.
A consistent sequence—flat back, controlled bevel, small micro-bevel, burr removal, and a practical wood test—will give you a sharp chisel without unnecessarily grinding away the blade.
References
- How To Sharpen Wood Chisel? Like A Pro. (n.d.). https://toolsadvisers.com/how-to-sharpen-wood-chisel
- How To Sharpen A Wood Chisel? Like A Pro. (n.d.). https://toolsadvisers.com/how-to-sharpen-a-wood-chisel
- How to Sharpen a Chisel: Complete Sharpening Wood Chisel Guide – BeaverCraft Tools. (n.d.). https://beavercrafttools.com/blogs/carving-instruments/how-to-sharpen-a-chisel-complete-sharpening-wood-chisel-guide
- How Do You Sharpen A Wood Chisel? Like A Pro. (n.d.). https://toolsadvisers.com/how-do-you-sharpen-a-wood-chisel
- How To Sharpen Chisel? Like A Pro. (n.d.). https://toolsadvisers.com/how-to-sharpen-chisel
- How do I sharpen a chisel/plane blade?. (n.d.). https://woodworking.stackexchange.com/questions/1/how-do-i-sharpen-a-chisel-plane-blade
- How To Sharpen A Chisel With A Stone? The Complete Guide. (n.d.). https://toolsadvisers.com/how-to-sharpen-a-chisel-with-a-stone
- How To Sharpen a Chisel (The Correct Method). (n.d.). https://www.youtube.com/watch?v=ip_MHACrqKs&xstg=CAMSBhUDze3xHw%3D%3D
- What Angle to Sharpen a Wood Chisel? 25-30° (Plus the Micro-Bevel Trick). (n.d.). https://woodworkingadvisor.com/what-angle-to-sharpen-a-wood-chisel
- Chisel sharpening angles. (n.d.). https://www.finewoodworking.com/forum/chisel-sharpening-angles
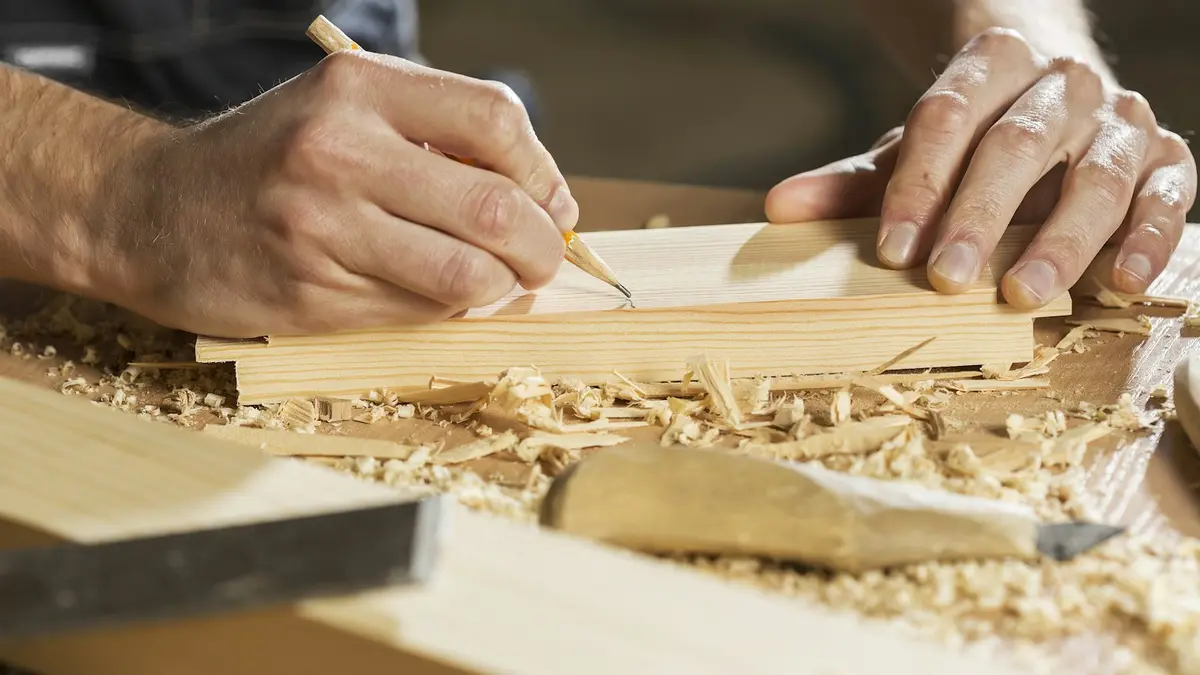 Can a Broken Wood Chisel Be Repaired, Reshaped, or Replaced?
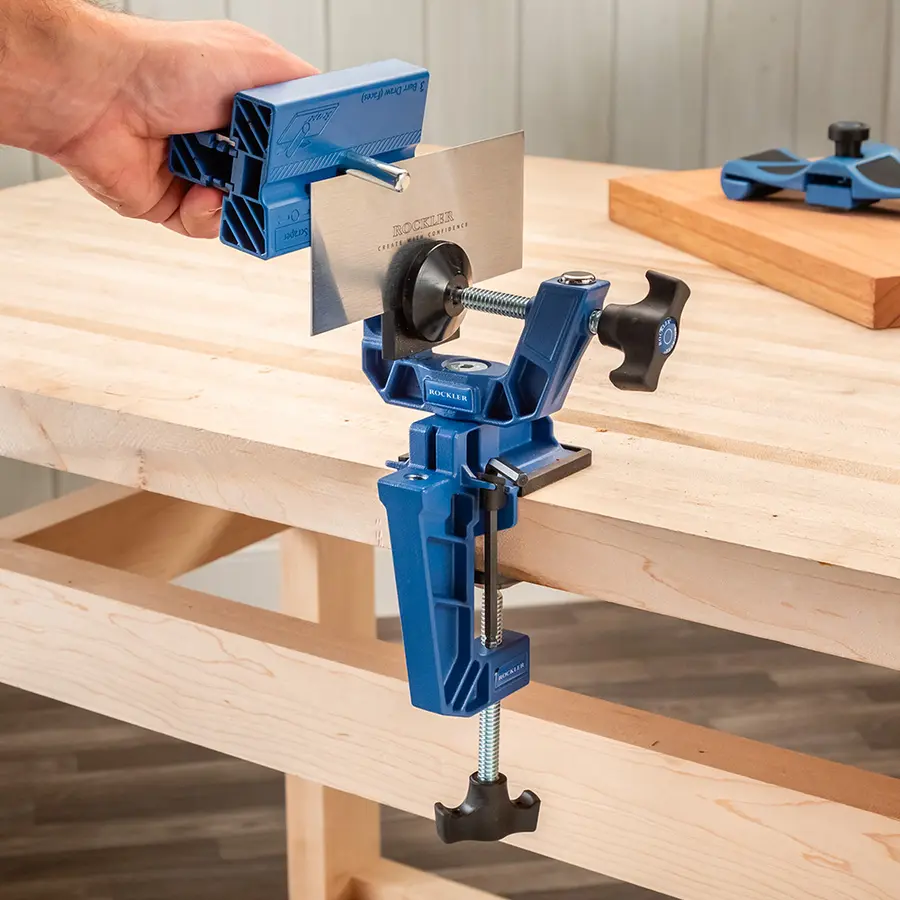 What Tools Do You Need to Start Woodworking? A Project-First Starter Kit
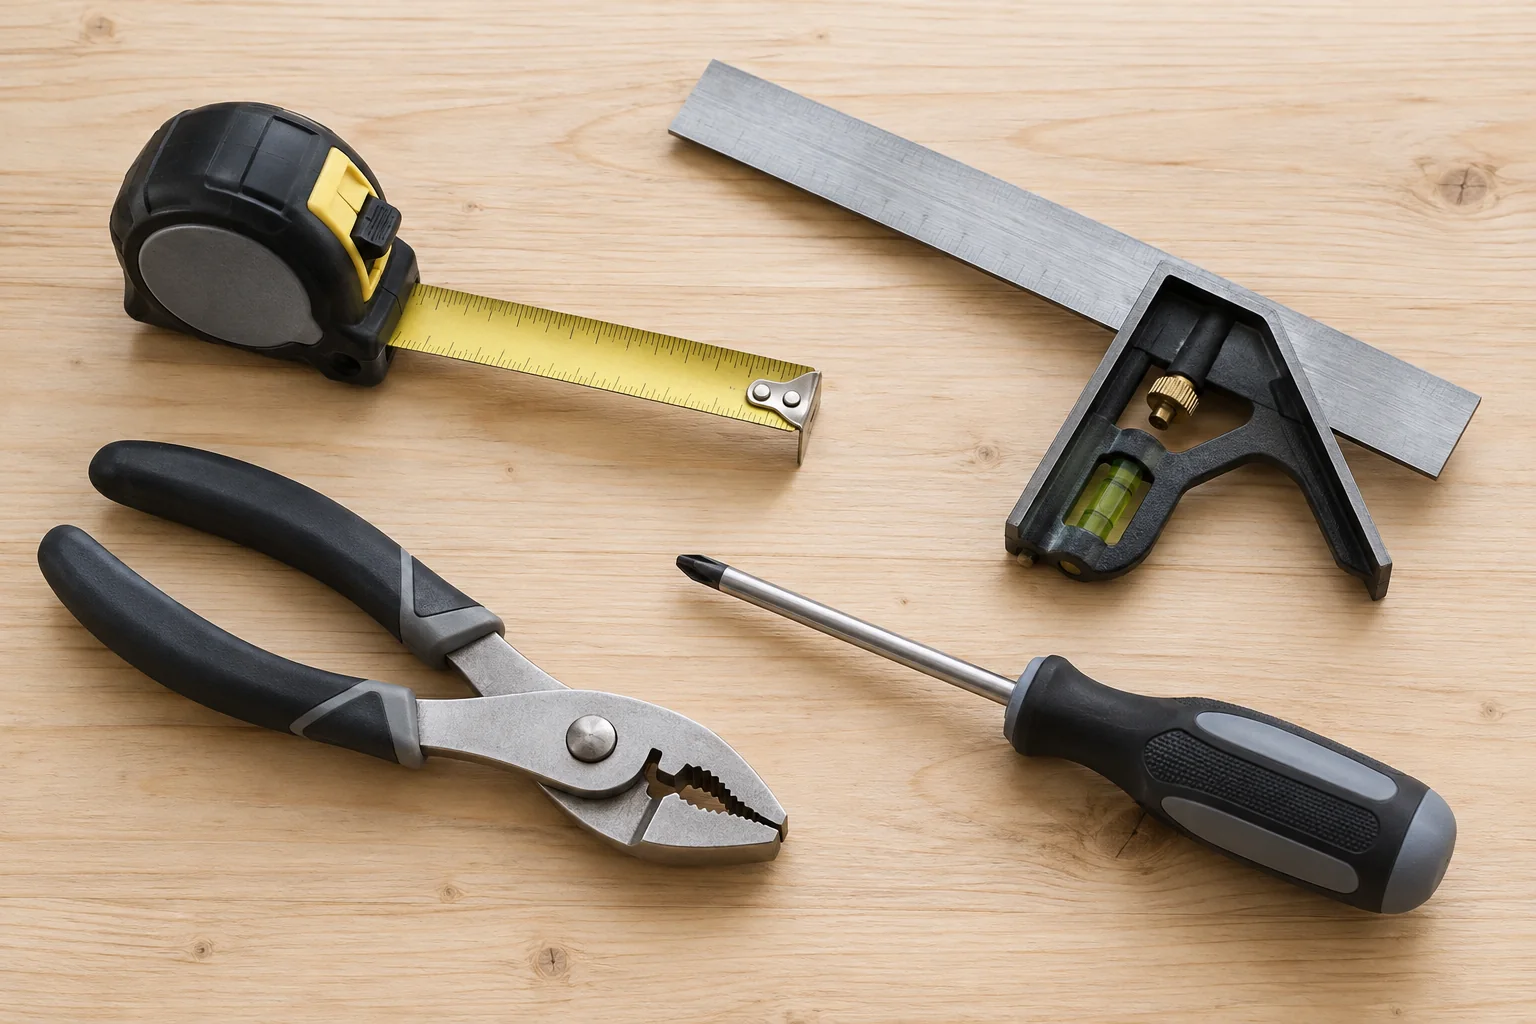 How to Measure and Mark Long Boards When Working Alone