Tear-out is usually caused by one of four things: a dull or coarse blade, putting the finished face on the wrong side, poor support that lets the cut close on the blade, or forcing the saw off the cut line. Start by using a sharp blade intended for clean wood or sheet-good cuts, put the best face down, clamp the work securely, and guide the saw at a steady pace.
For plywood and veneered sheet goods, the quickest improvement is often a finer-tooth blade plus better cut setup. A circular saw cuts upward through the work, so the top face is where chipping is most likely. Wood Magazine recommends placing the show face down whenever possible and using a 50- to 60-tooth blade instead of a typical coarse 24-tooth blade when clean crosscuts in plywood, veneer, and similar sheet goods matter. Wood Magazine
Identify where the tear-out is happening
Look at both faces and the edge before changing your technique.
- Chipping mainly on the top face: This is the normal exit side of a standard circular-saw cut. Turn the finished face down if the project allows it.
- Chipping on both faces: Suspect a dull, damaged, or unsuitable blade. A coarse framing or rip-focused blade is less likely to leave a finished edge in plywood.
- A ragged edge that gets worse during the cut: The saw may be wandering, the sheet may be vibrating, or you may be pushing too quickly.
- A clean start followed by burning, roughness, or a curved cut: The blade may be dull, the saw may be twisting away from its guide, or the kerf may be closing and pinching the blade.
Use the right circular saw blade for clean cuts
A blade cannot make a furniture-grade edge in every material, but it has a major effect on circular saw chipping. For visible plywood edges, hardwood veneer, and clean crosscuts in solid wood, use a sharp fine-tooth finish or plywood blade sized and rated for your saw. A 50- to 60-tooth blade is a common clean-cut choice for a 7-1/4-inch circular saw; a coarse blade is more appropriate when speed matters more than edge quality. Wood Magazine
Do not use tooth count alone as the selection rule. Check the blade packaging and your saw manual for the approved blade diameter, arbor size, speed rating, and material application. Disconnect the saw from power before changing a blade, and confirm that the blade is installed in the rotation direction marked on the saw and blade.
Replace or clean a blade when it requires noticeably more force, leaves burn marks, wanders, or begins tearing material that it previously cut cleanly. A sharp blade improves cut quality and control. West Fraser
Set up the material so the cut cannot bind
Good support prevents more than splintering. If the sheet sags, shifts, or closes on the blade, the saw can bind and the cut edge can break out.
Clamp the workpiece so it cannot move. Support the portion under the saw’s shoe throughout the cut, while arranging the offcut so it can fall away freely instead of pinching the blade. Keep clamps outside the saw’s path and make sure the shoe has a stable surface to ride on. Never hold material in your hand or across your leg while cutting. Safety Resources
For a long circular saw cut line, use a straightedge, track, or purpose-made guide. Mark the line, then account for the distance between the blade and the edge of your saw’s shoe before clamping the guide. Make a short test cut on scrap first if the guide position is unfamiliar.
Set blade depth shallowly
Set the blade only far enough below the workpiece to complete the cut. Safety Resources advises setting depth about 1/8 to 1/4 inch greater than the stock thickness. This reduces unnecessary blade exposure while still allowing the teeth to clear the material. Safety Resources
An excessively deep blade setting does not solve tear-out. It adds exposed blade and can make the saw harder to manage. Confirm the setting with the saw unplugged or its battery removed, following the current instructions for your model.
Make the cut without forcing the saw
Place the front of the shoe on the work with the blade clear of the edge. Start the saw, let it reach operating speed, then advance smoothly along the guide or cut line. Keep both hands on the saw and keep the shoe flat on the material.
Let the blade do the cutting. Pushing hard can deflect the blade, enlarge the kerf, roughen the edge, and increase the chance of binding. If the saw slows substantially or leaves burn marks, stop after the blade has fully stopped and investigate the blade, depth setting, guide alignment, and work support.
Avoid twisting the saw to correct a drifting cut. Instead, keep the saw aligned to the guide from the start. If the cut needs to be especially accurate, make a practice cut in an offcut of the same material first.
Extra steps for plywood and veneer
Thin face veneers are especially prone to circular saw tear-out. Use these measures in order, starting with the simplest.
Put the finished face down
This is the first choice when only one face will be visible. The bottom face is normally cleaner because the blade teeth enter there, while the top face is where they exit and can lift surface fibers. Wood Magazine
Score the circular saw cut line
When both faces must remain presentable, score the cut line with a sharp utility knife before sawing. For double-sided material, score both faces. Scoring severs surface fibers so they are less likely to lift when the blade exits. Onevan Tool
Keep the knife cuts controlled and away from your supporting hand. A scored line helps reduce chipping, but it does not replace a sharp blade or stable support.
Use a sacrificial backing when appropriate
A sacrificial layer directly under the work can support fibers at the lower face and also protect a work surface. Ensure the full assembly is stable, clamped where needed, and supported so neither layer can shift into the blade. Recheck blade depth before cutting.
Solid wood: distinguish tear-out from grain breakout
Solid wood can chip because of a dull blade or poor support, but it can also break out along difficult grain. For crosscuts where the edge will show, use a sharp fine-tooth blade, support the board, and feed steadily. For ripping, use a blade intended for ripping when cut speed and efficient chip removal matter more than a polished edge.
If a board begins to pinch the blade, do not continue by forcing the saw forward. Stop safely, let the blade stop, and correct the support arrangement. The supported portion should carry the saw, while the offcut should be free to separate rather than close the kerf. Safety Resources
Quick troubleshooting checklist
Use this sequence when you are getting chipping from a circular saw:
- Inspect the blade. Replace a dull, damaged, dirty, or overly coarse blade.
- Match the blade to the material. Choose a clean-cut blade for visible plywood, veneer, and crosscuts.
- Turn the show face down. Do this first for one-sided plywood work.
- Score fragile veneers. Score the cut line when both faces matter.
- Set shallow blade depth. Leave only enough blade below the material to cut through it.
- Clamp and support the work. Keep the saw’s shoe supported and prevent the kerf from closing on the blade.
- Use a guide. A straight guide keeps the saw from wandering away from the intended cut line.
- Slow down the feed, not the blade. Keep a steady forward motion without forcing the saw.
Safety checks before every cut
Tear-out troubleshooting should never lead to unsafe workarounds. Keep the lower guard working freely, keep the cord or battery clear of the cut path, and verify the saw is in proper condition before use. Use eye protection, secure the workpiece, maintain balanced footing, and operate the saw with both hands for maximum control. West Fraser
Do not reach under the workpiece while the blade is moving, do not hold the guard open during a normal cut, and do not support the work in a way that puts any part of your body below the blade path. If your saw’s manual gives a different procedure for a particular cut, blade, or accessory, follow the current manual.
References
- How to avoid tear out with a circular saw?. (n.d.). https://www.finewoodworking.com/forum/how-to-avoid-tear-out-with-a-circular-saw
- 5 Ways to Prevent Tear Out When Cutting Wood. (n.d.). https://www.woodshopdiaries.com/5-ways-to-prevent-tear-out-when-cutting-wood
- How to Cut Plywood with a Circular Saw. (n.d.). https://onevantool.com/blogs/news/how-to-cut-plywood-with-a-circular-saw
- How can I prevent tearout of plywood when cutting it …. (n.d.). https://woodworking.stackexchange.com/questions/63/how-can-i-prevent-tearout-of-plywood-when-cutting-it-with-a-circular-saw
- HOW TO PROPERLY USE A CIRCULAR SAW AND PREVENT …. (n.d.). https://www.safetyresources.com/how-to-properly-use-a-circular-saw-and-prevent-kick-back
- Get better cuts from any circular saw. (n.d.). https://www.woodmagazine.com/woodworking-tips/techniques/sawing-solutions/circular-saw
- How To Rip Cut With A Circular Saw? A Complete Guide. (n.d.). https://toolsadvisers.com/how-to-rip-cut-with-a-circular-saw
- 11 WORST CIRCULAR SAW MISTAKES!! And How To Avoid them…(DON’T DO THESE THINGS! Kickback/Binding). (n.d.). https://www.youtube.com/watch?v=YPz1orpvbyI
- Preventing Tear-Out in Plywood #diy #woodworking #wood. (n.d.). https://www.youtube.com/shorts/ln2LqnrKrC8
- Circular Saw Safety | West Fraser - Integrated Forestry Company. (n.d.). https://osb.westfraser.com/blog/circular-saw-safety-tips
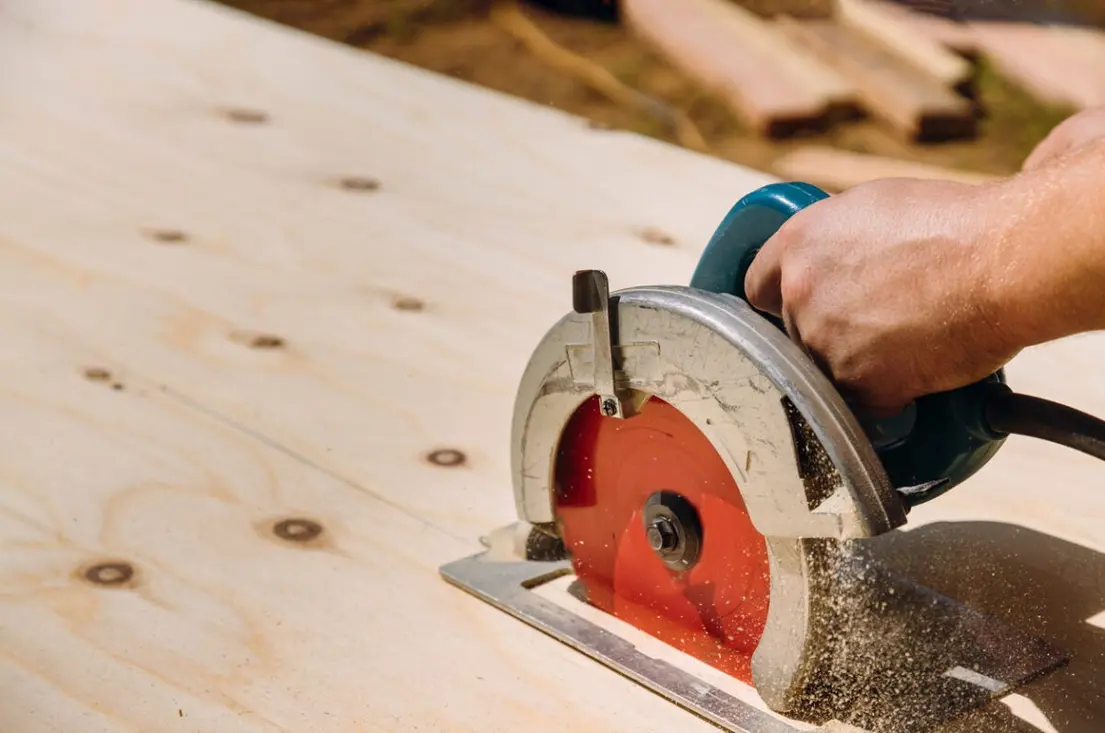 Why a Circular Saw Blade Deflects During a Cut and How to Troubleshoot It
 How to Cut Plywood Straight With a Circular Saw Guide
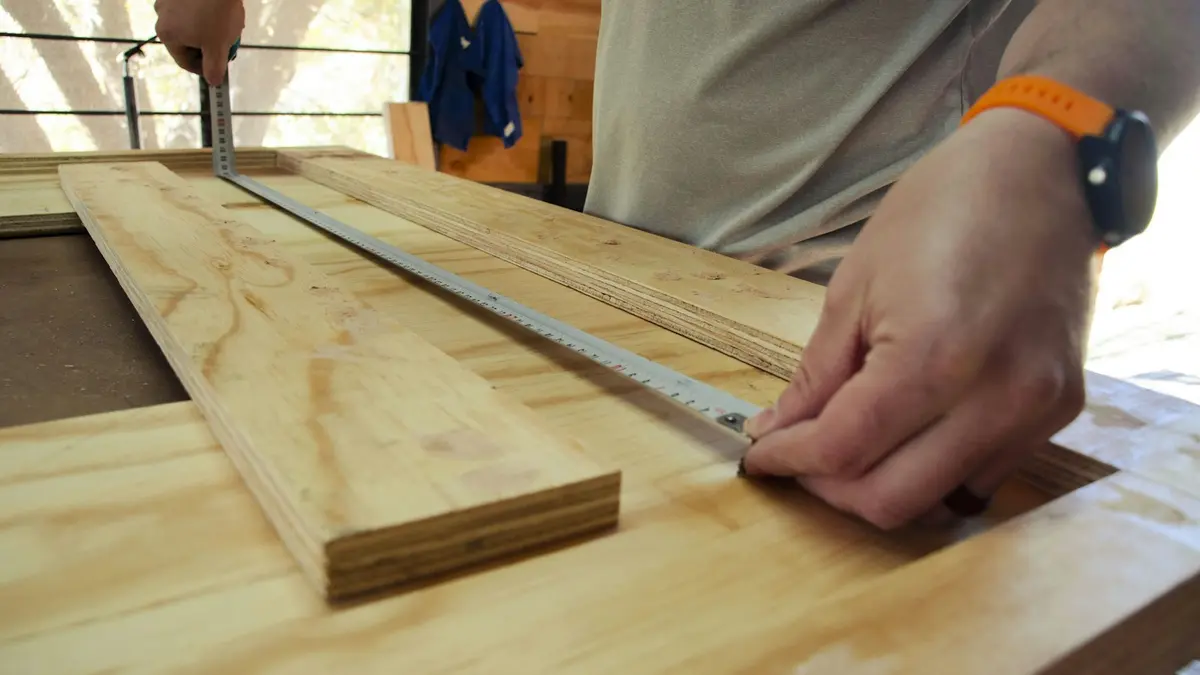 Why Wood Binds During Saw Cuts and How to Prevent It