Measuring a long board alone is easiest when you stop trying to hold the tape hook, tape case, and pencil at the same time. Secure the board, create a fixed reference at one end, hook the tape to that reference, and make a small tick mark at the needed dimension. Then use a square to extend that tick into a visible line.
For rough cutting, a tape measure and pencil mark are usually enough. For finish-critical parts, repeated cuts, joinery locations, or matched pieces, transfer the dimension with a story stick, set a stop block, or work from one master part. Those methods reduce the small inconsistencies that can accumulate when every board is measured separately.
Set up the board before measuring
Support the board so it cannot slide, roll, or sag while you work. Two sawhorses, a bench with outfeed support, or several evenly spaced supports work well. Put the reference end within easy reach and orient the board so you can walk along one side without stepping over the tape.
Choose one end as the reference end and keep it consistent. If the board has a rough, damaged, or untrimmed end, first establish a clean reference edge or allow extra length for a later trim cut. Measuring from an unreliable end makes every later mark unreliable.
Before relying on a tape, inspect its hook and blade. A bent hook, loose fastener, or damaged blade can change the reading. Checking a tape against a known rule or a known dimension is a practical accuracy check, and checking a square by drawing and flipping it can reveal whether it is still square. Wagner Meters outlines both checks.
The basic one-person workflow
1. Clamp the work, not the tape
Clamp the board if it tends to move. A clamp near the reference end is usually enough for layout; add support or a second clamp if the board can twist or shift.
Do not depend on holding the tape case under tension while making the mark. Even if the tape stays extended, the case can move slightly as you reach for a pencil. Your goal is to make the tape’s starting point fixed so you can use both hands at the far end.
2. Give the tape hook a positive stop
If the board has a square, accessible end, hook the tape directly over it. Pull the tape straight along the board’s length, keeping the blade reasonably flat rather than twisted or arched.
If the hook keeps slipping off, clamp a small scrap block flush against the end of the board. Hook the tape over the scrap block instead. The block acts as a temporary stop and prevents the hook from skating away as you walk down the board.
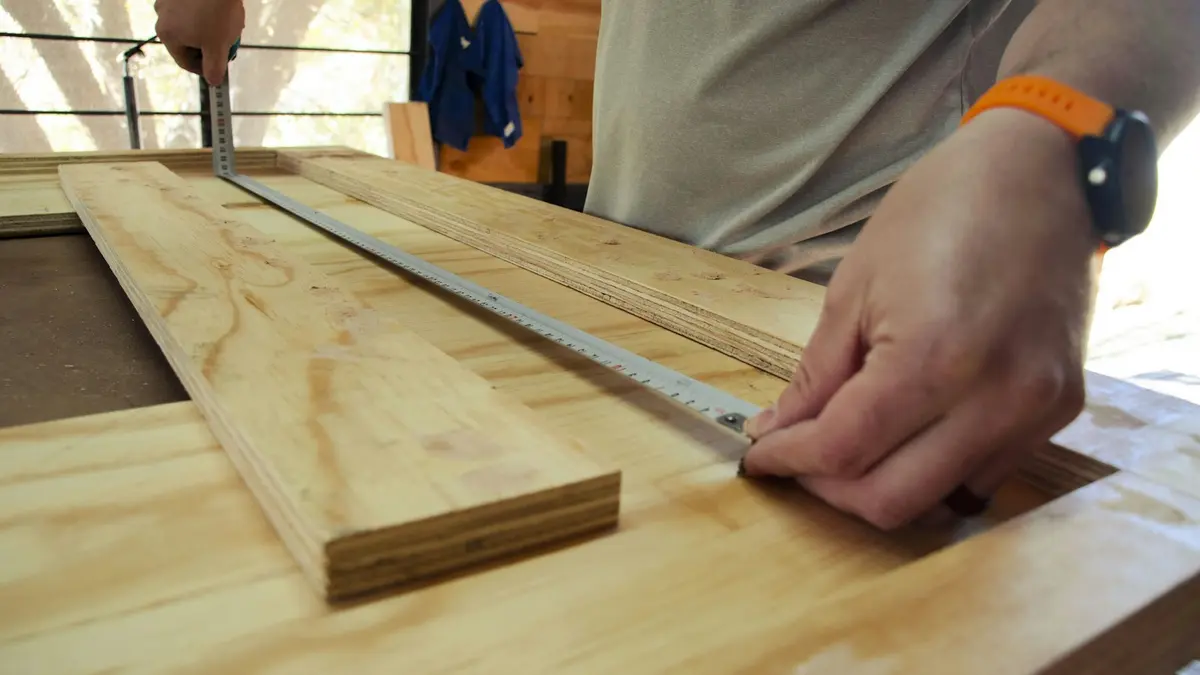
Source: Unsplash
This tape-measure clamp trick is especially useful when measuring a board that is narrow, vertical, awkwardly supported, or slightly short of the bench edge. The block does not need to be precisely sized because it is only providing a secure zero point; its face must simply be flush with the board’s reference end.
If you cannot hook the tape at all, use a deliberate offset measurement. Start at a memorable whole-number mark, such as 10 inches, align that mark with the reference end, and add the offset to the desired finished length. For example, to mark 74 inches while starting at the 10-inch mark, make the mark at 84 inches. This avoids relying on the hook, but write down the offset or choose one large enough that you are unlikely to forget it. Fine Woodworking describes this approach as a useful way to measure between marks when the hook is a liability. Fine Woodworking
3. Mark a tick, then strike the line
Read the tape at the required dimension and make a small, sharp tick mark at the board edge. A tick is more precise than trying to draw a broad line while holding the tape in place.
Remove the tape. Place a speed square, combination square, or other reliable square against the board edge and align it with the tick. Draw the cut or layout line across the face. A speed square is most useful here as a quick line-striking aid, not as a substitute for a long measuring rule.
For a finish-critical line, use a marking knife or a very sharp pencil. A knife line can give a more exact reference than a wide pencil line, but only if the tool is controlled and the line is placed on the correct side of the measurement. Small edge tick marks extended with a straightedge or square are a standard precision-layout practice. Wagner Meters
4. Label the waste side
Add a small X on the waste side before cutting. The line represents the finished dimension; the saw kerf removes material beside it. Keep the cut on the waste side of the line unless your tool setup and project plan call for another approach.
For a rough cut, leave a little extra material and trim to the final line later. This is often the safer choice when the board end is rough, the tape setup was awkward, or the final dimension must match another part.
Methods that work best for repeated measurements
Use a stop block for identical lengths
A stop block is the most repeatable choice when cutting several boards to the same length. Set a fixed stop at the target distance from the cutting reference, make a test cut in scrap, verify it with a rule, adjust if needed, and then cut the matching pieces against the same stop.
This removes repeated tape readings and repeated pencil marks from the process. For example, a discussion of repeatable accuracy recommends setting a stop block, test-cutting scrap, checking the result, and then cutting the batch from the verified setup. Keaton Beyer Woodworking
Do not assume that a stop block is automatically accurate because it was positioned with a tape. Verify the first test piece against the dimension that matters in your project, especially when parts must match one another.
Make a story stick for multiple locations
A story stick is a straight scrap strip marked with the actual positions needed for a project. Instead of reading 16 inches, 32 inches, and 48 inches from a tape on every board, mark those locations once on the stick and transfer them directly.
Use a story stick when laying out repeated stud-like positions, shelf locations, fence pickets, cabinet divisions, or multiple parts that share the same spacing. Label its reference end clearly and always register that end against the same board end.
Story sticks are particularly useful for repeated dimensions because they transfer positions directly rather than requiring repeated numerical readings. Wagner Meters
Transfer from a master part
When several pieces need to match one finished piece, use the completed or verified master part as the measuring reference. Align one end, transfer the far end with a knife or pencil tick, and square the line across.
This is often more dependable than measuring every part from a cut list, particularly when the pieces must fit an existing opening or match a real-world dimension rather than a nominal one.
How to verify a long-board mark
Before cutting, check the mark in a way that matches the job’s required accuracy.
- For rough framing, decking, or stock breakdown, recheck the tape reading and confirm the waste side.
- For a finished length, measure from the same reference end a second time and confirm the square line crosses the board at the intended tick.
- For repeated parts, compare the marked board to the master part or stop-block test piece rather than relying only on a second tape reading.
- For layout involving several marks, compare the marks to the story stick before cutting or drilling.
Use one tape measure consistently within a project when practical. Even a tape that is slightly different from another tape can create mismatched transferred dimensions if you switch between them.
Common solo-layout mistakes
Letting the tape bow or twist
A long tape blade can bow, twist, or move sideways. Keep it supported by the board where possible. If the measurement is beyond the tape’s stable reach, move the board to a better support setup, use a story stick, or make the measurement in controlled sections from a clearly marked reference point.
Measuring from the wrong end
Long boards often have similar-looking ends. Mark the reference end with a light arrow or the word “REF,” especially if the board will be moved before all layout is complete.
Marking with a dull pencil
A thick, fuzzy pencil line can hide the actual measurement point. Sharpen the pencil, make a short tick, and extend it with a square. For finer work, use a knife line or a mechanical pencil.
Repeating the same measurement for every part
Repeated tape measurement introduces repeated opportunities for hook movement, reading errors, and marks on opposite sides of a line. Use a stop block, story stick, or master part whenever the parts are supposed to be identical.
Treating a rough-layout mark as a final-cut mark
Tape measures are useful for rough layout and stock breakdown, but final fitting often benefits from direct transfer, a rule, and a thin line. Fine Woodworking similarly distinguishes tape use for rough stock layout from more precise later-stage work. Fine Woodworking
A simple solo checklist
- Support and secure the board.
- Choose and label one reference end.
- Hook the tape on the board end or on a flush clamped scrap block.
- Pull the tape straight and make a small tick at the dimension.
- Remove the tape and square the tick across the board.
- Mark the waste side.
- Verify against the tape, a story stick, a master part, or a test piece.
- Use a stop block instead of remeasuring when making duplicates.
The key is not finding a way to stretch a tape farther. It is creating a fixed starting point and using a marking method that you can check before committing to the cut.
References
- The best way to MEASURE. (n.d.). https://sawmillcreek.org/threads/the-best-way-to-measure.81598
- Best Tape Measure for Woodworking: Top Picks for 2026. (n.d.). https://woodhandy.com/best-tape-measure-for-woodworking
- Repeatable Accuracy — Keaton Beyer Woodworking. (n.d.). https://www.keatonbeyerwoodworking.com/blog/repeatable-accuracy
- 10 Essential Woodworking Tips for Precision Measurement. (n.d.). https://www.wagnermeters.com/moisture-meters/wood-info/10-essential-tips-for-accurate-woodworking-measurements-and-marking
- Contractor tip that saves time and keeps layouts consistent. (n.d.). https://www.facebook.com/CumberlandSupplyPA/posts/contractor-tip-that-saves-time-and-keeps-layouts-consistent-use-a-story-stick-fo/1004369242535208
- Measuring, Marking and Cutting — and why it’s damn near impossible to get right. (n.d.). https://medium.com/@wilschroter/measuring-marking-and-cutting-and-why-its-damn-near-impossible-to-get-right-b06914bbb233
- Woodworking Project Layout and Layout Tools. (n.d.). https://makezine.com/article/workshop/woodworking/skill-set-woodworking-project-layout-and-layout-tools
- Tape Measure Accuracy | DIY Home Improvement Forum. (n.d.). https://www.diychatroom.com/threads/tape-measure-accuracy.92817?sortby=newest&u=102204
- Tips for Woodworking Measurements and Layouts. (n.d.). https://www.youtube.com/watch?v=cDcrs0btn6Q
- How to Get the Most from Your Tape Measure - FineWoodworking. (n.d.). https://www.finewoodworking.com/project-guides/hand-tools/how-to-get-the-most-from-your-tape-measure
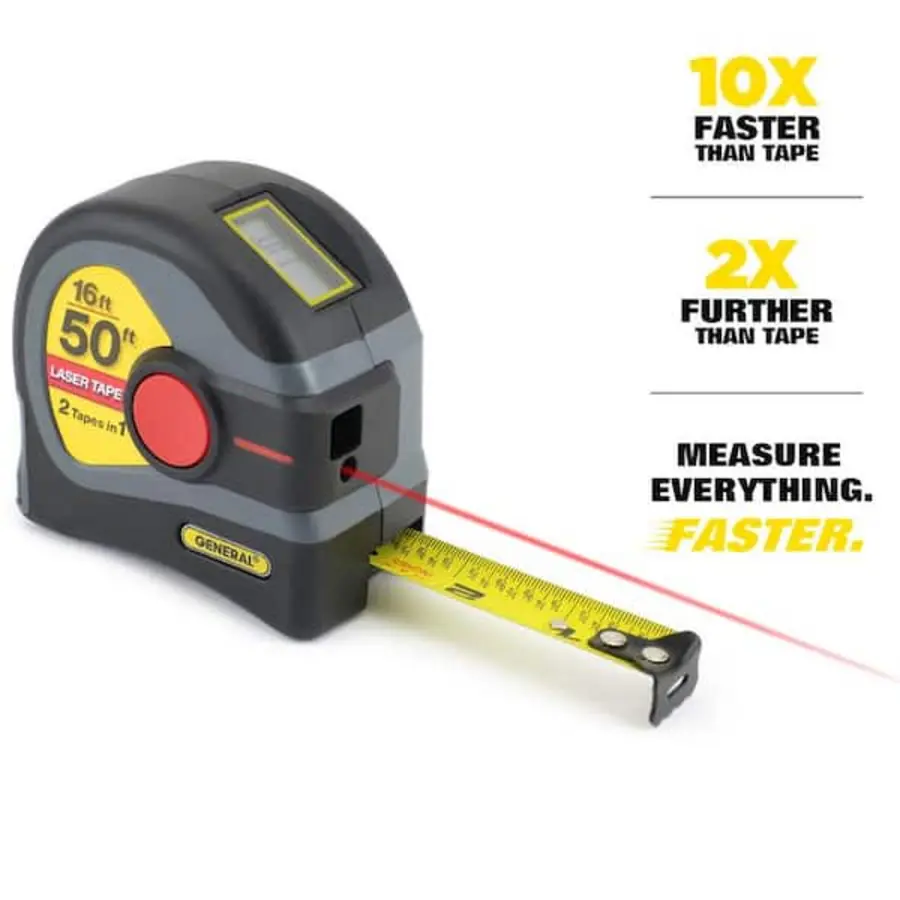 Why Is a Laser Measuring Tape Inaccurate After Calibration?
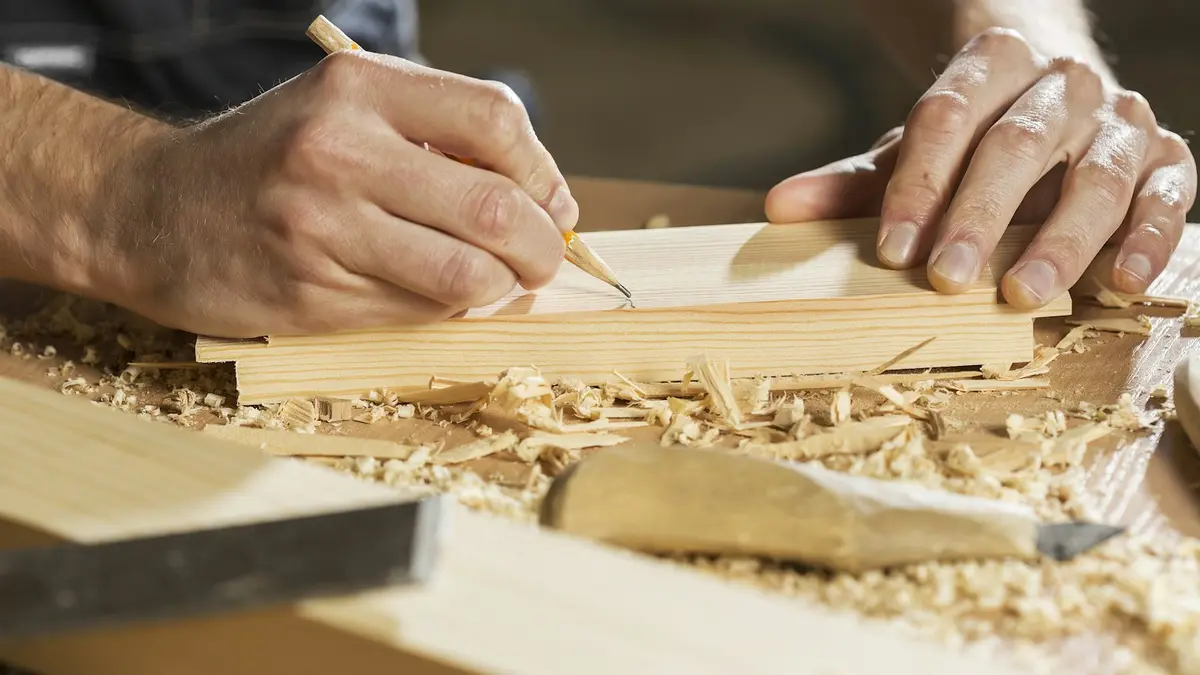 Can a Broken Wood Chisel Be Repaired, Reshaped, or Replaced?
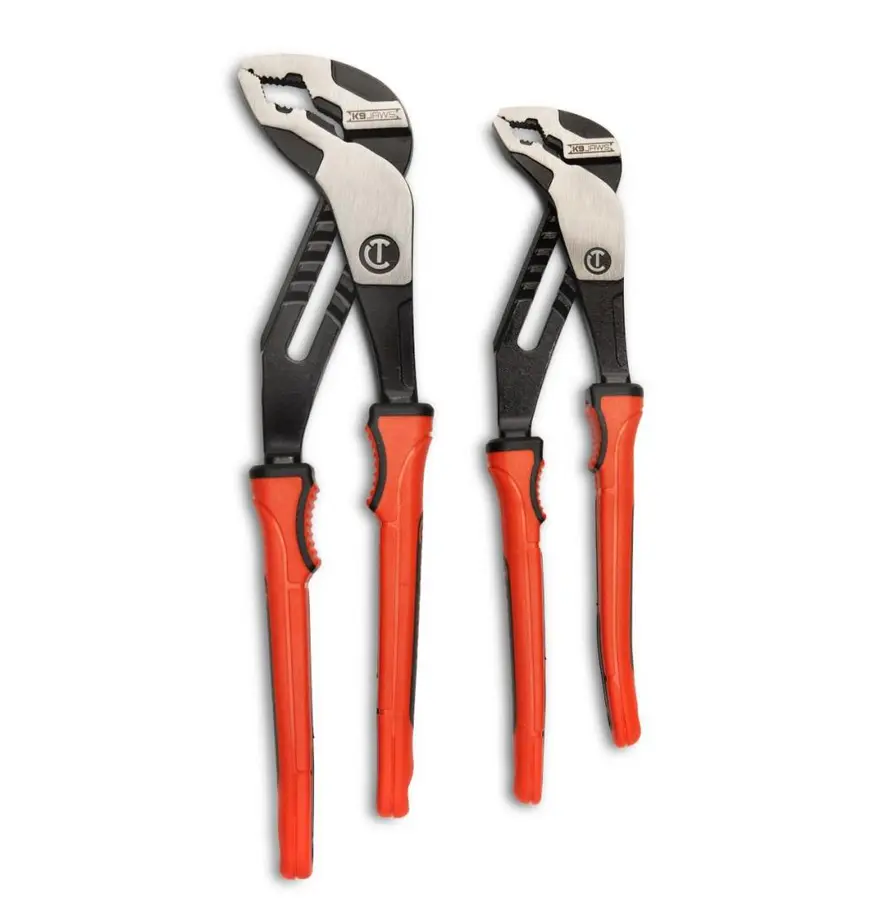 Pliers Wrench vs. Tongue-and-Groove Pliers: Which Jobs Each Handles Best