A standard twist bit can grab thin sheet metal as its cutting edges break through the far side. The sheet may climb the bit, bend, spin, or tear around the hole. For most round holes in thin sheet, use a sharp step drill bit, support the metal on a flat backing board, clamp the work securely, and advance with steady, light pressure.
A twist bit can still work for small holes, especially when you need a size a step bit does not provide. The key is preventing the sheet from moving and avoiding a hard push at breakthrough. Whatever bit you use, verify the drill, bit, clamping method, operating speed, and required personal protective equipment against the current manufacturer instructions and applicable official safety guidance.
Why Twist Bits Grab Thin Sheet Metal
A twist bit is designed to cut continuously through material. In thin sheet, there is very little thickness to support the bit as it reaches the exit side. When the cutting lips break through, they can catch the edge of the new hole instead of shaving it cleanly.
That sudden catch can pull the drill forward. If the sheet is unsupported or merely held by hand, it can flex, twist, or spin. Even when the sheet stays put, the hole can be rough, triangular, oversized, or surrounded by a raised burr.
The problem is usually worst with a large twist bit drilling directly into thin stock. A dull bit, a loose drill chuck, a wandering starting point, and excessive pressure all make the result worse.
Choose the Right Bit for the Hole
Use a Step Drill Bit for Most Thin-Sheet Holes
A step drill bit has a cone-like series of cutting diameters. It enlarges the opening one increment at a time, which reduces the abrupt breakthrough that often causes a twist bit to grab. It is especially useful for sheet-metal panels, brackets, enclosures, and other thin work where a round, clean hole matters.
Choose a step bit with a range that includes your finished hole size. Read the size markings on the bit and stop when the target step has passed through the sheet. Do not keep drilling simply because the bit is still cutting; the next step will enlarge the hole.
Step bits are intended for thin material rather than deep holes in thick plate. Check the bit manufacturer’s current specifications for the material type and thickness it is designed to drill.
Use a Twist Drill Bit for Small or Specific Sizes
A sharp twist bit is practical when the hole is small, when the desired size falls between a step bit’s markings, or when you need to start a pilot hole. Start with a small pilot hole, then enlarge it gradually rather than forcing a large twist bit through thin sheet in one pass.
For a larger hole made with twist bits, increase sizes in a few sensible steps. This lowers the load at each pass and gives you more control at breakthrough. It may take longer than using a step bit, but it is preferable to tearing the panel or letting it spin.
What You Need
- A drill and a sharp bit suitable for the sheet material
- A step drill bit for most larger round holes in thin sheet
- A small twist bit for pilot holes when needed
- A flat sacrificial backing board, such as scrap wood
- Clamps suited to the workpiece and bench
- A marker and measuring tool
- A center punch if the bit needs help starting accurately
- A hand deburring tool, countersink, file, or abrasive pad for edge cleanup
- Cutting fluid or lubricant only if the bit manufacturer recommends it for your material and operation
Do not hold thin sheet metal in your hand while drilling. The workpiece can catch and rotate unexpectedly. Inspect the drill, bit, chuck, clamps, and work support before starting, and follow the current instructions for your particular equipment.
How to Drill Thin Sheet Metal Cleanly
1. Mark the Hole Center
Measure from stable reference edges and mark the center of the hole clearly. If the panel is visible or the hole needs to align with another part, measure twice before drilling.
A step bit often starts readily on thin sheet, but a light center-punch mark can still help position the point precisely. Do not punch so deeply that you stretch or dent a thin finished panel.
2. Back Up and Clamp the Sheet
Lay the sheet flat on a sacrificial backing board. The backing reduces flex and supports the metal near the hole as the bit exits. Clamp both the sheet and backing to a stable surface, keeping clamps clear of the drilling path.
The sheet should not rattle, bow upward, or shift when you press lightly on it. If the panel is large or flexible, add support near the drilling location rather than relying on clamps placed far away.
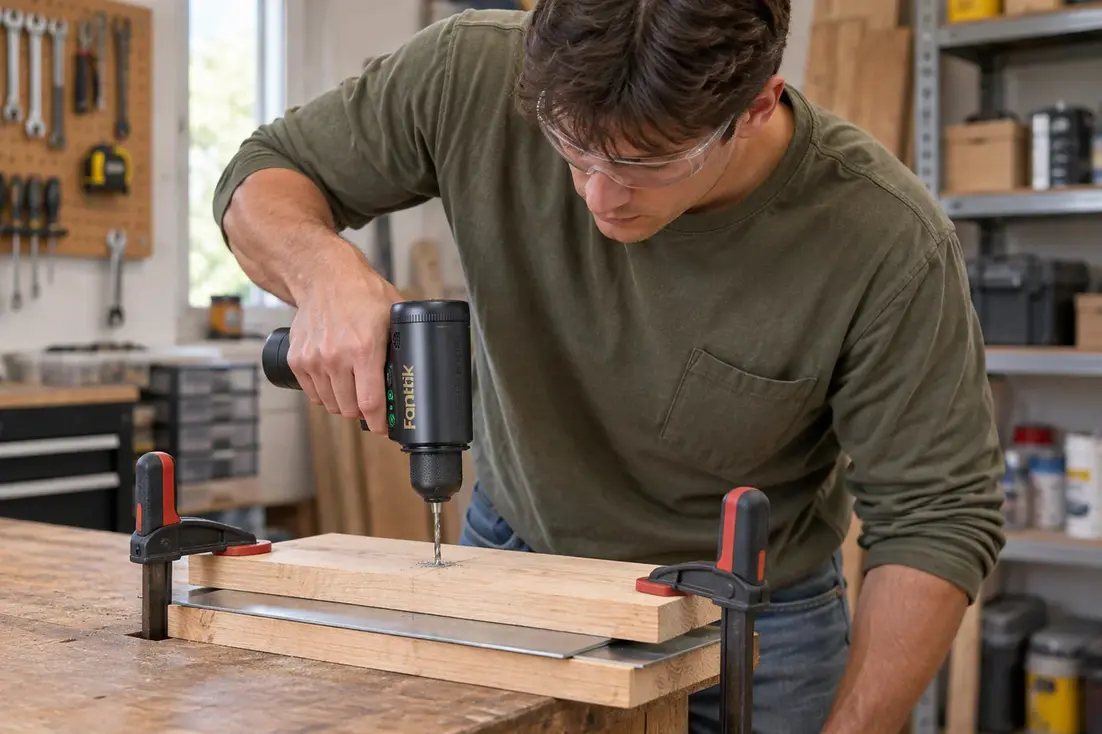
Source: Fanttik
3. Install the Bit Correctly
Seat the bit straight in the chuck and tighten it according to the drill manufacturer’s instructions. A bit that slips or runs off-center can make an oval hole and leave a rough edge.
Use a sharp bit. A dull bit rubs instead of cutting, creates excess heat, and encourages the operator to push harder. If a bit squeals, discolors, stops producing clean chips, or requires increasing force, stop and inspect it rather than forcing the cut.
4. Start Square to the Surface
Hold the drill perpendicular to the sheet. Starting at an angle can make the bit skate across the surface, create an uneven opening, or cause the next step of a step bit to cut unevenly.
Begin with controlled pressure until the point has established the hole. Once the bit is cutting, maintain a stable drilling angle. Do not rock the drill to make the hole larger; that produces an inaccurate hole and damages the bit’s cutting edges.
5. Drill With Controlled Speed and Pressure
Use the speed and feed guidance supplied by the drill and bit manufacturers for the bit type and metal being drilled. Avoid treating high speed or extra force as a solution to slow cutting. Excessive speed can create heat, shorten bit life, and worsen the finish.
Feed the bit steadily enough that it cuts rather than rubs, but do not lean hard on the drill. As a twist bit nears breakthrough, reduce pressure. That final moment is when the bit is most likely to hook the edge of thin sheet.
With a step bit, let each step cut progressively. Pause and check the size as you approach the desired marking. Do not drive the next step through the sheet after you have reached the required diameter.
6. Stop, Inspect, and Deburr
After drilling, turn the drill off and wait for the bit to stop before moving the workpiece. Inspect both sides of the hole. Even a cleanly drilled hole may have a sharp burr or a slight raised edge.
Remove burrs lightly with a deburring tool, a countersink used by hand, a fine file, or an abrasive pad. The goal is to remove the sharp edge without enlarging the hole or rounding over a surface that needs to sit flat against another part.
If the hole is slightly undersize, enlarge it carefully with the next step on the step bit or an appropriate finishing tool. If it is badly torn or oversized, the most reliable repair may be a larger planned hole, a washer-backed fastener, or a patch appropriate for the project.
Step Drill Bit vs. Twist Drill Bit
Choose a Step Bit When
- The material is thin sheet rather than thick plate.
- You need a medium or larger round hole.
- You need several hole sizes from one tool.
- You want to reduce grabbing and deformation at breakthrough.
- You are enlarging an existing small hole.
Choose a Twist Bit When
- You need a small hole.
- You need a diameter not available on the step bit.
- The material thickness exceeds the step bit’s intended use.
- You are making a pilot hole before enlarging it.
A step bit is not automatically the right answer for every metal. Hardened steel, thick stock, stainless steel, and unusual alloys can require a different bit type, cutting approach, or lubricant. Confirm the bit’s stated material capability before drilling.
Common Mistakes That Cause Torn or Ugly Holes
Drilling a Large Hole With One Large Twist Bit
A large twist bit has more opportunity to catch the exit edge. Start smaller and enlarge in stages, or use a step bit sized for the finished opening.
Holding the Sheet by Hand
A hand-held panel can grab and rotate. Clamp it to a backing board and a stable work surface instead.
Skipping the Backing Board
Unsupported sheet flexes under the bit. A backing board helps keep the area flat and makes breakthrough less abrupt.
Using Too Much Pressure at Breakthrough
Pushing hard may seem faster, but it increases the chance of a twist bit pulling through suddenly. Use controlled pressure and ease up as the bit exits.
Continuing Past the Correct Step
With a step bit, one extra push can produce an oversized hole. Check the markings before drilling and stop as soon as the required step cuts through.
Ignoring Burrs
A burr can interfere with fasteners, grommets, electrical fittings, mating surfaces, and safe handling. Deburr both faces of the hole before assembly.
If the Bit Starts Grabbing Anyway
Stop drilling immediately rather than trying to overpower the catch. Check whether the sheet shifted, the bit dulled, the chuck loosened, or the backing board is too far from the hole location.
If using a twist bit, switch to a smaller pilot hole and enlarge the opening in stages. For a thin panel and a larger hole, switch to a step bit if its manufacturer rates it for the material. Re-clamp the work with support directly beneath the drilling point, then restart with the drill square to the surface.
Final Check Before Assembly
Confirm the hole diameter, roundness, location, and edge condition before installing a fastener, grommet, fitting, or cable pass-through. Test-fit the part without forcing it. If the hole will be used around wiring, plumbing, or a sharp-edged panel opening, follow the component manufacturer’s installation requirements and any applicable official guidance for edge protection and clearances.
The basic method is simple: secure the sheet, support it from behind, use a sharp appropriate bit, drill with controlled pressure, and remove the burr afterward. Those steps prevent most grabbing and produce cleaner holes than forcing a conventional twist bit through unsupported thin metal.
References
- ONE DRILL BIT THAT DOES EVERYTHING- STEP DRILL BIT EXPLAINED. (n.d.). https://www.youtube.com/watch?v=hRMawONrZio
- Best Drill Bit For Sheet Metal - News - Ceres Hardware Tools. (n.d.). https://www.ceres-tools.com/news/best-drill-bit-for-sheet-metal-85316961.html
- How to drill though metal sheet? : r/metalworking. (n.d.). https://www.reddit.com/r/metalworking/comments/15ss7tu/how_to_drill_though_metal_sheet
- What Are Step Drill Bits Used For? A Complete Beginner’s Guide. (n.d.). https://steelmax.com/what-are-step-drill-bits-used-for
- What’s the difference in these metal drill bits? Huge price gap. (n.d.). https://www.reddit.com/r/Tools/comments/159sou9/whats_the_difference_in_these_metal_drill_bits
- How to drill round holes in thin metal sheets?. (n.d.). https://www.facebook.com/groups/1104020856281121/posts/25268365282753341
- Everything You Need to Know About Step Drills. (n.d.). https://wisemen.chinagoods.com/news/everything-you-need-to-know-about-step-drills-comprehensive-guide.html
- Drill Smarter. Drill Longer. 🔩 Whether you’re tackling metal …. (n.d.). https://www.facebook.com/100063454488146/posts/-drill-smarter-drill-longer-whether-youre-tackling-metal-wood-or-tough-shop-proj/1632670022191465
- How You Drill 1/8" Sheet Metal: Step vs Twist Bits. (n.d.). https://www.ezarctools.com/blogs/blog/how-you-drill-sheet-metal-step-twist
- Guide to Types of Drill Bits and Their Uses. (n.d.). https://infinitytoolmfg.com/feeds/blog/types-drill-bit-heads
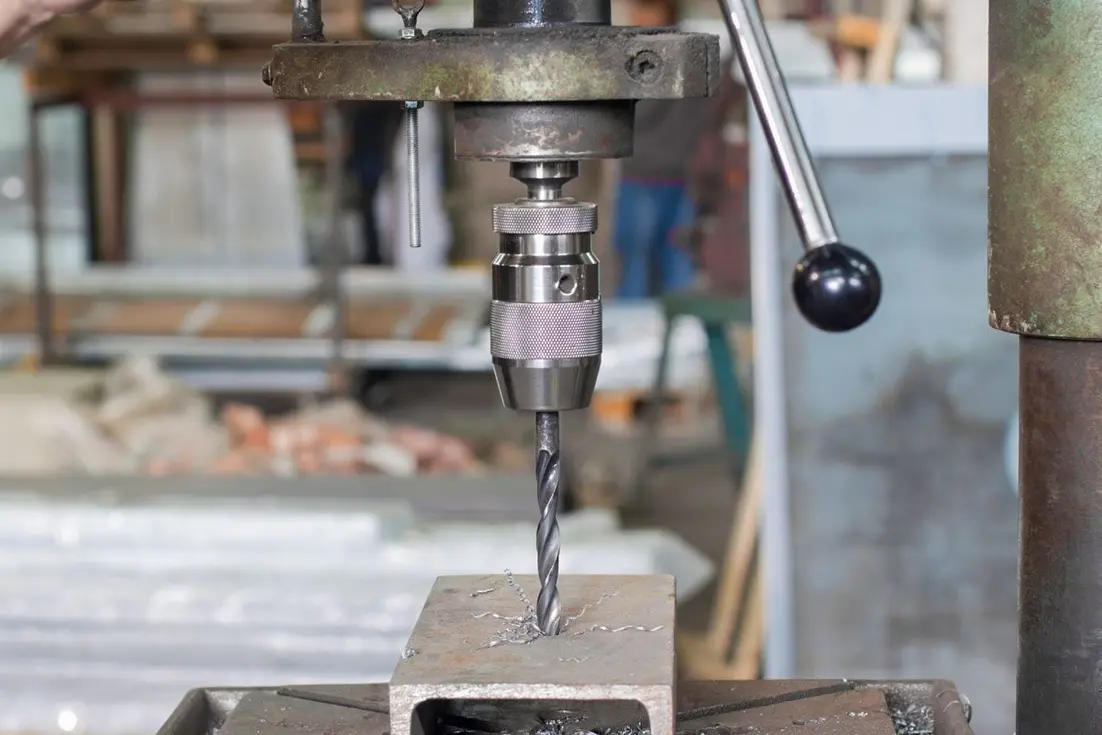 Why Drill Bits Dull or Break When Drilling Metal
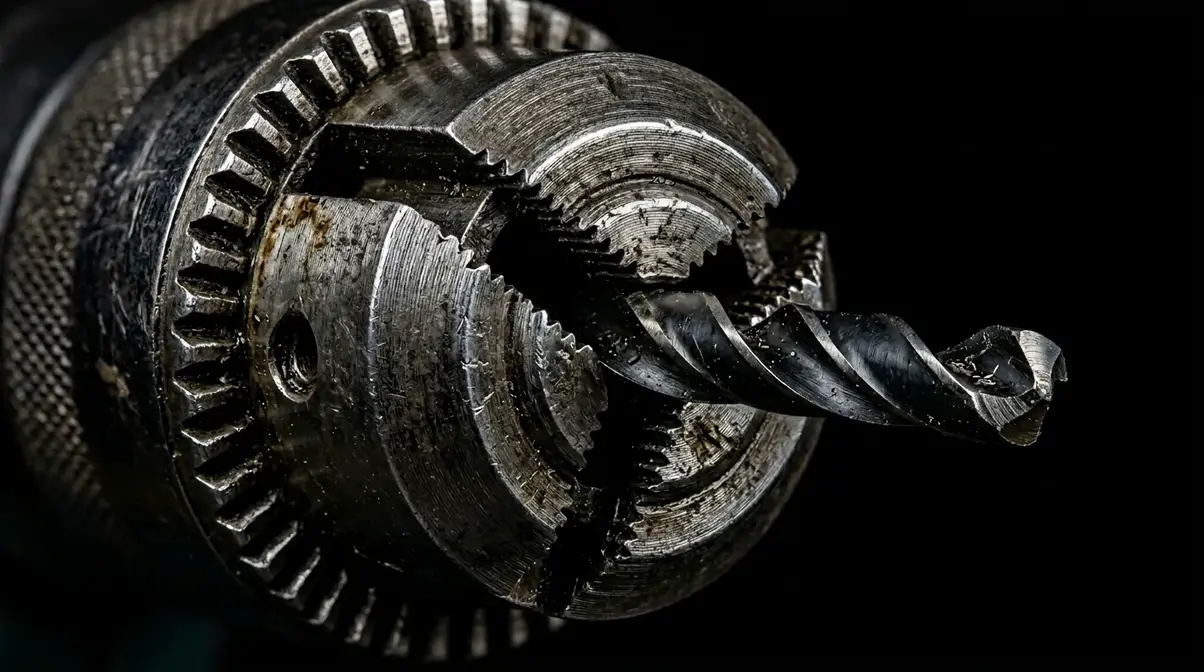 Why a Drill Chuck Will Not Hold a Bit Tight
 Why Small Drill Bits Break or Dull Quickly When Drilling Circuit Boards
