Disconnect a corded angle grinder from the outlet, or remove its battery, before cleaning or inspecting it. Then remove the wheel or other accessory, wipe the exterior, clear the vents, and check the guard, spindle hardware, cord or battery interface, and accessory condition. Do not wash the grinder, spray cleaner into it, or open the housing unless your model’s manual specifically provides that procedure.
Most routine angle grinder maintenance is external. Metal and abrasive dust can obstruct cooling airflow and collect around the wheel mount, while liquid and unapproved internal disassembly can create bigger problems. Manufacturer manuals consistently call for clean vents and isolation from power before maintenance; some also direct carbon-brush work and repairs to authorized service personnel. Makita’s angle grinder manual is a useful example.
What you need
- A dry, clean cloth
- A soft brush
- Compressed air, if permitted by your grinder’s current manual
- The wrench supplied with the grinder
- Eye protection and appropriate respiratory protection for dusty cleanup
Clean outdoors or in a well-ventilated area where dust will not blow onto other tools or into occupied space. Fine metal and abrasive dust should not be blown toward your face, skin, or electrical equipment.
Step-by-step: how to clean an angle grinder
1. Isolate the power source
Switch the tool off. Unplug a corded grinder from the outlet; do not rely on the trigger being off. Remove the battery from a cordless grinder.
Set the grinder on a stable bench after the wheel has completely stopped. A manufacturer operating manual specifically states that the tool must be switched off and unplugged before inspection or maintenance. Kimball Midwest’s manual gives that instruction.
2. Remove the accessory and inspect it separately
Remove the wheel, flap disc, wire cup brush, backing pad, or other attachment according to the model manual. Do not clean or service around a mounted accessory if removal is practical.
Discard an abrasive wheel with cracks, chips, damage around the center hole, contamination, or other visible damage. Check wire brushes for damaged, loose, or badly bent wires. Confirm that the guard and accessory type are appropriate before the grinder goes back into service; this is especially important after changing accessories. For a refresher on selecting common accessories, see angle grinder disc types and uses.
3. Clean the spindle, flanges, and guard
Use a dry cloth or soft brush to remove dust from the spindle, inner flange, flange nut, guard, and the tool’s accessory-mounting area. Wipe both sides of removable mounting parts so debris does not prevent the wheel from seating flat.
Look for these problems while the area is exposed:
- A bent, cracked, loose, or heavily gouged guard
- Damaged or worn flange surfaces
- Damaged threads on the spindle or flange nut
- A spindle-lock button that sticks or does not release
- Evidence that an accessory has rubbed the guard or housing
Do not use a damaged guard, improvised washer, or substitute mounting hardware. Milwaukee’s manual instructs users to wipe accessories, the disc nut, and spindle, inspect them for damage, and use mounting hardware designed for the tool. See the manufacturer instructions.
4. Clean the exterior without wetting the tool
Wipe the housing, side handle, switch area, guard, and cord with a dry cloth. If the exterior needs more cleaning, use a cloth that is only lightly dampened with mild soap and water, then wipe it dry. Keep moisture away from vents, switches, seams, battery contacts, and the cord entry.
Do not immerse the grinder or allow liquid into the housing. An Alltrade manual advises against solvents and harsh chemicals, calls for mild soap and a damp cloth only, and warns against letting liquid enter the casing. Read the cleaning guidance.
5. Clear the ventilation openings
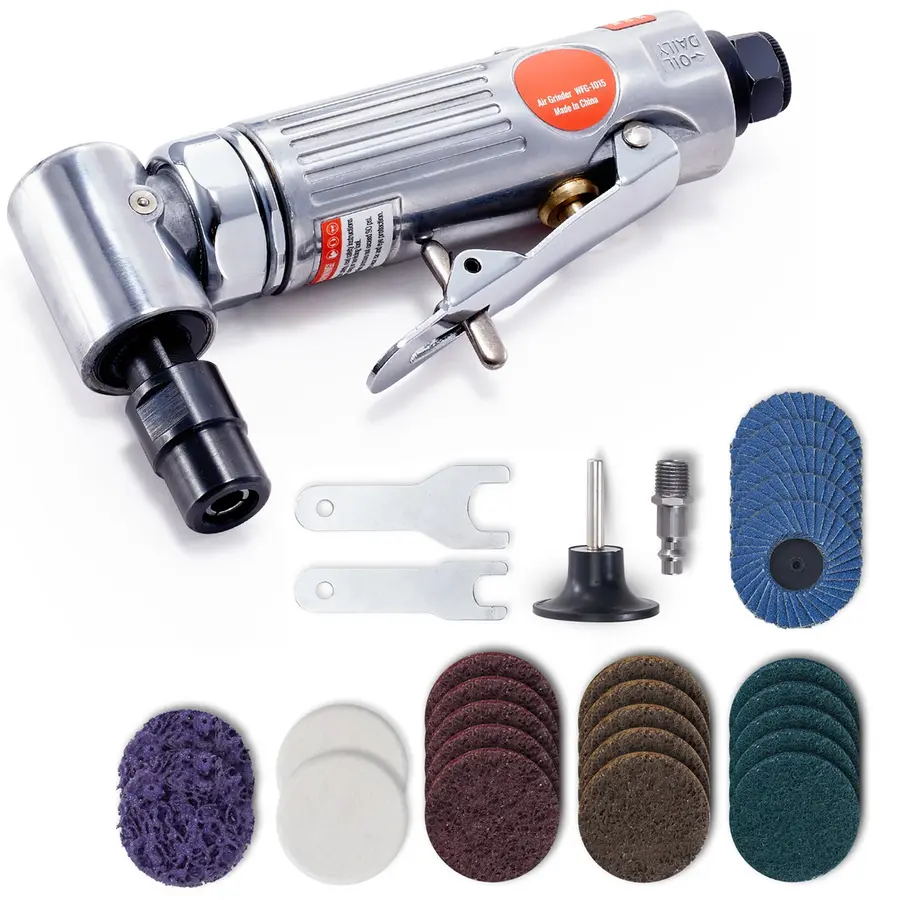
Source: Lowes
Brush loose dust from the vents first. If the manual permits compressed air, use short, controlled bursts from outside the vent openings. Keep the nozzle back from the housing rather than sealing it against the vent, and direct dust away from yourself and others.
Do not poke wire, picks, drill bits, or other hard objects through the vent slots. They can damage internal parts or force debris deeper into the tool. Do not spray water, solvent, lubricant, or contact cleaner through vents unless the manufacturer expressly specifies that product and procedure.
Keeping vents clear is not cosmetic maintenance. Manufacturer instructions say to keep ventilation openings clean, and Makita says to clean air vents regularly or when they become obstructed. Makita’s manual also places repair and carbon-brush service with authorized service centers.
6. Check the cord, plug, battery interface, and controls
For a corded grinder, inspect the full length of the cord and plug. Stop using the tool if you find cuts, crushed insulation, exposed conductor, a loose plug, heat damage, or a damaged strain-relief where the cord enters the housing.
For a cordless grinder, inspect the battery rails, contacts, latch, and tool-side battery interface for packed debris, corrosion, cracking, or a battery that will not latch securely. Follow the battery and charger manual for cleaning instructions; do not scrape contacts aggressively or apply liquid to them.
Operate the trigger and lock-off only with power disconnected. They should move normally and return as designed. A sticky switch, damaged lock-off, or loose housing is a service issue, not something to work around.
What you can clean yourself—and what to leave alone
Generally safe owner maintenance
The following work is normally external and appropriate for an owner when the grinder is unplugged or its battery is removed:
- Wiping the housing and handle
- Brushing or blowing dust from external vents as the manual permits
- Removing dust from the guard, spindle, flanges, and flange nut
- Inspecting the cord, plug, battery interface, side handle, and accessory
- Cleaning a removable vent cover or vent clip when the model manual provides instructions
Some grinders have removable vent screens or clips. Only remove them if your exact manual identifies the part and procedure. For example, Milwaukee provides model-specific instructions for removing and cleaning a vent clip. See its operator’s manual.
Do not treat internal disassembly as routine cleaning
Do not split the housing, remove the gear case, disturb wiring, pull the armature, replace grease, or access brushes simply because dust is visible at the vents. Internal layouts, seals, brush access, fasteners, lubrication requirements, and reassembly checks vary by model.
If your manual includes an owner-level brush-access procedure, follow it exactly and use the specified replacement parts. Otherwise, arrange authorized service. The supplied Makita documentation specifically directs carbon-brush inspection and replacement, repairs, and other maintenance or adjustment to authorized service centers. Makita’s service guidance is a good reminder to check the instructions for your own grinder rather than assuming all models come apart the same way.
When metal dust in an angle grinder is a service problem
Dust around the exterior and vents is normal after grinding, cutting, or wire brushing. Heavy dust buildup is a concern when it restricts airflow or is accompanied by changed performance.
Stop using the grinder and have it evaluated if you notice:
- A new burning smell, smoke, or excessive heat from the housing
- Sparks visible through the housing vents beyond what your manual describes as normal operation
- A significant change in motor sound, rough running, or intermittent operation
- Loss of power, repeated shutdowns, or difficulty starting
- Unusual vibration after you have ruled out a damaged or improperly mounted accessory
- A sticking spindle lock, grinding gear noise, or visible damage to the guard or wheel mount
- A damaged cord, plug, battery connection, switch, or housing
Do not keep using a grinder to “see if it clears up.” First remove the accessory and inspect it, because a damaged wheel or brush can also cause vibration and poor operation. If the tool still behaves abnormally, keep it out of service.
A simple cleaning schedule
After each dusty job
Remove the accessory if needed, wipe the grinder, clear loose dust from the guard and vents, and inspect the wheel or brush before storage. Store accessories where they cannot be chipped, bent, or contaminated.
Before the next use
Check the guard, side handle, wheel mounting parts, cord or battery fit, and accessory condition. Make sure the vents are not packed with dust. Review how to prevent angle grinder kickback before returning a grinder to work if you are changing wheels or have had a binding or snagging incident.
After heavy metal grinding or masonry work
Give the vent openings and spindle area a more thorough external cleaning. If dust is repeatedly accumulating faster than you can clear it, consider whether the work setup needs better dust control and consult the grinder manual for any approved dust-extraction accessory or maintenance interval.
Reassemble and test safely
Reinstall only an undamaged accessory that is approved for your grinder and task. Fit the guard and flanges in the configuration required by the tool manual, tighten the accessory using the specified method, and remove the wrench before reconnecting power.
Before working, verify that the guard is secure and the wheel is not contacting it. Follow the no-load test procedure in your current manual, including where to stand and how long to run the tool. Do not assume a procedure, wheel rating, guard arrangement, or accessory compatibility from another grinder model.
A clean grinder is easier to inspect, runs with clearer cooling airflow, and gives you a better chance of finding damage before the next job. Keep routine maintenance external, dry, and model-specific; reserve internal brush, electrical, and gearbox work for instructions that explicitly authorize it or for qualified service.
References
- 4 1/2" ANGLE GRINDER INSTRUCTION MANUAL - Alltrade Tools. (n.d.). http://alltradetools.com/pdfs/1219789720_840066_grinder_eng.pdf
- How to Use an Angle Grinder Safely — Complete Beginner’s Guide. (n.d.). https://www.youtube.com/watch?v=eftXx9vsMjM&vl=en-US
- Angle Grinder. (n.d.). https://cdn.makitatools.com/apps/cms/doc/prod/956/aa294172-e794-476d-bd08-43c7f17652a1_9564CV,9565CV_Instruction_Manual.pdf
- Maintaining Your 440 Series Angle Grinder - IRToolHelp. (n.d.). https://irtoolhelp.ingersollrand.com/hc/en-us/articles/54757821654419-Maintaining-Your-440-Series-Angle-Grinder
- Angle Grinder Daily Maintenance Guide - MEINENG®. (n.d.). https://www.cnmeineng.com/angle-grinder-daily-maintenance-guide
- Operating Instructions Manual 4-1/2” Electric Angle Grinder 87-1597. (n.d.). https://www.kimballmidwest.com/PDFViewerPage/LoadPDF?fileAttachmentID=7391369
- Anyone clean the inside of their angle grinders?. (n.d.). https://www.mig-welding.co.uk/forum/threads/anyone-clean-the-inside-of-their-angle-grinders.66750
- SAFE OPERATING PROCEDURE ANGLE GRINDER. (n.d.). https://www.wynnslocksmiths.com.au/wp-content/uploads/2018/10/Wynns_SOP_Angle_Grinder.pdf
- OPERATOR’S MANUAL M18 FAG125XPD M18 FUEL™ 125 MM (5 …. (n.d.). https://www.milwaukeetool.com.au/on/demandware.static/-/Sites/en_AU/ProductResources/Powertools/Grinders/M18FAG125XPD%20Operator%27s%20Manual.pdf
- Angle Grinder Maintenance and Repair by Cleaning and …. (n.d.). https://www.facebook.com/groups/kakirepair/posts/7301047593308801
 How to Drill Thin Sheet Metal Without the Bit Grabbing or Tearing the Hole
 How to Use an Angle Grinder With Less Kickback When Cutting Metal
 How to Manage Bench Grinder Dust in a Home Shop
