A drill bit that visibly wobbles is not automatically evidence of a bad drill. Start by removing the bit, cleaning the chuck jaws, and testing with a known-straight smooth rod or a new, good-quality bit. If the wobble follows the test rod when you rotate it in the chuck, the rod or bit is bent. If the wobble stays in the same direction relative to the drill, the chuck, arbor, or spindle is the more likely cause.
For ordinary rough drilling in wood, a small amount of apparent tip movement may not affect the result. But runout becomes a real problem when holes start oversized, wander from the mark, break small bits, or need to be accurately located. The farther from the chuck you watch, the larger the visible movement will appear.
What drill runout means
Runout is off-center rotation. A perfectly centered bit spins around its own centerline. A bit with runout traces a small circle as it turns.
Several problems can create the same symptom:
- A bent, damaged, or poorly made drill bit
- A bit clamped unevenly by the chuck jaws
- Chips, rust, or debris inside the chuck
- A worn or damaged chuck
- A loose or improperly seated chuck or arbor on applicable drills and drill presses
- Spindle or bearing damage in the drill
- Side loading or a bent accessory caused by prior use
Do not judge runout by looking only at the cutting end of a twist bit. The flutes and cutting edges are not a reliable measuring surface, and a long bit magnifies even a small error at the chuck. Check a smooth section of shank or a straight test rod first.
Safety before testing
Unplug a corded drill or remove its battery before installing, removing, cleaning, or closely inspecting a bit or chuck. Do not hold a dial indicator, rod, or other test piece by hand while the drill is powered.
Perform runout checks by rotating the chuck by hand only. Keep loose clothing, hair, jewelry, and hands clear of the chuck and bit. If you remove a chuck, arbor, cover, or other tool component, follow the current manufacturer instructions for that exact model. Manufacturer documentation is also the right source for approved accessories, setup, service procedures, and any required protective equipment.
Start with the simple checks
Before measuring anything, eliminate the common setup faults.
Inspect the bit
Remove the bit and look for obvious damage. A bent bit may have a visible kink, damaged flutes, a battered shank, or uneven wear near the tip. Roll the smooth shank of a straight rod or larger drill bit on a known-flat surface. If the center rises and falls as it rolls, it is not a suitable test piece.
A drill bit can also be straight but still cut poorly. Dull or uneven cutting edges can make a hole wander or cut oversize even when the shank runs true. That is a cutting problem, not necessarily a runout problem.
Clean the chuck jaws
Open the chuck fully and inspect the jaws. Remove loose chips and packed debris with a brush. Avoid forcing hard objects between the jaws or adding lubricant unless the drill manufacturer specifically permits it; some chucks can be harmed by inappropriate cleaning or lubrication.
Look for a jaw that does not retract evenly, visible damage, or a jaw face that appears chipped. Also inspect the bit shank. A burred, painted, rusty, or flattened shank may not sit evenly.
Reinstall the bit correctly
Insert enough smooth shank for all three jaws to grip securely. Do not clamp on the flutes of a twist bit. Tighten the chuck firmly using the method specified for your drill.
If the bit seems to sit crooked, loosen it, rotate it slightly, and retighten it. On a keyed chuck, use the manufacturer-recommended tightening method. On a keyless chuck, ensure it is fully tightened according to the tool manual. An unevenly seated bit can mimic a bad chuck.
The quick no-tool wobble test
A visual test cannot measure small runout accurately, but it can reveal a major fault.
- Install a known-straight bit or smooth steel rod.
- Rest the drill securely so it cannot roll or move. Keep it switched off and disconnected from power.
- Put a fixed visual reference close to the rod, such as a clamped block with a narrow gap beside it.
- Rotate the chuck slowly by hand.
- Watch the smooth shank near the jaws, then farther out from the chuck.
If the shank repeatedly moves toward and away from the reference, there is runout. Check near the jaws first. Movement seen only near the tip may be a small angular error that is exaggerated by the length of the bit.
A slight visual movement does not identify the faulty component. Use the reindexing test below to separate a bent bit from a drill-side problem.
The best practical isolation test: mark and reindex
This test works with a straight rod, drill blank, gauge pin, or a known-good bit with a smooth shank. A precision-ground rod gives the most dependable result, but a carefully checked smooth rod can still help locate a clear problem.
1. Mark the setup
Make a small witness mark on the rod near one chuck jaw. Make another reference mark on a stationary part of the drill body near the chuck. These marks let you tell whether the high point moves with the rod or stays with the drill.
2. Find the high point
With the drill unpowered, rotate the chuck by hand while watching the rod against a fixed reference. Mark the side of the rod that reaches closest to the reference, or note its position.
3. Rotate the rod in the chuck
Loosen the chuck, turn the rod roughly 180 degrees in the chuck, and tighten it again with the same care. Keep the drill itself in the same position. Then repeat the hand-rotation test.
4. Interpret what changed
- The high point stays on the same side of the rod: The rod or bit is likely bent.
- The high point moves to the opposite side of the rod after the rod is turned 180 degrees: The runout is likely coming from the chuck, arbor, or drill spindle rather than the rod.
- The result changes unpredictably each time the rod is reinstalled: The chuck may be gripping inconsistently because of debris, worn jaws, or poor jaw alignment.
- Both the rod and drill appear to contribute: This is common. Replace or exclude the bent bit first, then retest before deciding the drill needs repair.
Repeat the test more than once. A result that changes after every reclamping often points to seating or chuck repeatability rather than a single fixed bend.
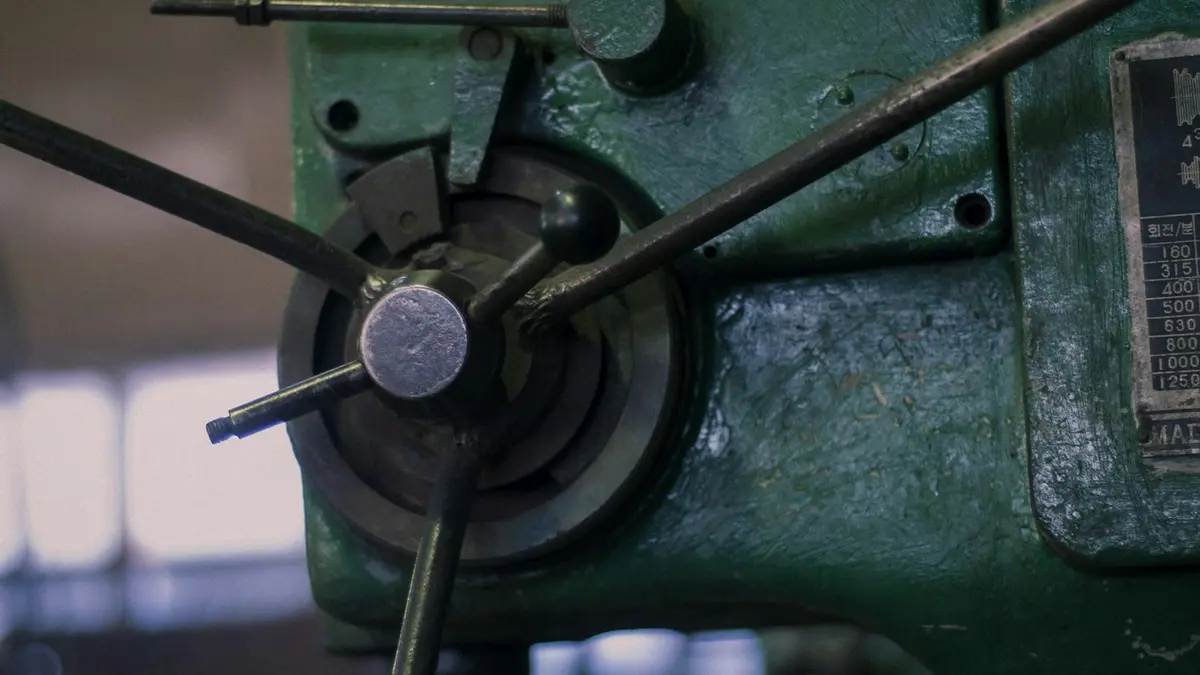
Source: Unsplash
How to check drill runout with a dial indicator
A dial indicator turns a vague wobble into a repeatable measurement. It is especially useful for drill presses, but the same principle can be used on a handheld drill held securely in a suitable fixture. Do not attempt to hold the drill by hand while measuring.
Set up the indicator
- Disconnect power from the drill.
- Install a known-straight, smooth test rod in the chuck.
- Secure the drill or drill press so it cannot move during the test.
- Mount the dial indicator on a rigid base, stand, or clamped fixture.
- Place the indicator tip against the smooth side of the rod, not against a flute or cutting edge.
- Position the contact point close to the chuck jaws first.
- Apply a small amount of indicator preload, zero the dial, and rotate the chuck by hand through one full turn.
- Record the highest and lowest readings. The total change from low to high is total indicated runout, often called TIR.
Then repeat the check farther down the rod. The farther measurement is useful for showing how much an off-center or angled setup affects the working end of a bit, but it should not be treated as chuck-jaw runout by itself.
What the readings can tell you
A low reading close to the jaws but a much larger reading farther out often indicates angular error or a slightly bent rod. A larger reading close to the jaws points more directly to the chuck, arbor, or spindle.
For a meaningful comparison, use the same rod, contact point, chuck-tightening method, and drill position each time. Changing several variables at once makes the result hard to interpret.
How to tell whether the chuck is the problem
The chuck is a likely cause when a straight test rod shows repeatable runout and the error remains associated with the drill rather than following the rod when it is reindexed.
Common chuck clues include:
- The same chuck position produces the same high point every time.
- Reinstalling the rod changes the amount of runout substantially.
- One jaw appears to clamp later or differently than the other two.
- The chuck cannot hold a straight shank concentrically even after cleaning.
- Different good bits all show similar wobble.
On a drill press or a drill with a removable chuck, inspect whether the chuck and its mating taper or arbor are properly seated. Dirt, corrosion, or damage at a mating surface can create an off-center condition. Follow the tool manufacturer’s instructions before attempting removal or reinstallation; improper chuck removal can damage the tool or create a retention hazard.
How to tell whether the spindle or drill is the problem
The spindle is the rotating shaft that drives the chuck. If it is bent, damaged, loose, or supported by worn bearings, a good chuck and bit may still run out.
On equipment designed for chuck removal, spindle runout can be checked with the chuck removed and the indicator contacting the appropriate smooth spindle surface. This is the clearest way to separate spindle error from chuck error. Because removal procedures differ widely, consult the current manual before doing this.
Signs that point beyond the chuck include:
- Noticeable side-to-side movement when the chuck is pushed gently by hand with power disconnected
- Roughness, grinding, or unusual play when the spindle is turned
- A chuck body that appears to orbit rather than simply a bit tip moving
- Consistent runout with multiple known-good chucks or test rods
- A spindle-only check that shows measurable movement
A drill with spindle play or suspected bearing damage is usually a service or replacement decision, not a bit-selection problem. Continued use can worsen hole accuracy and may damage bits or accessories.
Bent drill bit vs. bad chuck: a quick diagnosis table
| What you observe | Most likely cause | Next step |
|---|---|---|
| Only one older bit wobbles; a new straight bit runs well | Bent or damaged bit | Replace the bit and inspect the old one for damage |
| Wobble follows the rod when the rod is rotated in the chuck | Bent rod or bit | Test with another known-straight rod or bit |
| Wobble stays with the drill after the rod is reindexed | Chuck, arbor, or spindle runout | Clean and reseat where applicable, then isolate the chuck from the spindle if the tool design allows |
| Runout changes greatly every time the same rod is reclamped | Jaw seating or chuck repeatability | Clean jaws, inspect the shank, and retest carefully |
| Chuck or spindle has perceptible side play | Bearing, spindle, or chuck damage | Stop relying on the drill for accurate holes and arrange service if appropriate |
| Bit looks steady but holes wander | Cutting geometry, material behavior, poor starting location, or drill handling | Inspect the bit, improve work support and starting method, and test on scrap |
When normal handheld-drill tolerance becomes a problem
A handheld drill is not held as rigidly as a drill press, and the user’s angle and pressure can affect the hole. Some visible motion at the end of a long bit may be harmless for a clearance hole in wood. The same amount can matter when drilling small holes, starting a hole precisely, drilling metal, enlarging an existing hole, or preparing a hole for a close-fitting fastener.
Treat runout as a problem when it produces a result you cannot accept: a hole that is consistently oversized, an off-location hole, repeated broken small bits, chatter, or a bit that cannot start cleanly. Test on scrap with a new or verified-straight bit before replacing the drill.
If accurate hole location matters, a rigid setup and a correctly supported workpiece are often as important as the drill itself. A drill press may improve repeatability, but it also needs its own chuck and spindle checked if accuracy is poor.
What not to do
Do not try to straighten a drill bit by hand, in a vise, or by striking it. Even if it looks straighter afterward, its cutting geometry and strength may be compromised.
Do not run the drill at speed to watch the bit wobble up close. A damaged or poorly clamped bit can become more hazardous when powered. Hand rotation is enough for diagnosis.
Do not diagnose a chuck by testing only one questionable bit. Use at least one known-straight test piece, clean the chuck first, and repeat the test after reindexing the rod.
Do not assume every oversized hole is runout. A dull bit, unsuitable bit type, poor work support, an angled starting position, or material-specific drilling issues can produce similar symptoms. For example, drilling thin sheet metal has its own stability and burr-control challenges; see [/how-to-drill-thin-sheet-metal/].
Bottom line
To check drill runout, test a clean chuck with a known-straight smooth rod, rotate it by hand, and reindex the rod 180 degrees in the jaws. If the high point follows the rod, suspect the rod or bit. If it stays with the drill, suspect the chuck, arbor, or spindle. A dial indicator makes the test more precise, but the reindexing method is what identifies which component is most likely at fault.
Replace a bent bit before blaming the drill. If several verified-straight bits wobble in the same drill after the chuck has been cleaned and properly tightened, the chuck or drill itself deserves closer inspection or service.
References
- How to measure drill chuck runout? | The Hobby-Machinist. (n.d.). https://www.hobby-machinist.com/threads/how-to-measure-drill-chuck-runout.69324
- Drill Press Test 2 Checking Chuck Runout and Spindle Play. (n.d.). http://in-lineindustries.1hwy.com/alineit/test8.htm
- Best Cordless Drill Chuck Runout Accuracy. (n.d.). https://www.facebook.com/fb-answers/which-cordless-drill-has-the-best-chuck-and-runout-accuracy
- Cordless Drill Chuck Wobble Troubleshooting. (n.d.). https://industrialmonitordirect.com/blogs/knowledgebase/cordless-drill-chuck-wobble-troubleshooting
- Testing Drill Press Runout. (n.d.). https://www.youtube.com/watch?v=7I0p3QWs4Wg
- My drill press runout for 0.1 mm is that normal? : r/Tools. (n.d.). https://www.reddit.com/r/Tools/comments/v6pgd7/my_drill_press_runout_for_01_mm_is_that_normal
- How to Measure Drill Press Runout. (n.d.). https://www.youtube.com/watch?v=aP6BTQSv6FI
- Drill Press Run-out - Is there a non-gauge method to…. (n.d.). https://www.woodworkingtalk.com/threads/drill-press-run-out-is-there-a-non-gauge-method-to-measure-it.22950
- Drill Press Runout: Achieving .003" TIR and Hole Accuracy | IMD. (n.d.). https://industrialmonitordirect.com/blogs/knowledgebase/drill-press-chuck-runout-tolerances-measurement-and-hole-accuracy
- Drill wobble. (n.d.). https://festoolownersgroup.com/threads/drill-wobble.35805
 Why a Drill Chuck Will Not Hold a Bit Tight
 Cordless Drill Starts Then Stops: A Troubleshooting Checklist
 Why Drill Bits Dull or Break When Drilling Metal