For compacted, weed-filled soil, start with a sturdy digging or spading fork rather than a square shovel. Its narrow tines usually enter dense soil with less resistance, can work around roots and stones, and let you pry the soil upward without lifting every clod. Use a spade afterward to cut sod, define edges, sever roots, and lift loosened soil or vegetation.
If neither tool will enter more than a little way, do not force a full-depth dig. Work a small section, choose soil that is moist but not wet, clear top growth first, and make repeated shallow passes. Dense clay, buried rock, construction fill, or a hard compacted layer may require a different approach than simply pushing harder on a tool.
The short answer: fork first, spade second
A garden fork and a spade overlap, but they do different jobs when reclaiming a bed.
| Tool | Best job in compacted, weedy soil | Less effective for |
|---|---|---|
| Digging or spading fork | Penetrating, loosening, aerating, prying up roots and clods | Making clean cuts through sod or moving loose soil |
| Spade | Cutting sod, squaring bed edges, slicing roots, lifting loosened soil | Repeatedly prying through rocky or root-packed ground |
| Shovel | Scooping and moving loose soil, compost, and debris | Breaking initial compaction |
| Hoe | Cutting small weeds and breaking the top surface after loosening | Opening deeply compacted ground |
| Rake | Gathering roots, leveling, and making a seedbed | Breaking hard soil or removing established roots |
For the situation where a square shovel and fork both seem to stop at the surface, the fork is still generally the better first choice. The goal is not to turn over a large slab of soil. It is to create enough cracks and lift in a small area that the soil begins to separate.
Why a garden fork works better in hard ground
A fork concentrates your effort on several narrow tines rather than one broad blade. That makes initial penetration easier in many compacted soils. Once the tines are in, pulling the handle back slightly cracks and raises the soil without requiring you to lift a heavy, intact slice.
This is especially useful in clay soil and soil bound by fibrous weed roots. The tines can pass between some roots and rocks instead of meeting the same broad resistance as a spade blade. A fork also exposes weed crowns and root networks so they can be removed before they are chopped into smaller pieces.
Use a full-size digging fork or spading fork for a bed. Look for thick, straight or only slightly curved tines and a solid connection between the head and handle. A light pitchfork is meant for loose organic materials, not levering compacted soil.
When a spade is the better tool
A spade earns its place before and after the fork work.
Use it first when you need to:
- Cut a clean boundary around the new bed.
- Slice through turf or dense surface vegetation.
- Divide the area into narrow strips.
- Cut a long root that prevents a fork from entering.
Use it after forking when you need to:
- Lift loosened sod or weed mats.
- Transfer soil, compost, or debris.
- Shape the bed edge.
- Remove a shallow layer of poor fill or heavily rooted material.
A spade has a flatter, straighter blade and a handle angle designed for pushing into soil. A shovel is built more for scooping and moving material. For a fuller distinction, see shovel vs. spade vs. trenching shovel.
Best conditions for breaking up compacted soil
Soil moisture determines whether digging is manageable or miserable.
Work when soil is moist, not saturated
Very dry soil can be nearly concrete-like, especially clay. Light watering followed by time for moisture to soak in can make fork tines enter more easily. Avoid soaking the bed immediately before digging; wet clay smears, compacts underfoot, and forms heavy clods that are hard to handle.
A practical check is to squeeze a handful from the intended digging depth. If it falls apart with a light touch after squeezing, it is often workable. If it forms a slick, sticky ball that stays molded in your hand, wait for it to dry somewhat. If you cannot gather a handful because it is powdery and hard, add moisture gradually and wait before trying again.
Do not walk repeatedly on the area you are loosening
Work from a path or from the already-cleared side of the bed. Stepping on freshly loosened soil defeats part of the job. Narrow beds that can be reached from both sides are easier to maintain without foot traffic.
A manageable method for dense, weedy soil
Trying to dig an entire bed to full depth in one pass is exhausting and often ineffective. Use a narrow strip or a section about as wide as you can comfortably reach.
1. Cut down and remove the top growth
Use shears, a mower where appropriate, or a hoe to remove tall weed stems. This makes the surface visible and prevents long stems from tangling around the fork.
Do not assume that cutting tops removes perennial weeds. Plants with persistent crowns, runners, rhizomes, bulbs, or deep taproots can regrow unless those parts are removed or otherwise controlled.
2. Define one small working section
Use the spade to cut the boundary of a strip or square. A narrow strip gives you an edge from which to start and keeps the task finite. If sod is present, slice it into manageable pieces instead of attempting to lift one large sheet.
3. Insert the fork as deeply as it will go without forcing it
Set the tines vertically and press down in a controlled way. If they stop early, pull the fork out and try nearby rather than repeatedly jumping or wrenching on the handle. Roots, stones, and dry hardpan can stop the tines abruptly.
Once the fork is seated, pull the handle back just enough to lift and crack the soil. Do not try to fling the clod over. Remove the fork, move a few inches, and repeat.
4. Make a second pass across the first pattern
In heavy or strongly compacted soil, make fork insertions in one direction, then work across that pattern at roughly a right angle. The crossing pattern breaks large blocks into smaller clods and reveals more roots.
As the section loosens, use the fork to gently rock and lift clods. A hoe or cultivator can then break the upper layer further if needed, but avoid pulverizing wet soil into a smooth paste.
5. Remove roots while they are visible and intact
Pull out weed crowns, runners, and thicker roots as you expose them. Shake loose soil back into the bed and set the roots aside for disposal according to local yard-waste practices.
This is the point where a fork is especially helpful: it can lift a root system with soil still around it, making it easier to trace and remove. Repeatedly chopping a vigorous perennial root system can leave many pieces behind.
6. Use the spade for remaining sod and stubborn root masses
If a thick sod mat or root plate remains, cut around it with the spade and lift it in pieces. Use the fork to loosen beneath it rather than prying hard sideways with the spade blade.
7. Rake only after roots and large debris are removed
When the section is loose, use a rake to pull out remaining root fragments, stones, and clumps. Then level the surface. If you are adding compost or other soil amendments, spread them over the loosened soil and mix only as deeply as the material needs to go.
What to do when the fork will not penetrate
A fork that will not enter is a signal to change the process, not necessarily to buy a stronger tool.
Dry soil
Water the area gradually and allow time for the moisture to move below the surface. Return when the soil is damp enough to crumble instead of resisting like baked clay.
Dense surface roots or turf
Slice the surface into smaller blocks with a spade first. Removing or dividing the root mat can give the fork a path into the soil below.
Rocks, rubble, or construction debris
Probe cautiously and excavate by hand around repeated hard obstructions. A fork can bend or a spade can be damaged if used as a pry bar against buried masonry, large rocks, or metal.
If you uncover unknown buried material, stop digging until you can identify it. Before digging where underground utilities may be present, use the applicable local utility-location process and follow official guidance for your area.
A deep hardpan or heavily compacted subsoil layer
If topsoil loosens but a firm layer remains below it, avoid trying to invert the entire profile. Loosen the lower layer with fork tines while keeping much of the topsoil near the surface. On a small site with severe compaction, a trench-by-trench double-digging approach can loosen subsoil, but it is labor-intensive and not necessary for every bed.
For a large area, repeated soil improvement, reduced traffic, permanent paths, and raised beds may be more practical than trying to excavate the whole site deeply in one season.
Where the hoe and rake fit in
A hoe and rake are finishing tools here, not substitutes for the fork or spade.
Hoe
Use a hoe after initial loosening to chop small weeds, break surface clods, and pull soil into a rough level. It is also useful for maintaining a bed after the major root removal is done. A hoe will struggle against established sod, deep perennial roots, and true compaction.
Rake
Use a garden rake to collect roots, stones, and debris and to level the bed. A rake is best used after the fork and spade have done the heavy work. Trying to rake hard clods apart before they have loosened usually just drags them around.
Common mistakes that make the job harder
Digging when clay is too wet
Wet clay can smear along the spade blade and pack around fork tines. It may look loose while digging but dry into hard clumps later.
Turning every clod upside down
A full turnover buries surface organic matter and can bring less fertile subsoil upward. For many reclaimed beds, lifting and fracturing the soil is enough. Remove weeds and amend the surface rather than automatically flipping the profile.
Chopping persistent weeds into pieces
Annual weeds are often easy to hoe out. Perennial weeds with spreading roots can return from fragments. Lift and remove as much of the root system as practical before fine cultivation.
Using a shovel as the primary breaker
A shovel is excellent for moving loosened material, but its broad scoop is inefficient against hard, rooty soil. Save your effort by using the fork to open the ground first.
Levering against a buried obstruction
If a tool suddenly stops on something solid, do not twist the handle aggressively. Move soil away gradually and find the obstruction. Protecting the tool is also easier on your hands, shoulders, and back.
Choosing between a garden fork and a spading fork
The names are not used consistently by every maker, so inspect the tool rather than relying only on the label.
For compacted soil, favor a fork with:
- Strong, relatively straight tines.
- A wide, stable foot-rest area for controlled downward pressure.
- A handle length that lets you work upright without excessive bending.
- A head and handle connection designed for digging rather than moving mulch or hay.
A general digging fork can handle most home-bed reclamation. A heavier spading fork may be more suitable when soil is dense, clay-heavy, or full of tough roots. A smaller border fork can be useful in tight beds but will make a large reclamation project slower.
A practical tool sequence for reclaiming a bed
For most compacted, weedy garden areas, use this order:
- Cut down tall weeds.
- Use a spade to outline the bed and slice sod or thick surface roots.
- Use a digging fork to make repeated lift-and-crack passes.
- Pull out exposed roots, stones, and debris.
- Use the spade to remove remaining sod sections or root masses.
- Add needed organic matter at the surface and incorporate it lightly if appropriate for the crop.
- Use a hoe for final clod breaking and a rake for cleanup and leveling.
The fork does the main work of loosening compacted soil. The spade makes the cuts that the fork cannot make cleanly. Used together, they are far more effective than trying to force one broad shovel into a dense, weedy bed.
Safety and tool-care notes
Keep bystanders clear of the digging area, especially when removing roots or prying up clods. Maintain stable footing, keep the tool under control, and stop if a handle, socket, or tine shows damage. Inspect the current manufacturer guidance for your particular tool before use or repair.
Do not dig into an area where buried utilities, irrigation, drainage, or unknown construction debris may be present without first confirming what is below. Local utility-location services and local authorities can provide the current process for your area.
References
- Loosening Soil with a Digging Fork – Green Thumb Gardening Secrets. (n.d.). https://greenthumbgardeningsecrets.com/loosening-soil-with-a-digging-fork
- Spading Fork vs Digging Fork: Which Tool is Better?. (n.d.). https://www.youtube.com/watch?v=8Ya9PP9B5ws
- The Ultimate Garden Fork Showdown: Border vs. Digging. (n.d.). https://www.youtube.com/watch?v=gRCZ1sMqPx0
- What? The Fork!. (n.d.). https://blog.cobrahead.com/2009/12/09/what-the-fork
- Tools for Working the Soil - Fine Gardening. (n.d.). https://www.finegardening.com/project-guides/gardening-basics/tools-for-working-the-soil
- Garden Fork Vs Spading Fork: Which Tool Is Better - Garden Lop. (n.d.). https://gardenlop.com/garden-fork-vs-spading-fork
- Garden Beds | Home Garden Education Office | College of Agriculture, Health and Natural Resources | University of Connecticut. (n.d.). https://homegarden.cahnr.uconn.edu/factsheets/garden-beds
- Garden Forks and Spades : Purchasing, and Frequently Asked Questions. (n.d.). https://www.easydigging.com/gardening/spades-forks
- Spading or Forking—Loosening Soil 1’ Deep with a Digging Fork. (n.d.). https://www.youtube.com/watch?v=64ZtG10iZrc
- 3 reasons to use a Garden Fork & how to choose one. (n.d.). https://www.haxnicks.co.uk/blogs/grow-at-home/garden-fork
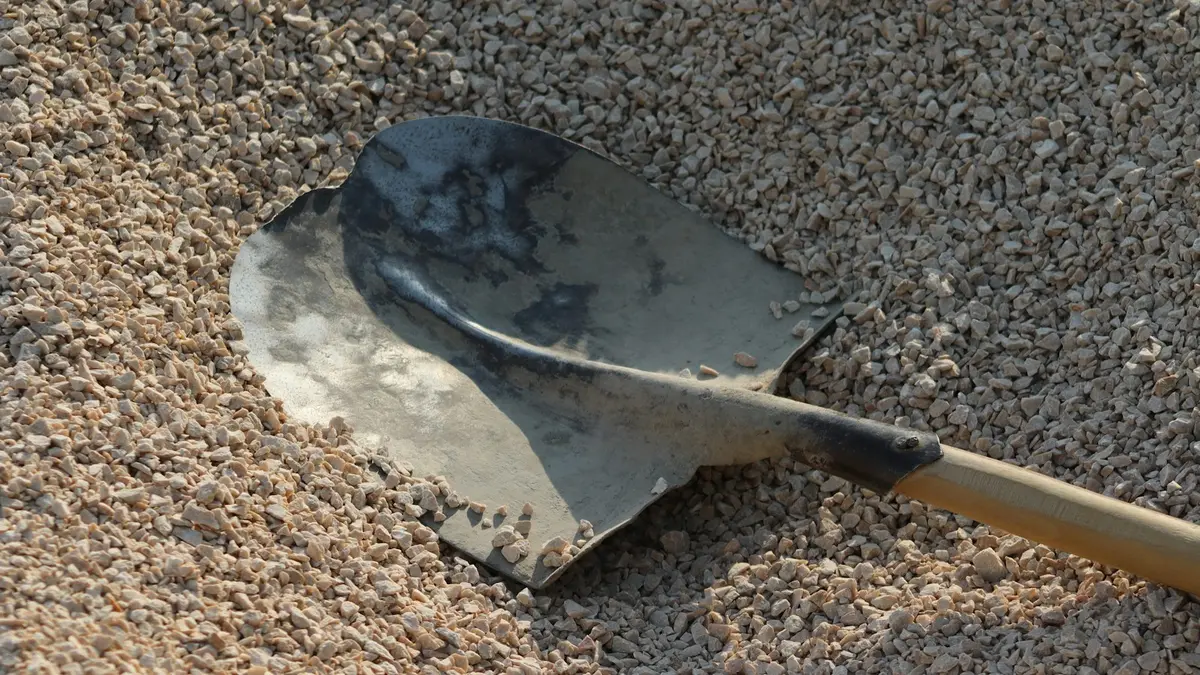 Shovel vs. Spade vs. Trenching Shovel: What to Use for Common Yard Jobs
 How to Choose Pruning Shears by Plant Type, Stem Size, and Working Space
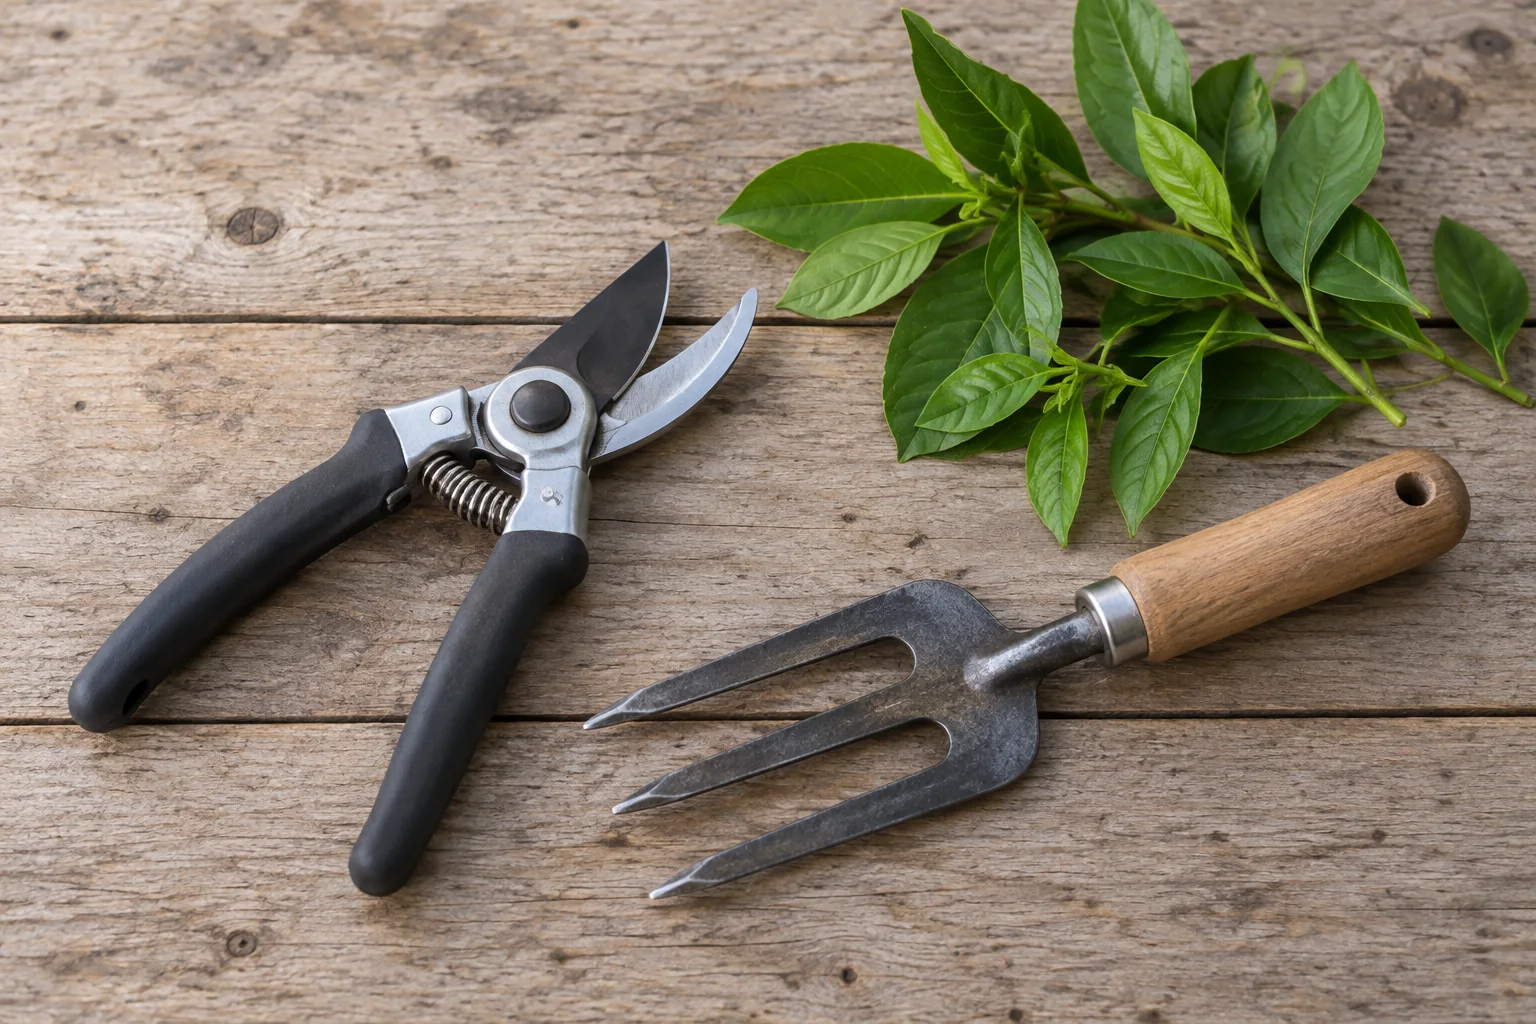 Hedge Trimmer, Loppers, or Pruning Saw: Which Tool to Use on Woody Branches