A 45-degree rip cut is a long bevel cut along the edge of a board, not a 45-degree crosscut. Set the circular saw to its 45-degree bevel position, use a clamped straightedge or compatible guide, and keep the saw shoe fully supported from the start of the cut to the finish.
The difficult part is usually not setting the bevel. It is keeping a handheld saw stable when the board, offcut, or both leave too little bearing surface under the shoe. If the saw will ride partly over open space, rock on a narrow strip, or lose support near the end of the cut, use a different setup or a different tool rather than trying to steady it by hand.
Decide Whether a Handheld Circular Saw Is the Right Choice
A circular saw and guide can work well for a long 45-degree bevel on a sufficiently wide, well-supported board. It becomes a poor choice when the cut leaves a narrow piece that cannot support the saw shoe reliably.
Do not confuse a straight guide with work support. A guide helps the saw travel straight, but it does not replace a flat, stable surface beneath the shoe.
Consider another method when:
- The board is so narrow that the shoe will tip or lose contact on either side of the kerf.
- The offcut can sag, move, or close against the blade during the cut.
- Clamps cannot be placed outside the saw’s travel path.
- The cut must be highly repeatable across several narrow strips.
- Your saw cannot make the required bevel according to its current manufacturer documentation.
For narrow stock, a track saw system, a table saw setup appropriate to the material and cut, or making the piece oversize before trimming it may provide better control. A router with a suitable beveling setup can also be an option for edge shaping, although it is not the same operation as ripping a board to width.
Check the Saw Before Setting Up
Read the current manual for your specific saw before making a bevel cut. Confirm its bevel range, adjustment procedure, blade-depth procedure, guide compatibility, and any limits on the material or cutting arrangement. Follow the manufacturer’s instructions for blade condition, guards, electrical supply, and personal protective equipment, along with applicable local safety guidance.
Before cutting, check that:
- The blade is appropriate for the material and is not visibly damaged or excessively dull.
- The bevel adjustment is set to 45 degrees and securely locked according to the saw manual.
- The depth adjustment is locked according to the manual.
- The shoe is not bent and sits flat on the work support.
- The guide will not interfere with the blade guard, motor housing, cord, battery, or saw movement.
A saw’s bevel scale is useful for setup, but it may not produce a perfect finished angle on every saw. Make a test cut in scrap from the same material when the fit matters, then check the bevel with a reliable square or bevel gauge and adjust if needed.
Set Blade Depth for the Bevel Cut
Set blade depth only after placing the saw on the actual supported work arrangement. A 45-degree bevel changes how far the blade projects below the shoe compared with a square cut.
Set the depth so the blade passes completely through the workpiece and only enters the sacrificial support as needed for your setup. Avoid guessing based on the depth used for a 90-degree cut. Verify the correct method and permitted blade projection in the current saw manual.
If your support arrangement requires cutting into a sacrificial panel, make sure that panel is stable and that no fasteners, clamps, or bench components are in the blade path.
Build a Stable Support Surface
Support the board and both sides of the intended cut so the material stays flat without pinching the blade or dropping as the cut finishes. The best arrangement gives the saw shoe a broad, level bearing surface for the entire length of travel.
For a narrow board bevel rip, place the board on a wider, flat sacrificial support surface. The surrounding support should be at the same height as the board so the shoe cannot roll toward an unsupported side. Secure the board and guide without placing clamps where the saw will travel.
Before connecting power or starting the cut, slide the saw through the full path with the blade clear of the material. Check for these problems:
- The shoe hangs off the work at the beginning, middle, or end of the cut.
- The motor housing or guard contacts the guide.
- A clamp blocks the shoe or blade path.
- The cord, hose, or battery placement can restrict movement.
- Either cut piece lacks support after the blade passes through.
If the saw cannot remain flat and supported in this dry run, change the setup. Do not compensate by holding the narrow offcut, pushing down on the saw from the side, or reaching near the blade path.
Lay Out the Bevel Rip and Position the Guide
Mark the desired finished edge on the face of the board. For critical work, also mark the intended bevel orientation on the end grain. This prevents cutting the bevel in the correct angle but on the wrong face or in the wrong direction.
A clamped straightedge is commonly more dependable for a long rip than relying on a short speed square. Use a guide that is straight, stiff, and long enough to support the saw’s travel before and after the cut.
Measure the Guide Offset at 45 Degrees
The blade does not necessarily align with the same shoe reference point at a bevel as it does at 90 degrees. Set the saw to 45 degrees first, then measure from the blade’s intended kerf line to the edge of the shoe that will ride against the guide.
The practical method is:
- Set and lock the saw at 45 degrees.
- Identify which edge of the shoe will contact the guide.
- Measure from that shoe edge to the blade path at the front and rear of the shoe.
- Use the relevant offset to place the guide parallel to the marked cut line.
- Clamp the guide, then make another dry run to confirm clearance and shoe contact.
A short test cut in scrap is the safest way to confirm the actual offset. The kerf may differ from a pencil mark, and slight differences in shoe shape or bevel geometry can affect guide placement.
Make the 45-Degree Rip Cut
With the board, support surface, and guide secured, position the saw shoe flat on the supported surface with the blade clear of the workpiece. Keep the shoe firmly against the guide before starting the cut.
Start the saw and feed it forward smoothly while maintaining two things at the same time: steady contact between the shoe and the support surface, and steady contact between the shoe edge and the guide. Let the saw cut at a controlled pace rather than forcing it forward.
Keep your body positioned so you can follow the guide without leaning over the cut path or pulling the saw sideways. Keep hands and clamps clear of the blade path and the area where the saw will exit the work. Follow the current manufacturer instructions for operating controls, guard behavior, stopping the tool, and handling the workpiece after the cut.
As the saw nears the end, continue supporting the shoe. This is a common point for a narrow board or offcut to shift and for the saw to dip. Finish the cut only if the support remains stable; if it does not, stop and redesign the support arrangement.
Check the Finished Bevel
After the blade has stopped and the saw is set aside according to the manufacturer instructions, inspect the edge. Check both straightness and bevel angle before cutting additional pieces.
A rough edge can come from blade condition, feed pressure, material movement, or the shoe losing contact with the guide or support. A slight variation in angle can come from an inaccurate bevel scale, a bevel lock that was not fully secured, or a board that was not flat on the support surface.
If the bevel is close but not exact, correct the saw setting and test again on scrap. Do not try to fix a significant angle error by tilting the saw manually during the cut.
Safer Alternatives for Very Narrow Bevel Rips
When there is not enough shoe support, the safest improvement is usually changing the process rather than adding hand pressure or improvised balancing aids.
Cut the Board Oversize First
If material allows, begin with a wider blank. Make the bevel while the board is still wide enough to support the saw, then trim or shape the remaining edge with a more suitable method.
Use a Purpose-Built Guided Saw System
A guided plunge-cut or track-based system may provide more controlled travel for long bevels, provided the tool’s manual permits the bevel angle and work arrangement. The workpiece still needs stable support underneath.
Use a Table Saw Only With an Appropriate Setup
A table saw can make bevel rips, but narrow stock and beveled blades create their own control concerns. Use only a setup and accessories suitable for the saw, stock, and operation, following the saw manufacturer’s current instructions. Do not assume that a table saw automatically makes a narrow bevel rip safer.
Shape the Edge Instead of Ripping It
For some projects, a router setup, hand plane, or sanding process may create the needed bevel after the board has been cut to a safer rough size. Choose the method based on the required accuracy, material, and available workholding.
Common Problems and Fixes
The saw wanders away from the line
The guide may be out of position, flexing, or not clamped securely. Recheck the offset with the saw at 45 degrees, use a stiffer guide, and make sure the shoe stays pressed against it without side-loading the saw.
The bevel is not actually 45 degrees
Check the bevel setting on a scrap cut rather than relying only on the saw’s scale. Inspect the bevel lock and confirm that the shoe did not lift or ride over debris during the cut.
The cut edge is rough or burns
Check blade condition, material support, and feed pressure. Forcing a saw through a cut can reduce cut quality. Verify blade selection and operating guidance in the saw and blade manufacturer documentation.
The saw tips near the end of the cut
The bearing surface is too narrow or the work support is incomplete. Add a flush sacrificial support surface around the board, or choose a different cutting method. Do not attempt to stabilize the saw by gripping the offcut.
Bottom Line
A straight 45-degree rip with a circular saw depends on more than setting the bevel lever to 45 degrees. Use a guide positioned from the blade’s actual bevel offset, support the board and offcut on a broad flat surface, and keep the entire saw shoe supported from start to finish. If narrow stock leaves too little bearing surface, stop and use a wider blank, a better-guided system, or another cutting method.
References
- Circular saw have trouble cutting 45° rip cut. (n.d.). https://www.reddit.com/r/BeginnerWoodWorking/comments/j0skvs/circular_saw_have_trouble_cutting_45_rip_cut
- How to Cut a 45 degree Angle with a Circular Saw. (n.d.). https://www.youtube.com/watch?v=znQvM59Xt3c
- How to Cut a 45 Degree Bevel with a Circular Saw. (n.d.). https://www.tiktok.com/@delancey.diy/video/7115151292741258538?lang=en
- How to safely rip cut narrow boards with a circular saw?. (n.d.). https://www.facebook.com/groups/woodworkingforbeginner/posts/3775028835985047
- How do you use a circular saw to cut a 45-degree angle?. (n.d.). https://www.quora.com/How-do-you-use-a-circular-saw-to-cut-a-45-degree-angle
- How to cut 45 degree angle with circular saw. (n.d.). https://www.youtube.com/watch?v=PI2dSeXzoX4
- Can a circular saw with a guide make a straight cut on a 45 …. (n.d.). https://www.facebook.com/groups/woodworkingforbeginner/posts/2142531385901475?locale=en_US
- How to Cut More Than 45 Degrees With A Circular Saw. (n.d.). https://paulsplayhouses.com/blogs/fruitful-insights-for-playhouses/how-to-cut-more-than-45-degrees-with-a-circular-saw
- how to cut a 45 degree angle with a circular saw …. (n.d.). https://www.facebook.com/budiyono.works/videos/how-to-cut-a-45-degree-angle-with-a-circular-saw-woodworking-diy-carpenter-fblif/1512540143137037
- How to SAFELY Cut a Long Bevel Over 45 Degrees -. (n.d.). https://welcome-to-the-woods.com/how-to-safely-cut-a-long-bevel
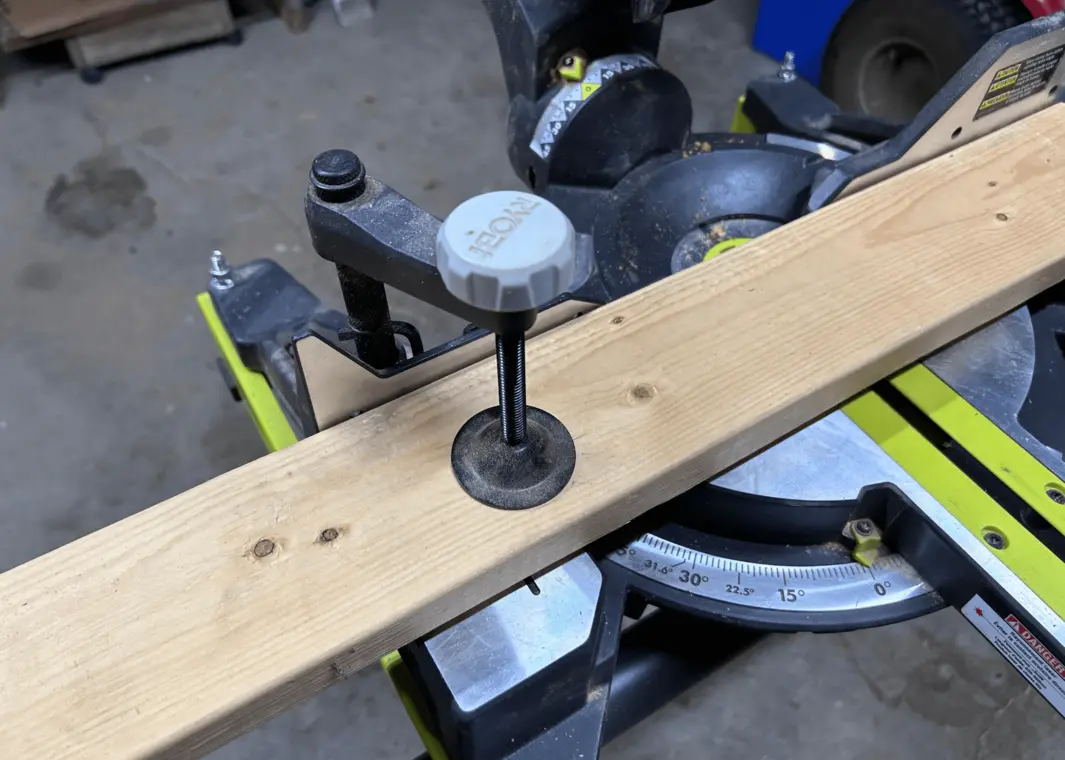 Can You Rip Cut Wood With a Miter Saw?
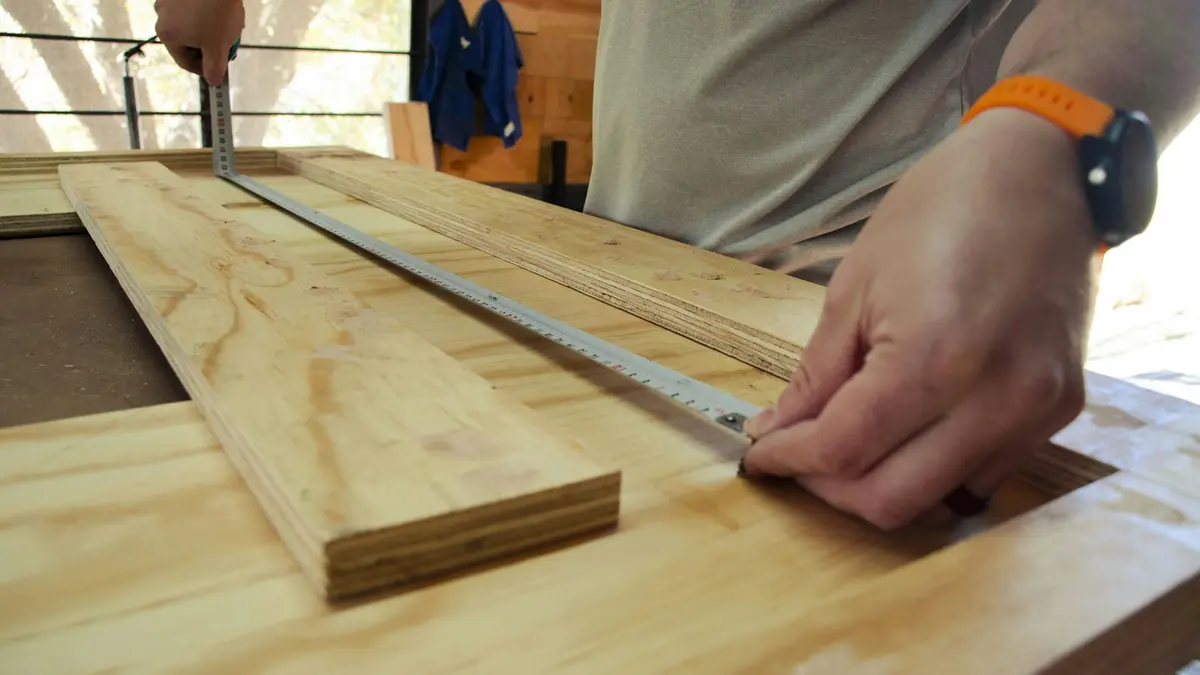 How High Should a Table Saw Blade Be for Rip Cuts?
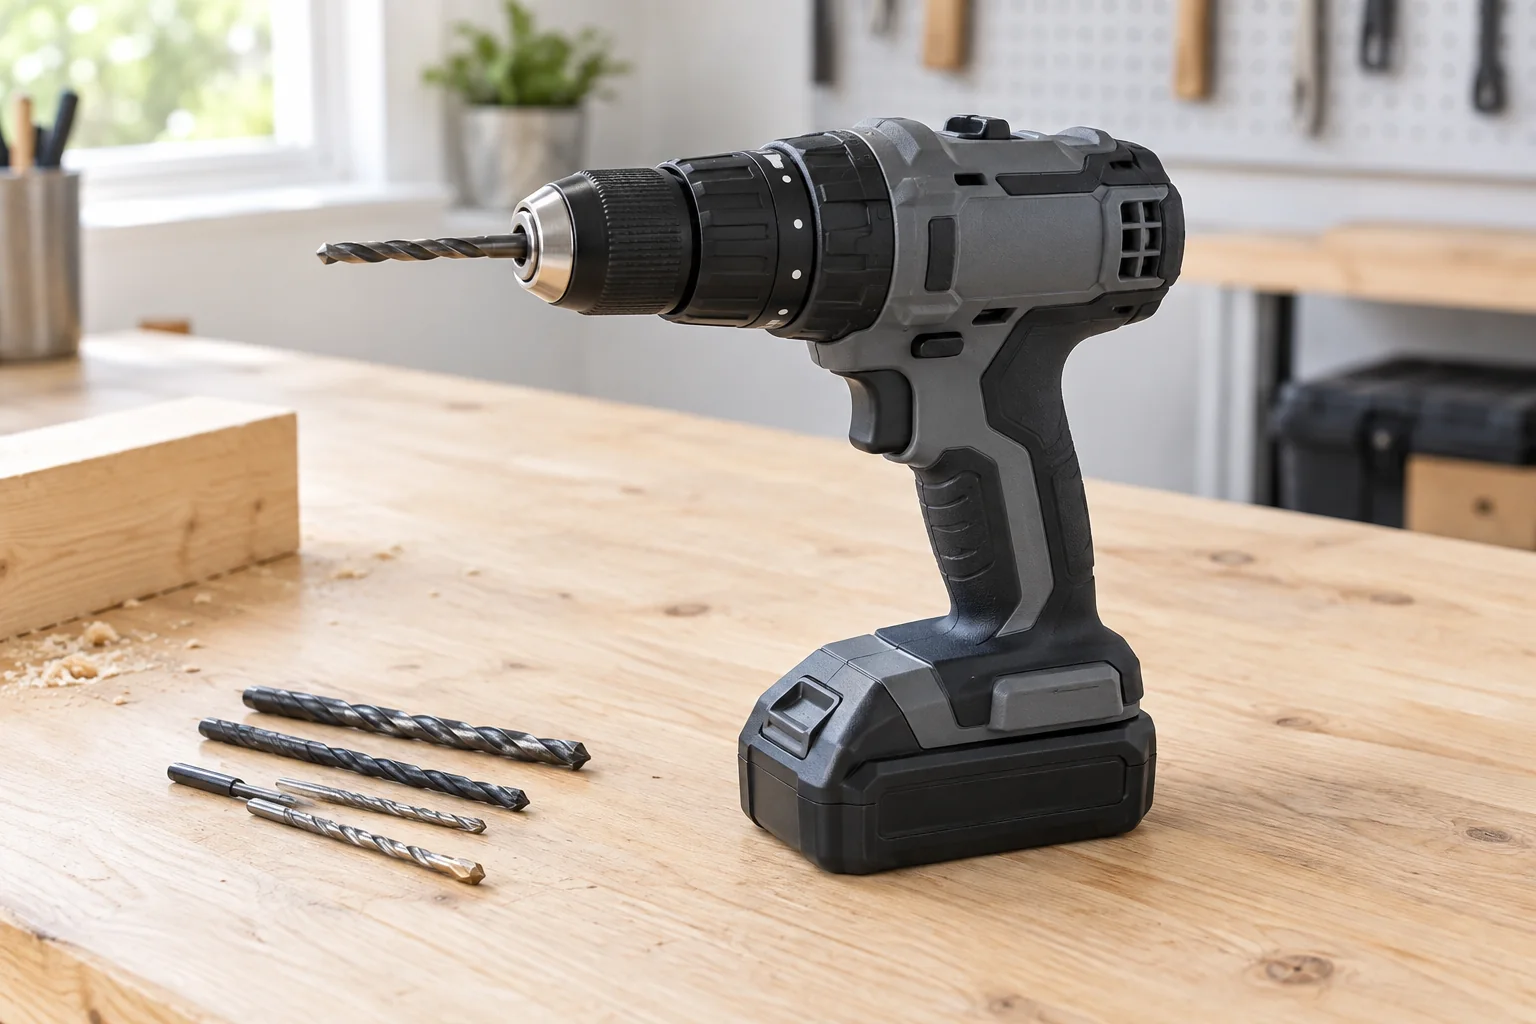 Why a Circular Saw Burns Wood: Causes, Checks, and Fixes